
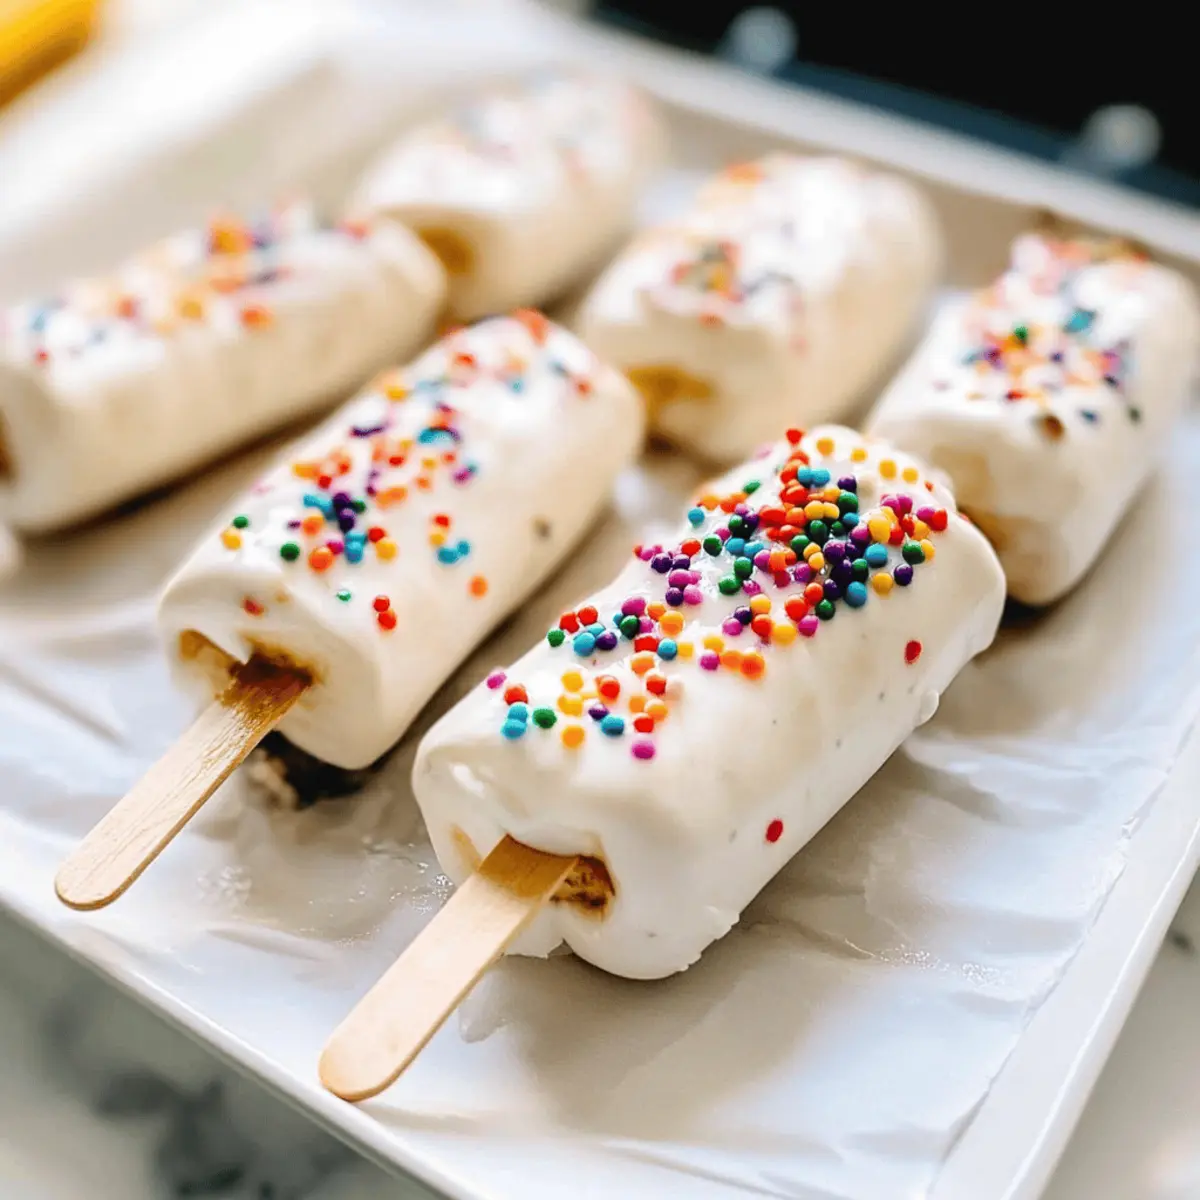
As summer days stretch on, there’s nothing quite like the joy of a refreshing treat that brings a smile to my face. Enter the delightful Frozen Yogurt Banana Pops! This simple yet satisfying recipe combines just three ingredients: ripe bananas, creamy Greek yogurt, and a sprinkle of colorful toppings to create a fun and nutritious snack that the whole family will love. These Frozen Banana Yogurt Pops are not only gluten-free and kid-friendly, but they also serve as a guilt-free indulgence perfect for those hot afternoons. With minimal prep time and no baking required, you can whip these up in a flash, satisfying your sweet tooth without the worry of excess sugar or calories. Curious to know how you can make these delicious pops in your kitchen? Let’s dive into the details!
Why are Frozen Banana Yogurt Pops a must-try?
Simplicity at Its Best: With just three easy-to-find ingredients, this recipe is perfect for everyone, from novice cooks to seasoned chefs.
Healthy Treat: These pops are guilt-free, gluten-free, and packed with the natural sweetness of ripe bananas and creamy Greek yogurt—ideal for satisfying your sweet cravings healthily.
Kid-Friendly Fun: Kids will absolutely love getting involved in the dipping and decorating process, making these pops a fantastic family activity.
Make-Ahead Convenience: Prepping these pops in advance means you’ll always have a refreshing treat on hand for busy afternoons or surprise guests!
Versatile Topping Options: Personalize your pops with various toppings like nuts or coconut, providing endless possibilities for delicious creations.
These Frozen Banana Yogurt Pops are a delightful way to keep cool during summer while indulging your sweet tooth. Enjoy them fresh or try these serving suggestions for a creative twist!
Frozen Banana Yogurt Pops Ingredients
These pops come together with just three simple ingredients!
For the Pops
- Bananas – Use ripe bananas for optimal sweetness and creamy texture; plantains can be a fun alternative.
- Greek Yogurt (Vanilla-flavored) – This creamy coating adds flavor and protein; consider almond or coconut yogurt for a dairy-free treat.
For the Toppings
- Rainbow Sprinkles – Sprinkles add a colorful, fun touch to your pops; feel free to swap in chopped nuts or shredded coconut for a different texture.
The delightful combination of these ingredients creates irresistible Frozen Banana Yogurt Pops that are perfect for summer!
Step‑by‑Step Instructions for Frozen Banana Yogurt Pops
Step 1: Prepare the Bananas
Begin by peeling ripe bananas and cutting them in half. Arrange these banana halves on a parchment-lined baking sheet, ensuring they are evenly spaced for easy coating later. Keep an eye out for fully ripe bananas, as they will give your Frozen Banana Yogurt Pops optimal sweetness and a smooth texture.
Step 2: Insert the Popsicle Sticks
Carefully insert popsicle sticks into the cut end of each banana half, pushing them in about halfway. This will create a sturdy handle for your Frozen Banana Yogurt Pops. Make sure the sticks stand upright; this setup will allow you to dip the bananas without them toppling over.
Step 3: Mix the Yogurt
In a medium-sized bowl, pour in your vanilla Greek yogurt. Using a spoon or spatula, stir until the yogurt is creamy and smooth, free of any lumps. This step ensures a delightful coating for your pops, enhancing both the flavor and texture of the Frozen Banana Yogurt Pops.
Step 4: Dip the Bananas
Now it’s time to coat your banana pops! Take each banana half by the stick and dip it into the yogurt, making sure it is thoroughly covered. A good coating is essential to ensure the yogurt freezes nicely. As you dip, let any excess yogurt drip back into the bowl for a clean finish.
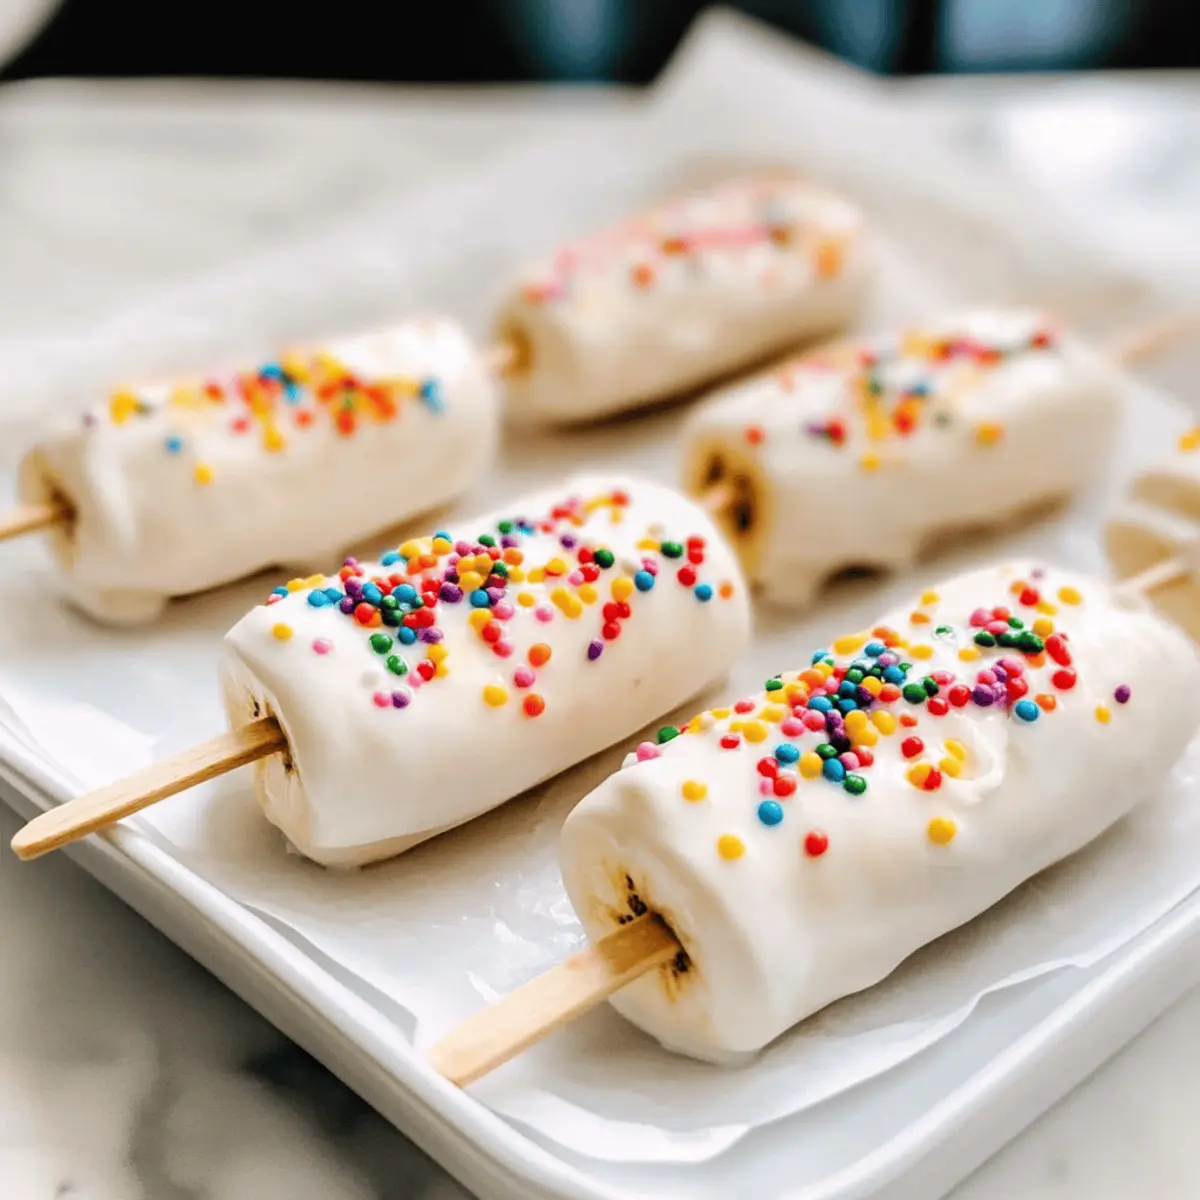
Step 5: Add Toppings
Once fully coated, return the banana pops to the parchment-lined baking sheet. While the yogurt is still wet, sprinkle rainbow sprinkles evenly over the surface of each pop for a vibrant touch. You can also use finely chopped nuts or shredded coconut for added variety and texture if you prefer.
Step 6: Freeze the Pops
Place the baking sheet in the freezer for at least two hours, or until the yogurt is completely solid. Check for a firm texture by gently pressing a pop; it should feel solid under your fingers. This freezing step is crucial for ensuring that your Frozen Banana Yogurt Pops turn out perfectly chilled and delicious.
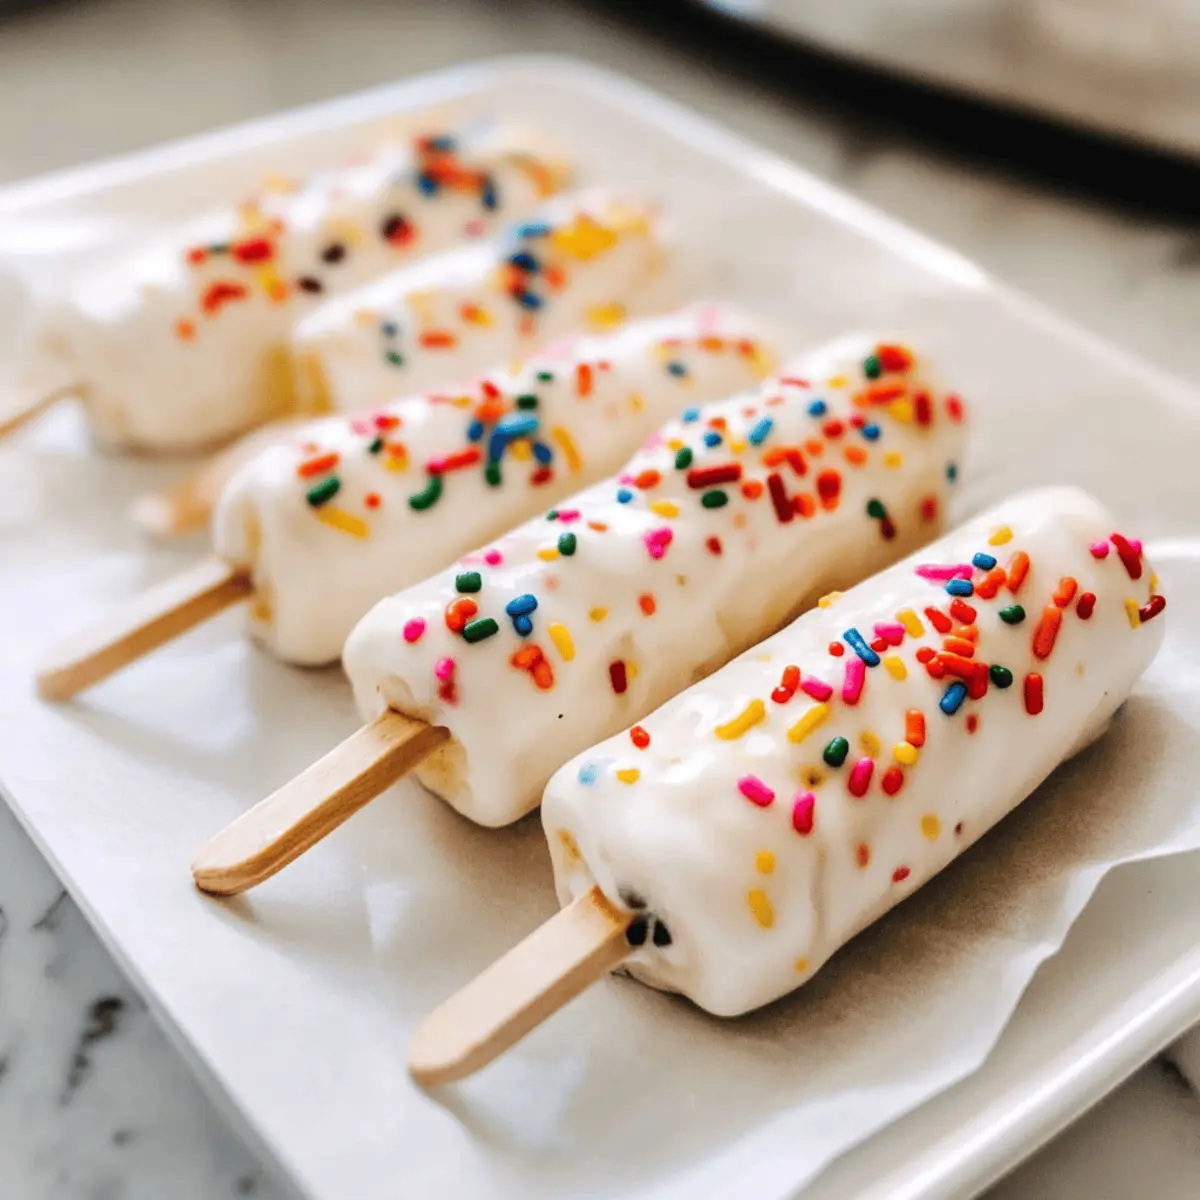
Step 7: Serve and Enjoy
Once the yogurt has hardened, remove the pops from the freezer and serve right away. These delightful Frozen Banana Yogurt Pops not only look inviting but also offer a refreshing treat on hot summer days. Store any leftovers in an airtight container in the freezer for future enjoyment!
How to Store and Freeze Frozen Banana Yogurt Pops
-
Fridge: Keep any leftover Frozen Banana Yogurt Pops in the refrigerator for up to 1 day if not fully frozen. However, they are best enjoyed straight from the freezer.
-
Freezer: Store your pops in an airtight container in the freezer for up to 1 week. This helps maintain their flavor and prevents freezer burn.
-
Reheating: No need to reheat, as these pops are meant to be enjoyed frozen. Just remove from the freezer and enjoy these refreshing treats right away!
-
Batch Making: Feel free to double or triple the recipe for a larger batch. Just follow storage guidelines to keep your pops fresh and delicious!
What to Serve with Frozen Banana Yogurt Pops
There’s nothing quite like ending a summer meal with a cool and creamy treat that refreshes and delights all ages.
-
Crispy Watermelon Salad: This light and refreshing salad adds a juicy crunch to your meal, balancing the sweetness of the pops perfectly. The contrast of flavors and textures makes for an ideal summer paired dish.
-
Grilled Chicken Skewers: Seasoned and grilled to perfection, these skewers bring a savory element that complements the sweetness of the frozen treats, making your meal well-rounded and satisfying.
-
Minty Lemonade: A refreshing drink with a hint of mint elevates your dessert experience, creating a vibrant, thirst-quenching sip that pairs wonderfully with the creamy pops.
-
Greek Yogurt Parfait: Layered with fresh berries and granola, this parfait echoes the yogurt used in the pops, offering a deliciously creamy texture that makes for a perfect combination.
-
Chocolate Dipped Pretzels: The salty crunch of pretzels dipped in chocolate creates a delightful contrast to the fruity sweetness of the pops, making for a fun and indulgent snack duo.
-
Berry Smoothie: Blend a mixed berry smoothie for a fruity drink that mirrors the pops’ flavor profile while offering a nutritious boost and delicious milkshake vibe.
-
Chewy Granola Bars: A wholesome granola bar adds a satisfying texture next to the fruity frozen treats, making them a filling option to balance out your dessert.
Enjoy these delightful pairings and create a refreshing feast that’s perfect for any summer gathering!
Expert Tips for Frozen Banana Yogurt Pops
-
Choose Ripe Bananas: Using overripe bananas will ensure a naturally sweet flavor. Avoid green bananas, as they won’t give you the creamy texture you want.
-
Smooth Yogurt Coating: Make sure to stir the Greek yogurt until it’s completely smooth. Clumps can cause uneven coating, which may affect freezing.
-
Freezing Time Matters: If the yogurt isn’t fully set after two hours, let the pops freeze longer. A properly frozen pop makes for an enjoyable experience!
-
Creative Toppings: Experiment with toppings like chopped nuts or crushed granola for texture. Just be sure to sprinkle them on while the yogurt is wet.
-
Make It Vegan: Substitute Greek yogurt with a dairy-free option like coconut yogurt for a vegan-friendly Frozen Banana Yogurt Pops.
-
Perfect Packaging: Store your pops in an airtight container to prevent freezer burn and maintain their delightful flavor and freshness!
Make Ahead Options
These Frozen Yogurt Banana Pops are a fantastic choice for meal prep, allowing you to have a delicious treat ready whenever you need it! You can prepare the banana halves and coat them in yogurt up to 24 hours in advance. Simply follow the instructions up to the freezing stage, then place the pops back on the baking sheet and cover them tightly with plastic wrap or transfer them to an airtight container to prevent freezer burn. Just remember to sprinkle the toppings right before serving, as this adds a fresh crunch. When you’re ready to enjoy, pop them into the freezer for at least two hours to achieve that perfect creamy texture. Enjoy your stress-free, refreshing summer snack!
Frozen Banana Yogurt Pops Variations
Feel free to get creative with these delicious Frozen Banana Yogurt Pops by adjusting flavors and ingredients to suit your taste!
-
Dairy-Free: Use almond or coconut yogurt instead of Greek yogurt for a delightful vegan option. Your pops will still be creamy and utterly satisfying!
-
Nutty Twist: Roll the pops in finely chopped almonds or walnuts for a crunch that complements the bananas beautifully. They add richness and a delightful surprise in every bite.
-
Sweet & Salty: Drizzle the pops with a touch of honey or maple syrup after coating them in yogurt for an irresistible sweet-salty combination. The sticky sweetness deepens the flavor wonderfully.
-
Cocoa Delight: Mix in a tablespoon of cocoa powder into the yogurt for a rich chocolatey twist. It’s a great way to satisfy chocolate cravings while still keeping things healthy!
-
Tropical Vibes: Incorporate shredded coconut into the yogurt or roll the pops in it before freezing to transport your taste buds to a tropical paradise. Each bite will remind you of summer vacations!
-
Fruit Fusion: Blend in pureed strawberries or blueberries with the yogurt for added flavor and a pop of color. This will create a beautiful swirl pattern for a fun visual appeal!
-
Add Some Spice: Sprinkle a pinch of cinnamon or nutmeg into the yogurt for a warm, aromatic twist. It adds complexity that truly elevates the pops.
These variations offer endless ways to enjoy your Frozen Banana Yogurt Pops! For more unique serving ideas, check out these delightful serving suggestions that will impress your family and friends!
Frozen Banana Yogurt Pops Recipe FAQs
How do I choose ripe bananas for the best flavor?
Absolutely! Look for bananas that are mostly yellow with a few brown spots, as they are perfectly ripe and sweet. Avoid green bananas, which won’t provide the creamy texture you’re aiming for. Ripe bananas should yield slightly when gently squeezed.
How should I store leftover Frozen Banana Yogurt Pops?
You can keep any leftover pops in an airtight container in the freezer for up to 1 week. This helps maintain their delightful flavor and prevent freezer burn. If you want them to last longer, consider vacuum sealing them!
Can I freeze my Frozen Banana Yogurt Pops for an extended period?
Yes! If stored properly in an airtight container, your Frozen Banana Yogurt Pops can last in the freezer for up to 3 months. To ensure the best quality, make sure to label the container with the date you made them. When you’re ready to enjoy, simply pull them out and enjoy them right from the freezer!
What can I do if the yogurt coating isn’t sticking?
Very! If you find that the yogurt isn’t adhering well, try mixing it until it’s completely smooth and viscous. Additionally, you can place the coated pops back in the freezer for about 10-15 minutes before adding your toppings, allowing the yogurt to firm up a bit. If all else fails, you can drizzle the yogurt over the banana pops instead of dipping them.
Are Frozen Banana Yogurt Pops safe for children with nut allergies?
Yes, these pops are generally nut-free if you stick to just bananas, yogurt, and sprinkles. However, if you decide to use toppings like chopped nuts or nut butters, make sure to check for nut allergies. For a safe alternative, use seeds or crushed granola! It’s always best to consult your pediatrician when introducing new foods to your child.
How can I make these pops dairy-free?
Absolutely! Simply swap out the Greek yogurt for a dairy-free alternative like almond, coconut, or soy yogurt. This will still result in a creamy coating, allowing everyone to enjoy these Frozen Banana Yogurt Pops, regardless of dietary restrictions!
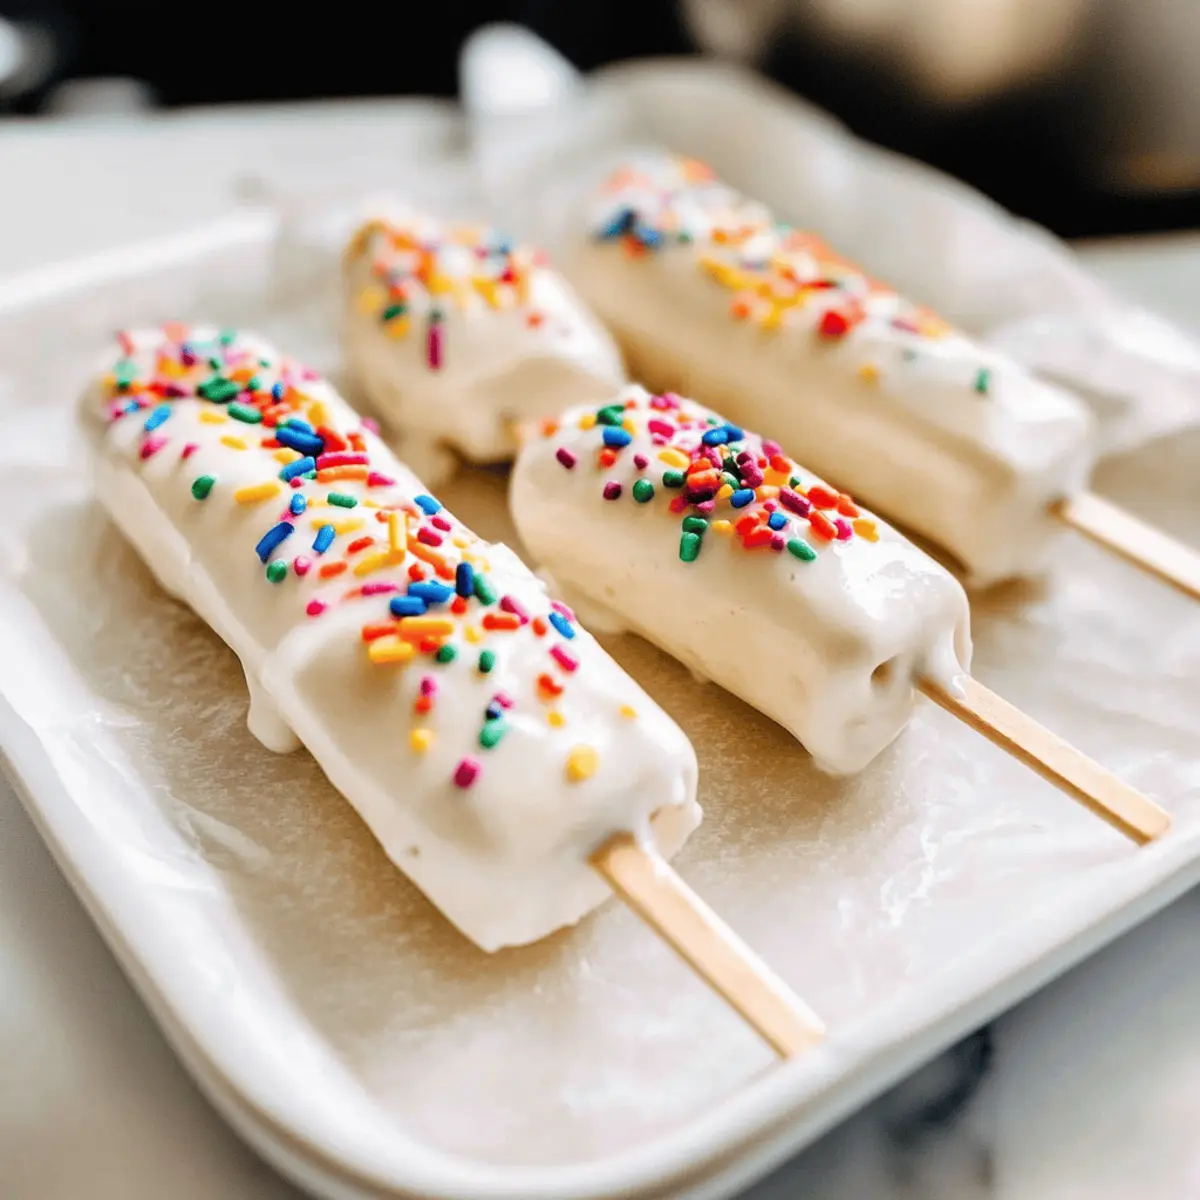
Frozen Banana Yogurt Pops: A Guilt-Free Summer Treat
Ingredients
Equipment
Method
- Begin by peeling ripe bananas and cutting them in half. Arrange these banana halves on a parchment-lined baking sheet.
- Carefully insert popsicle sticks into the cut end of each banana half.
- In a medium-sized bowl, pour in your vanilla Greek yogurt and stir until creamy and smooth.
- Take each banana half by the stick and dip it into the yogurt, ensuring it is thoroughly covered.
- Return the banana pops to the baking sheet and sprinkle rainbow sprinkles on top.
- Place the baking sheet in the freezer for at least two hours, or until the yogurt is completely solid.
- Once the yogurt has hardened, remove the pops from the freezer and serve right away.
Leave a Reply