
They say the best things in life are comfortably wrapped and packed with flavor. Enter my Garlic Butter Cheeseburger Rollups—your new go-to crowd-pleaser for every gathering! Quick and easy to whip up, these delicious rollups transform classic cheeseburger goodness into fun, bite-sized pieces that are perfect for game day or any impromptu get-together. Not only can you customize the filling with your favorite ingredients like spicy jalapeños or crispy bacon, but they also make for a fantastic make-ahead option, so you can spend less time in the kitchen and more time with your guests. Whether it’s paired with zesty dipping sauces or served as the star of the snack table, you’ll find that these Cheeseburger Rollups are bound to become a hit at your home. What tasty twists will you bring to this fun recipe?
Why are these Cheeseburger Rollups a must-try?
Quick and Easy: These rollups can be prepared in just 30 minutes, making them ideal for last-minute gatherings or busy weeknights.
Fully Customizable: Dress them up or down by adding your favorite ingredients like jalapeños or bacon. The options are endless!
Crowd-Pleasing: Guaranteed to impress your guests at game days or parties, these bite-sized delights are a hit with both kids and adults.
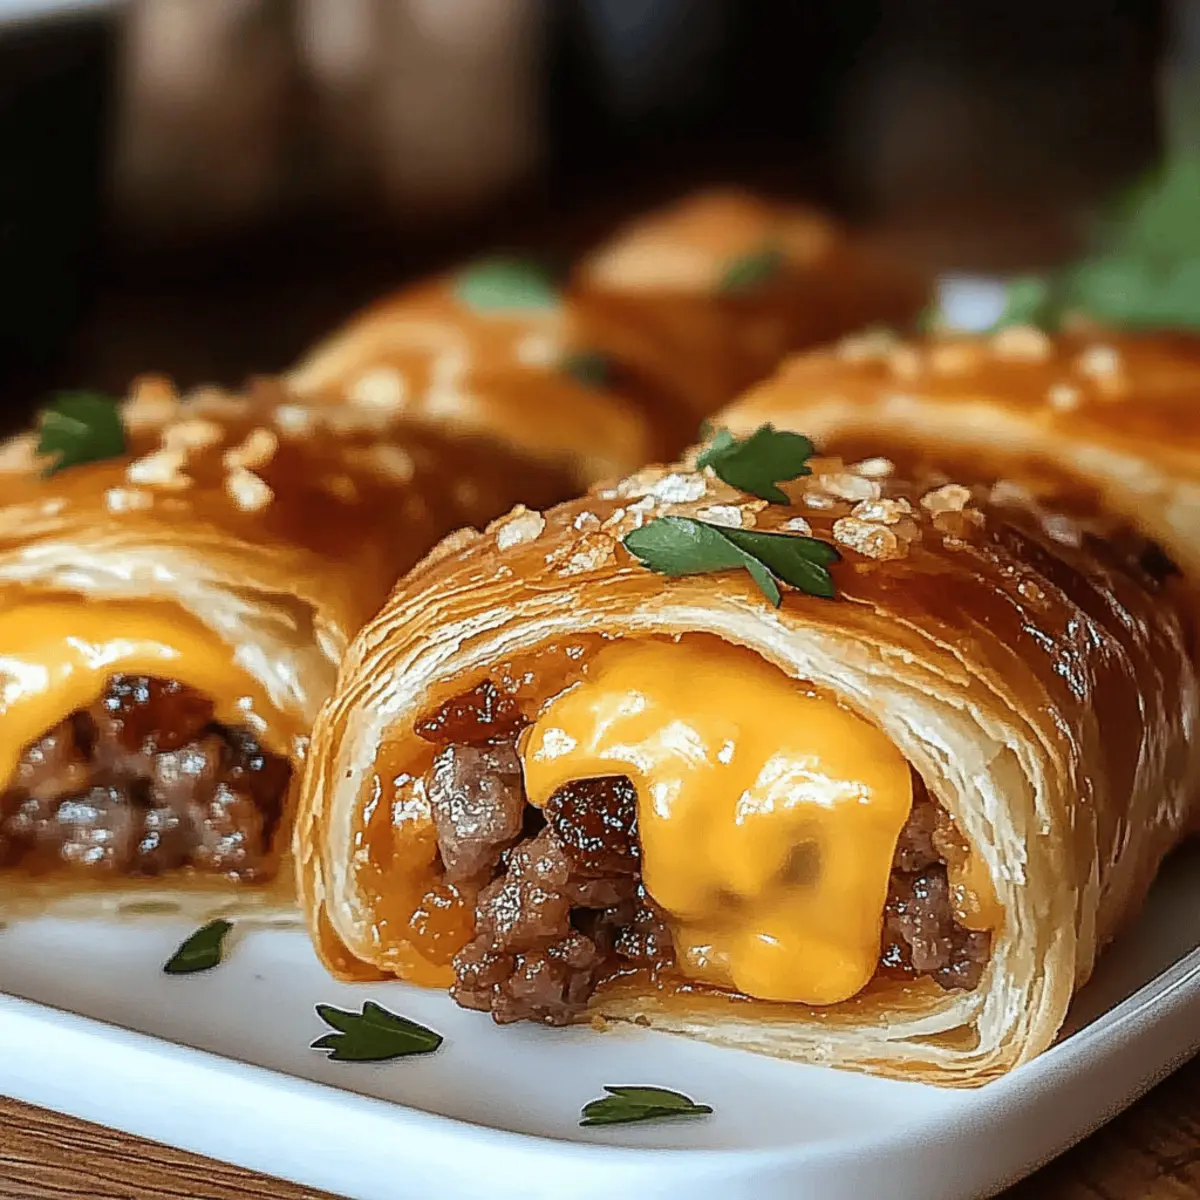
Deliciously Cheesey: The gooey cheddar cheese at the heart of each rollup guarantees a satisfying burst of flavor in every bite—perfectly reminiscent of a classic cheeseburger.
Perfect for Make-Ahead: Assemble them in advance and store in the fridge, so you can bake them fresh just before serving. Try complementing them with zesty dipping sauces for an extra flavor kick!
Cheeseburger Rollups Ingredients
• From the beef to the cheese, discover what makes these rollups mouthwatering!
For the Filling
- Lean Ground Beef – Provides protein and savory flavor; substitute with ground turkey for a leaner option.
- Salt – Enhances the flavor profile; use sea salt or kosher salt for the best taste.
- Black Pepper – Adds depth and mild heat; adjust to taste for desired spiciness.
- Garlic Powder – Boosts flavor richness; fresh garlic can be used for more intensity.
- Smoked Paprika – Introduces a subtle smokiness; regular paprika can be an alternative.
- Worcestershire Sauce – Adds umami and tang to the beef; soy sauce is a good substitute.
- Shredded Cheddar Cheese – Provides creaminess and a classic cheeseburger flavor; try pepper jack for spice.
For the Dough
- Refrigerated Crescent Roll Dough – A convenient and flaky base for the rollups; gluten-free options are available.
- Unsalted Butter – Adds richness and flavor; olive oil can be a healthier alternative.
- Garlic (minced) – Enhances the flavor of the butter topping; keep it optional for a milder taste.
- Fresh Parsley (chopped) – Adds freshness and color; cilantro can be an alternative herb for variety.
Optional Additions
- Pickles – A classic cheeseburger element that adds crunch.
- Jalapeños – For a spicy flavor boost that livens up your rollups.
- Different Cheeses – Mozzarella or Swiss make delightful and fun substitutes.
- Bacon – Adds indulgence and an extra layer of flavor for bacon lovers.
Discover these Cheeseburger Rollups ingredients, and enjoy crafting your own delicious variations!
Step‑by‑Step Instructions for Cheeseburger Rollups
Step 1: Preheat and Prepare
Begin by preheating your oven to 375°F (190°C). While it warms up, line a baking sheet with parchment paper for easy cleanup. This will give your Cheeseburger Rollups a beautifully crisp base while preventing them from sticking during baking. Having all your tools ready will make the process smoother and more enjoyable.
Step 2: Brown the Beef
In a skillet over medium heat, add the lean ground beef and cook until browned, about 6-8 minutes, breaking it apart as it cooks. Once browned, drain any excess fat to keep your rollups from getting greasy. This step infuses your beef with a savory flavor that will serve as the heart of your creamy and cheesy rollups.
Step 3: Season the Filling
Stir in salt, black pepper, garlic powder, smoked paprika, and Worcestershire sauce into the browned beef. Cook the mixture for an additional 1-2 minutes, allowing the flavors to meld beautifully. The aroma will be irresistible! Once combined, remove the skillet from heat and let it cool slightly as you assemble your dough.
Step 4: Prepare the Dough
Unroll the refrigerated crescent roll dough onto a clean surface and separate it into triangles. Each triangle will cradle the delicious filling of your Cheeseburger Rollups. Ensure the dough is soft and pliable—this means it’s ready to mold into neat, bite-sized bundles of joy.
Step 5: Fill the Rollups
At the wide end of each triangle, spoon a generous amount of the seasoned beef mixture and top with a sprinkle of shredded cheddar cheese. This combination of gooey cheese and flavorful beef is what makes these Cheeseburger Rollups so satisfying. Make sure not to overfill, as it may cause them to burst during baking.
Step 6: Roll and Place
Starting from the wide end, gently roll the dough towards the pointed tip, ensuring the filling stays inside. Place the rolled-up dough seam-side down on the prepared baking sheet. Line them up without overcrowding to let them breathe and bake evenly.
Step 7: Brush with Garlic Butter
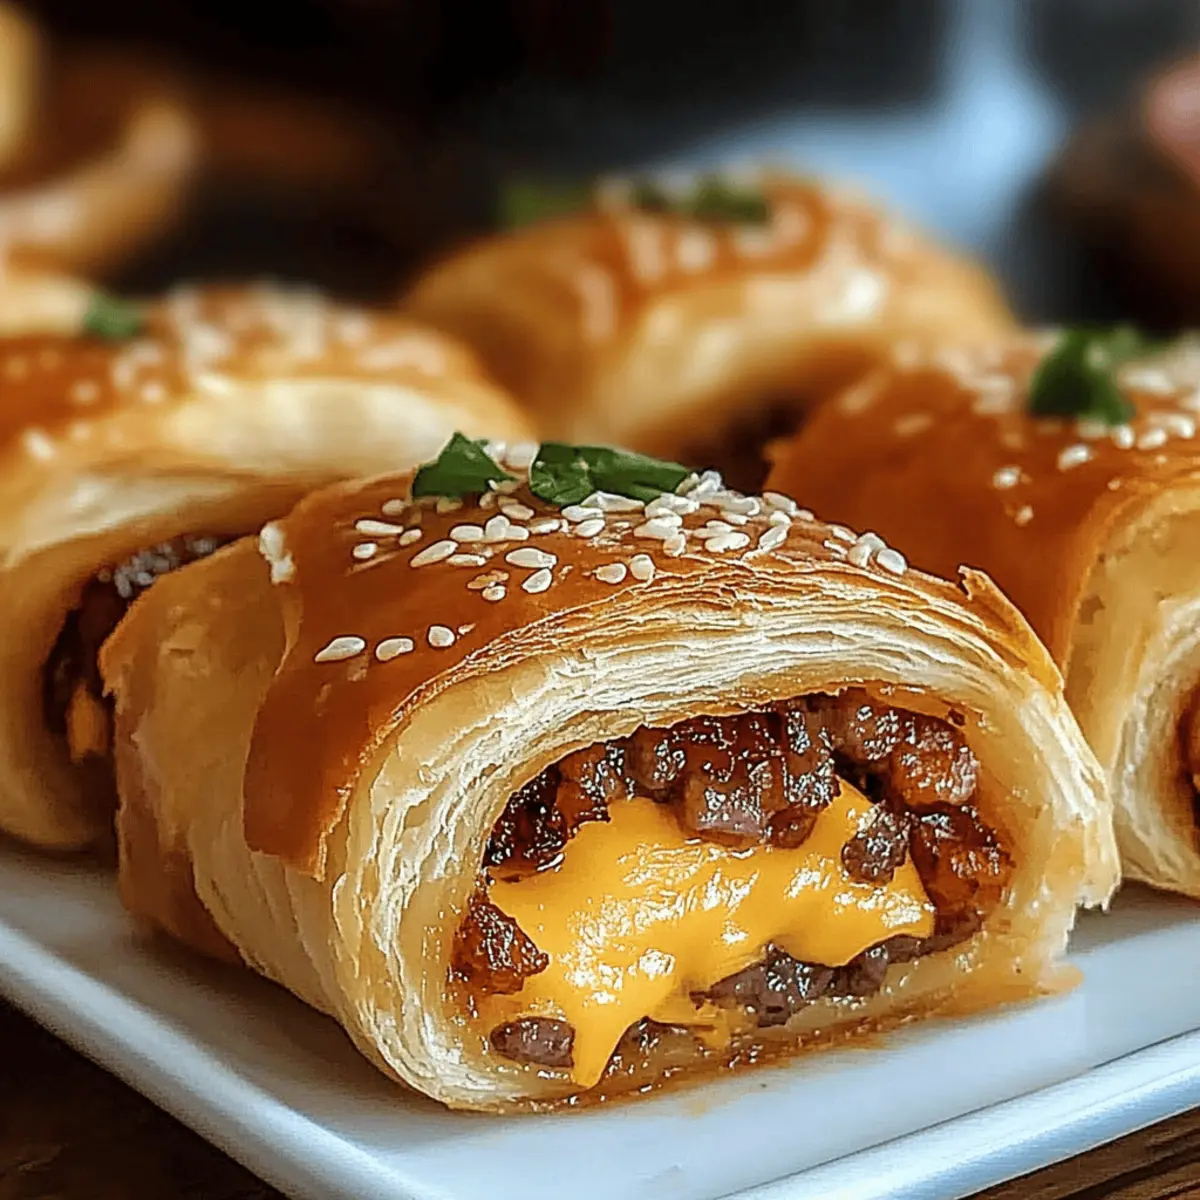
In a small bowl, melt your unsalted butter, then stir in minced garlic and chopped parsley. Brush this garlic butter mixture generously over each Cheeseburger Rollup for an added layer of flavor and to achieve a golden, rich finish while baking. This buttery topping creates a mouthwatering crust that everyone will love.
Step 8: Bake to Perfection
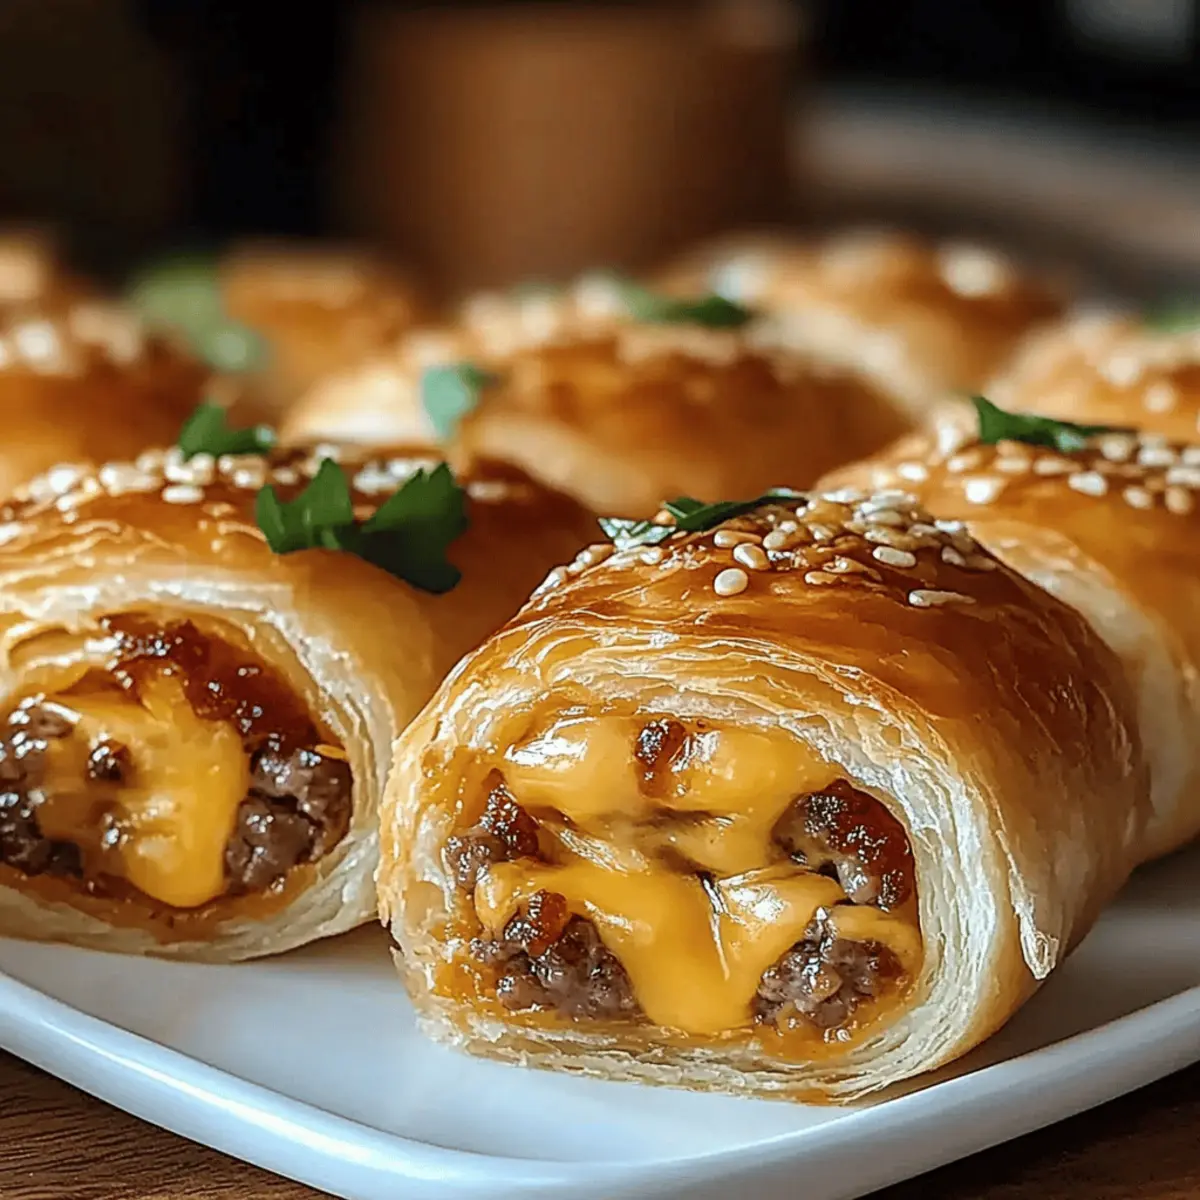
Slide the baking sheet into your preheated oven and bake for 12-15 minutes, or until the rollups are golden brown and the cheese is bubbling. Keep an eye on them towards the end to prevent over-browning. The enticing scent of cheeseburger goodness will fill your kitchen, making it hard to resist!
Step 9: Serve Hot and Enjoy
Once baked, remove the Cheeseburger Rollups from the oven and let them cool slightly before serving. This is the perfect time to set out your favorite dipping sauces! These delightful bite-sized snacks are best enjoyed warm, as the flavors and textures are at their peak—perfect for sharing with friends and family.

Cheeseburger Rollups: Fun Customization Ideas
Feel free to get creative and make these Cheeseburger Rollups truly your own with delightful twists and substitutions!
-
Turkey Swap: Use ground turkey instead of beef for a leaner rollup that doesn’t sacrifice flavor. The result is a lighter version that’s still scrumptious and satisfying.
-
Spicy Kick: Add jalapeños or use spicy pepper jack cheese to incorporate a fiery twist. This will amplify the flavor profile, perfect for those who love a little heat!
-
Bacon Addition: Crumble in some crispy bacon to take the flavor up a notch—bringing that beloved smoky essence into each rollup. A touch of bacon also adds marvelous crunch and indulgence.
-
Flavorful Cheeses: Experiment with different types of cheese, like mozzarella for creaminess or sharp cheddar for that intense cheeseburger taste. Each choice brings its unique flair.
-
Herb Upgrade: Swap parsley for fresh cilantro to give your rollups an exciting flavor boost. Cilantro will bring a fresh brightness that contrasts beautifully with the rich ingredients.
-
Veggie Boost: Add finely chopped bell peppers or mushrooms to the beef mixture for added texture and veggies. This gives a nutritious twist while still being downright delicious.
-
Zesty Dipping Sauces: Serve these rollups with creamy ranch or tangy BBQ sauce instead of classic ketchup. This simple change elevates the entire tasting experience.
These Cheeseburger Rollups serve as a canvas for your creativity, offering endless possibilities to tailor them to your taste. What delicious variations will you try first?
Expert Tips for Cheeseburger Rollups
-
Filling Balance: Use an equal amount of beef and cheese to ensure the rollups don’t overflow. Too much filling can lead to messy baking.
-
Dough Sealing: Roll tightly from the wide end to prevent leakage during baking. Sealing the edges well will maintain the cheeseburger rollups’ shape.
-
Experiment Wisely: While customizing is fun, balance flavors. If adding spicy jalapeños, reduce black pepper to prevent overwhelming heat in your cheeseburger rollups.
-
Storage Guidelines: Cool completely before refrigerating or freezing to avoid sogginess. Store in airtight containers for optimal freshness.
-
Baking Alternative: For a crispier finish, brush the rollups with egg wash before baking. This adds a golden sheen and enhanced texture!
Make Ahead Options
These Cheeseburger Rollups are perfect for busy home cooks looking to save time during hectic meal prep! You can prepare the filling (ground beef, spices, and cheese) up to 24 hours in advance; simply refrigerate it in an airtight container to maintain its flavor and moisture. Additionally, you can assemble the rollups and store them covered in the fridge for about 3 days before baking. When you’re ready to serve, just preheat the oven, brush the rollups with garlic butter, and bake directly from the fridge for 12-15 minutes until golden brown. This way, you’ll have delicious, homemade goodies ready with minimal effort, allowing you to enjoy more time with your guests!
What to Serve with Cheeseburger Rollups
Pairing delicious flavors and textures with your Cheeseburger Rollups can elevate your meal and satisfy everyone at the table.
-
Crispy Potato Chips: The crunch of potato chips offers a satisfying contrast to the cheesy rollups while soaking up any delicious dipping sauces.
-
Garlic Parmesan Fries: These seasoned fries add extra flavor and are easily sharable, providing a heartier side to the meal. Perfect for dipping, too!
-
Creamy Coleslaw: A cool and refreshing slaw complements the richness of the rollups, balancing them with crunchy cabbage and a tangy dressing.
-
Pickle Platter: A variety of pickles—dill, spicy, or sweet—are a classic pairing with cheeseburgers, enhancing the bite and cleansing the palate between the rich flavors.
-
Spicy Mustard Dip: A zesty mustard sauce adds a bit of kick, enhancing each bite and encouraging the flavors of the rollups to shine through.
-
Sweet Potato Wedges: The sweetness of baked wedges provides a delightful contrast to the savory rollups, creating a balanced and colorful plate that’s appealing to all.
-
Refreshing Lemonade: A chilled glass of lemonade perfectly complements the savory flavors, bringing a burst of citrus freshness to the meal.
-
Chocolate Chip Cookies: These warm, gooey cookies make for a sweet ending to your snack-filled gathering. They are a nostalgic treat that everyone loves!
How to Store and Freeze Cheeseburger Rollups
Fridge: Store cooled Cheeseburger Rollups in an airtight container for up to 3 days. This ensures they stay fresh and delicious for your next snack.
Freezer: For longer storage, freeze the rollups individually wrapped in plastic wrap or foil, then place in an airtight bag for up to 2 months. This method helps maintain their flavor and texture.
Reheating: To reheat, simply bake from frozen at 375°F (190°C) for 15-20 minutes, or until warmed through and crispy. Enjoy that gooey cheeseburger goodness all over again!
Make-Ahead Tip: You can assemble the Cheeseburger Rollups a day in advance and store them in the fridge. Just pop them in the oven right before your gathering for freshly baked delight!
Cheeseburger Rollups Recipe FAQs
What kind of ground meat is best for Cheeseburger Rollups?
Absolutely! Lean ground beef works beautifully here, providing that classic cheeseburger flavor. However, you can easily substitute it with ground turkey or chicken for a leaner option. If you prefer a bit of spice, consider using spicy sausage for even more flavor!
How should I store leftover Cheeseburger Rollups?
Store any cooled Cheeseburger Rollups in an airtight container in the fridge for up to 3 days. Make sure they’re properly sealed to maintain their freshness. If you plan on enjoying them later, freezing is a fantastic option!
Can I freeze Cheeseburger Rollups? How?
Yes, you can freeze these delightful rollups! Wrap each cooled rollup individually in plastic wrap or foil, then place them in a freezer-safe bag. They’ll keep well for up to 2 months. When you’re ready to enjoy, simply bake them straight from frozen at 375°F (190°C) for 15-20 minutes until warmed through.
Why did my rollups turn out soggy after baking?
The sogginess often comes from excess filling or moisture. Ensure your beef is well-drained and let your rollups cool completely before storing. For baking, avoid overfilling, as this can cause the filling to seep out and dampen the dough.
Are there any allergy considerations with Cheeseburger Rollups?
Great question! The primary allergens to watch out for are wheat in the crescent roll dough and dairy from the cheese. If you have gluten sensitivities, opt for gluten-free crescent dough. You can also use dairy-free cheese alternatives to cater to lactose intolerance. Always check the specific ingredient labels for allergens.
Cheeseburger Rollups: Quick, Cheesy Bliss for Game Day
Ingredients
Equipment
Method
- Preheat oven to 375°F (190°C) and line a baking sheet with parchment paper.
- In a skillet over medium heat, brown the ground beef for 6-8 minutes, then drain excess fat.
- Add salt, black pepper, garlic powder, smoked paprika, and Worcestershire sauce to the beef, cooking for another 1-2 minutes.
- Unroll the crescent roll dough and separate into triangles.
- At the wide end of each triangle, add the beef mixture and sprinkle with cheddar cheese.
- Roll the dough from wide end to pointed tip, and place seam-side down on the baking sheet.
- Melt butter, mix in garlic and parsley, and brush over rollups.
- Bake for 12-15 minutes until golden brown and cheese is bubbling.
- Let cool slightly before serving.
Leave a Reply