
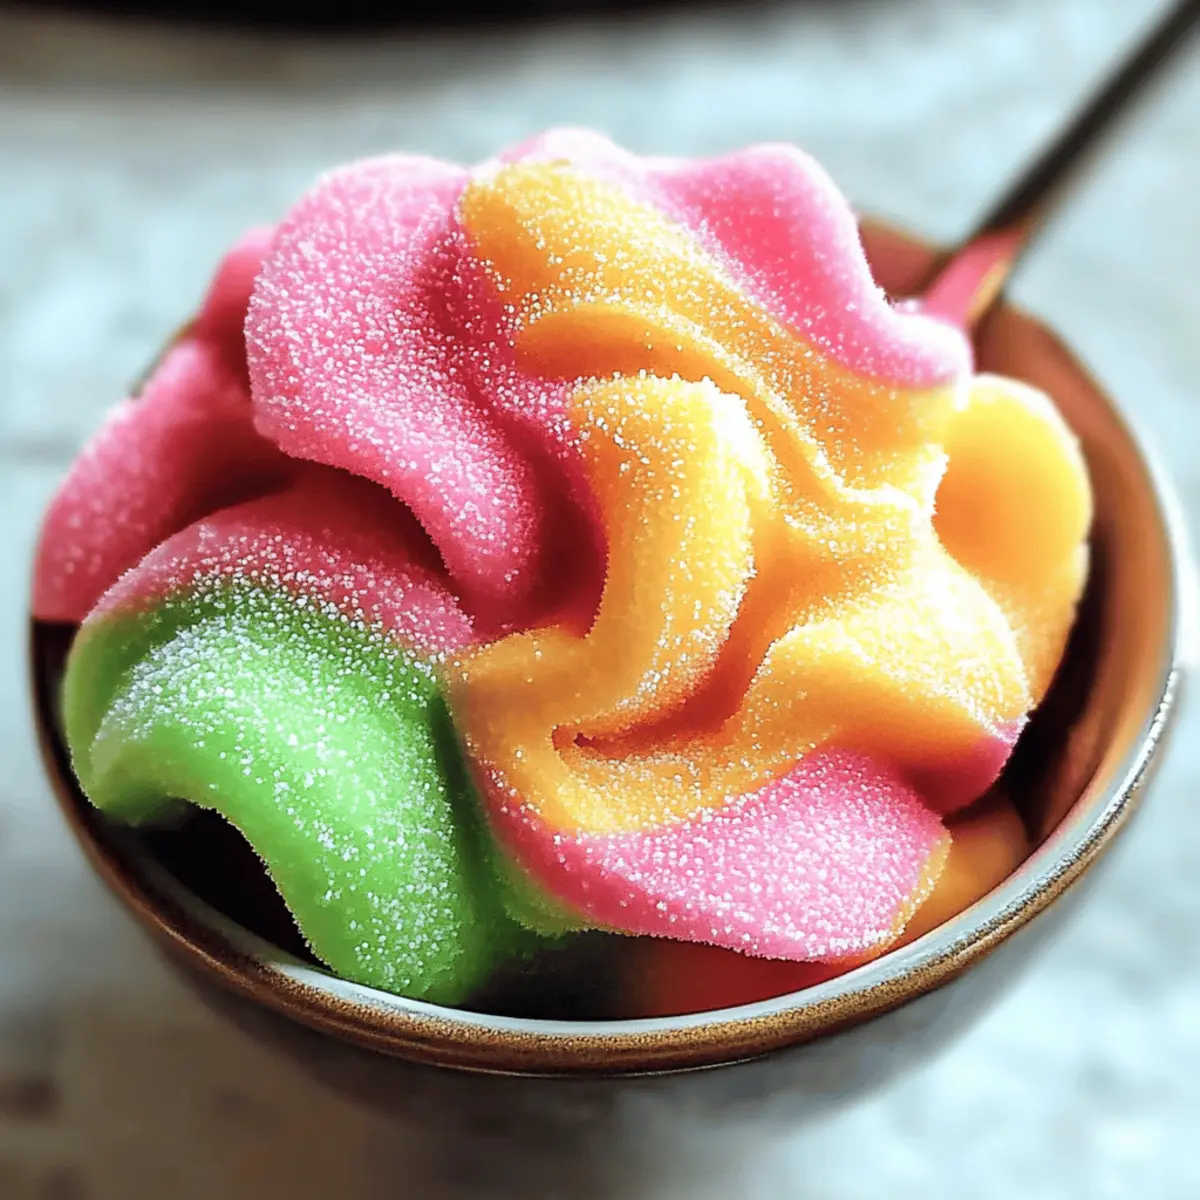
As I swirled vibrant layers of my Homemade Rainbow Sherbet, a wave of nostalgia hit me. This delightful treat takes me back to summers of my childhood, where laughter and sunshine mingled with the sweet scent of fresh fruit. Not only is this recipe incredibly refreshing, but it’s also customizable, allowing you to mix and match flavors like zesty raspberry, tangy orange, and bright lime, ensuring every scoop is a little adventure for your taste buds. With just a handful of simple ingredients, you can create a creamy, dreamy dessert that’s perfect for backyard gatherings or quiet evenings at home. So, are you ready to bring a splash of color to your summer menu and make some delicious memories?
Why Is Homemade Rainbow Sherbet So Special?
Endless Flavor Options: Get creative by mixing your favorite fruit juices and purees, resulting in a personalized treat that everyone will love.
Refreshing and Creamy: This sherbet offers a delightfully smooth texture and vibrant taste, transforming any hot day into a refreshing escape.
Healthy Indulgence: Made with fresh fruit, it’s a guilt-free dessert that satisfies your sweet tooth without artificial ingredients.
Family Fun Activity: Involve the kids in the process of mixing flavors and swirling colors—creating lasting memories in the kitchen.
Perfect for Any Occasion: Whether it’s a family barbecue or a simple dessert at home, this sherbet shines as a crowd-pleaser.
For another delicious way to enjoy homemade delights, check out my Homemade Big Mac recipe or if you’re in the mood for something savory, try these Beef Taquitos.
Homemade Rainbow Sherbet Ingredients
For the Base
- Heavy Cream – Provides a rich and creamy base; for a non-dairy version, substitute with coconut cream or almond milk.
- Milk – Whole milk is recommended for enhanced creaminess; almond or coconut milk works well for a dairy-free option.
- Granulated Sugar – Sweetens the mixture; adjust the quantity based on the fruit sweetness, or consider using agave as a substitute.
- Vanilla Extract – Enhances flavor depth; use pure extract for the best possible taste.
For the Fruity Layers
- Fresh or Frozen Raspberries – Creates the fruity raspberry flavor; feel free to substitute any berries of your choice for alternate flavors.
- Fresh Orange Juice – Provides a tangy flavor; lemon juice can be used as a zesty alternative.
- Fresh Lime Juice – Adds a refreshing tartness; lemon juice can substitute for a similar effect.
Optional Enhancements
- Food Colorings – Enhances visual appeal; use natural dyes for health-conscious options.
Now you’re all set to embark on this vibrant journey of making your very own Homemade Rainbow Sherbet!
Step‑by‑Step Instructions for Homemade Rainbow Sherbet
Step 1: Prepare the Base
In a medium saucepan, combine heavy cream, milk, and granulated sugar. Heat over medium-low, stirring gently for about 5–7 minutes until the sugar fully dissolves and the mixture is warm but not boiling. Remove from heat, then stir in the vanilla extract. Allow this creamy base to cool completely before proceeding to the next step.
Step 2: Make Raspberry Puree
While the base cools, prepare the raspberry puree. In a blender, combine fresh or frozen raspberries with a little sugar to taste, and blend until smooth. To achieve a silky texture, strain the puree through a fine mesh sieve to remove the seeds, ensuring a smooth and vibrant raspberry layer for your Homemade Rainbow Sherbet.
Step 3: Churn the Base
Once the base has cooled, pour it into your ice cream maker. Churn the mixture according to the manufacturer’s instructions, typically for about 20-25 minutes, until it reaches a soft-serve consistency. This process infuses air into the mixture, creating a light and creamy texture perfect for your rainbow sherbet layers.
Step 4: Create Flavors
Divide the churned base into three separate bowls. In the first bowl, mix in fresh orange juice and orange zest for a zesty layer. For the second bowl, add fresh lime juice and zest for a refreshing twist. Stir the raspberry puree into the last bowl, ensuring each color is vibrant and flavorful for your Homemade Rainbow Sherbet.
Step 5: Layer and Freeze
In a freezer-safe container, alternate your vibrant layers of raspberry, orange, and lime mixtures. As you layer them, use a knife to swirl the colors gently, creating a marbled effect. Cover the container tightly and freeze for 4–6 hours, or until the sherbet is fully solidified and ready to scoop into delightful servings.
Step 6: Serve and Enjoy
Once frozen solid, remove the Homemade Rainbow Sherbet from the freezer for about 5 minutes to soften slightly. Scoop into bowls or cones and enjoy this refreshing treat during warm summer days. The colorful layers will delight both the eyes and taste buds, making every scoop a joyful experience.
Expert Tips for Homemade Rainbow Sherbet
- Well-Chilled Ingredients: Ensure all your ingredients are chilled before starting. This helps achieve a smooth texture for the best homemade rainbow sherbet.
- Churning Timing: Avoid over-churning in the ice cream maker to prevent a grainy texture. Stop when you reach a soft-serve consistency.
- Adjust Sweetness: Taste your mixture before freezing and adjust the sweetness according to your preference. Fresh fruits can vary in sweetness!
- Layering Technique: Use a spoon to gently press and swirl the flavors together when layering. This creates beautiful marbled effects.
- Flavor Substitutions: Don’t hesitate to get creative with flavors! Explore other fruits or juice combinations for a unique homemade rainbow sherbet.
What to Serve With Homemade Rainbow Sherbet
Dive into a delightful mix of flavors and textures that can elevate your homemade dessert experience this summer!
-
Crispy Waffles: The light, crispy texture of waffles complements the creamy smoothness of sherbet, creating a satisfying contrast in every bite. They can also soak up any melted sherbet for added sweetness.
-
Fresh Berries: A medley of blueberries, strawberries, and blackberries brings a burst of flavor that beautifully pairs with your vibrant rainbow sherbet. Their natural sweetness and juiciness enhance the fruity layers, making each scoop a refreshing delight.
-
Chocolate Drizzle: Adding a drizzle of rich chocolate over your sherbet provides a decadent touch that contrasts perfectly with the fruity flavors. It’s the unexpected twist that will have everyone craving seconds.
-
Coconut Shortbread Cookies: The buttery crunch of coconut shortbread cookies can beautifully balance the smooth, icy sherbet. Enjoy them together for a blissful tropical indulgence!
-
Mint Leaves: Garnishing with fresh mint leaves not only adds visual appeal but also a refreshing aroma that invigorates the senses. The coolness of mint pairs harmoniously with the fruity flavors for a summertime refresher.
-
Sparkling Lemonade: Pair your sherbet with a glass of sparkling lemonade for a fizzy zing that complements its sweetness. The tartness of lemonade highlights the fruity essence of the sherbet, making for an uplifting drink choice.
-
Grilled Peaches: The caramelized sweetness of grilled peaches elevates the dessert experience, creating an enjoyable contrast with the cold sherbet. Their warm, juicy flesh acts as a pleasant contrast to the frozen treat.
-
Vanilla Ice Cream: For the ultimate indulgence, serve your rainbow sherbet alongside a scoop of classic vanilla ice cream. The creamy vanilla enhances the flavorful layers, creating a dreamy dessert combination.
Homemade Rainbow Sherbet Variations
Feel free to personalize your Homemade Rainbow Sherbet and let your creativity shine through with these delicious twists!
-
Berry Blend: Swap raspberries for a medley of blueberries, blackberries, and strawberries. This vibrant mix brings an explosion of flavors!
-
Tropical Twist: Replace orange and lime juices with sweet pineapple and mangos for a delightfully exotic sherbet that transports you straight to the beach.
-
Minty Fresh: Incorporate fresh mint leaves smooth blended into the fruit purees for an invigorating freshness that brightens every scoop.
-
Coconut Creamy: Use coconut cream in place of some heavy cream for a tropical twist that adds luscious creaminess and flavor.
-
Chocolate Drizzle: Drizzle melted chocolate between the layers for an irresistible gourmet indulgence—think chocolate-covered fruit in every colorful bite!
-
Non-Dairy Delight: Embrace plant-based goodness by substituting all dairy ingredients with almond or coconut milk for a refreshing, creamy treat everyone can enjoy.
As you whip up your rainbow sherbet, don’t forget to explore other delightful recipes like my Homemade Big Mac or treat yourself to some mouthwatering Beef Taquitos for a full feast experience!
How to Store and Freeze Homemade Rainbow Sherbet
Airtight Container: Store your Homemade Rainbow Sherbet in an airtight container to prevent freezer burn and keep its delightful flavors intact for up to 2 months.
Freezer Storage: For best results, place a piece of parchment paper over the sherbet before sealing. This adds an extra layer of protection and helps maintain a creamy texture.
Reheating Tips: Allow the sherbet to soften at room temperature for about 5 minutes before scooping. This makes it easier to serve and enjoy.
Flavor Retention: Although it can last for a couple of months, it’s best enjoyed fresh within the first few weeks to savor all the vibrant fruit flavors!
Make Ahead Options
Preparing your Homemade Rainbow Sherbet in advance is a fantastic way to save time on busy days! You can make the creamy base and raspberry puree up to 24 hours ahead, allowing the flavors to meld beautifully. Simply follow the first two steps, cool the mixtures, and store them separately in airtight containers in the refrigerator. This ensures they stay fresh and ready for when you’re ready to churn. When you’re ready to serve, just churn the base, mix in your chosen fruit flavors, layer them in a container, and freeze for a few hours until solid. You’ll have a delightful, refreshing treat that’s just as delicious as if made on the spot—perfect for surprise summer gatherings!
Homemade Rainbow Sherbet Recipe FAQs
How do I know if my fruit is ripe enough for the sherbet?
Absolutely! When selecting fruit, look for fresh, vibrant colors—like deep reds for raspberries and bright oranges for oranges. The fruit should feel slightly soft, not mushy, and have a sweet aroma. If you’re using frozen fruit, ensure it’s bright in color and not covered in ice crystals. This freshness will significantly enhance the flavor of your Homemade Rainbow Sherbet!
What’s the best way to store my Homemade Rainbow Sherbet?
Store your Homemade Rainbow Sherbet in an airtight container to minimize freezer burn and preserve its flavors. It can last for up to 2 months in the freezer. I also recommend placing a piece of parchment paper over the sherbet before sealing it, which adds an extra layer of protection to maintain its creamy texture.
Can I freeze the sherbet without an ice cream maker?
Absolutely! If you don’t have an ice cream maker, you can still make this delicious treat. After preparing your mixture, pour it into a shallow container and place it in the freezer. Stir it every 30 minutes for about 2-3 hours to break any ice crystals until it reaches a smooth consistency. This method creates a delightful Homemade Rainbow Sherbet, though it may be slightly less creamy than churned versions.
Are there any dietary concerns I should consider with this recipe?
Very! If you’re making this treat for someone with dairy allergies, you can easily customize the recipe by substituting heavy cream and milk with almond milk or coconut cream. Additionally, make sure to check that the sugars used are suitable for your guests, as agave or honey can be great alternatives. Always taste your mixes to ensure they align well with any dietary needs!
How can I prevent my sherbet from becoming icy?
To avoid the icy texture often found in homemade frozen desserts, make sure all your ingredients are well-chilled before starting. Also, avoid over-churning the mixture in the ice cream maker, as this incorporates too much air and can lead to a grainy finish. Lastly, I recommend adjusting sweetness according to the natural sugar content of fruits; overly sweet mixtures can also lead to icy results.
Homemade Rainbow Sherbet: A Refreshing Summer Delight
Ingredients
Equipment
Method
- In a medium saucepan, combine heavy cream, milk, and granulated sugar. Heat over medium-low, stirring gently for about 5–7 minutes until the sugar fully dissolves. Remove from heat and stir in vanilla extract. Allow to cool completely.
- In a blender, combine fresh or frozen raspberries with sugar to taste, and blend until smooth. Strain through a fine mesh sieve to remove seeds.
- Pour the cooled base into your ice cream maker. Churn according to manufacturer's instructions for about 20-25 minutes until it reaches soft-serve consistency.
- Divide the churned base into three bowls. Mix in fresh orange juice and zest in one, fresh lime juice and zest in another, and stir in raspberry puree in the last bowl.
- In a freezer-safe container, alternate layers of raspberry, orange, and lime mixtures. Swirl colors gently with a knife. Cover tightly and freeze for 4–6 hours.
- Remove from freezer for about 5 minutes to soften slightly before scooping. Serve in bowls or cones.
Leave a Reply