
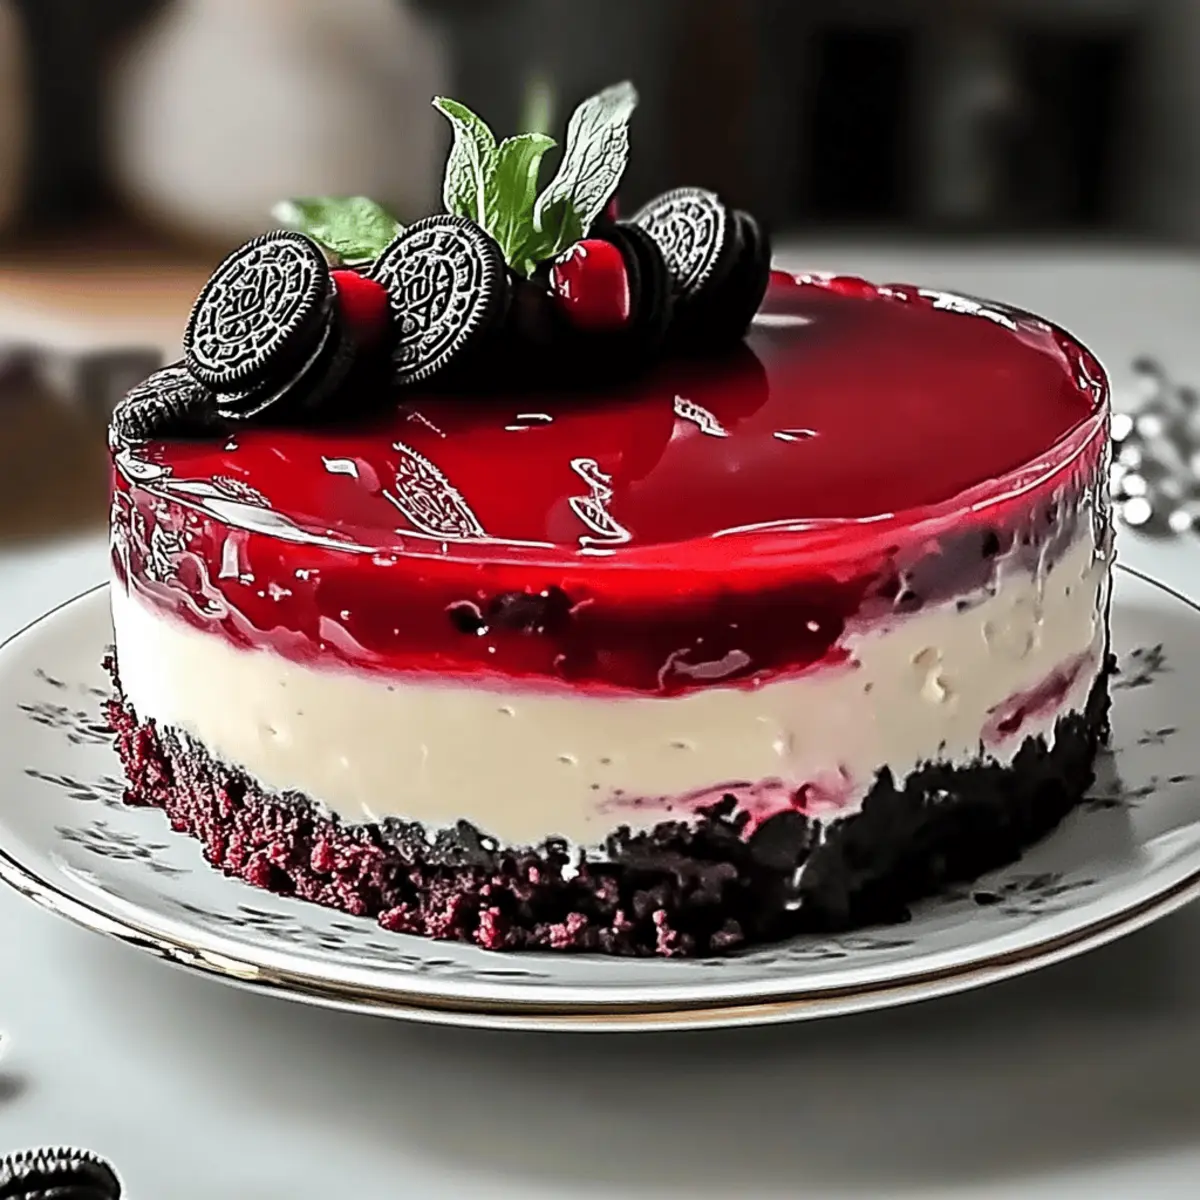
As I pulled open the oven door, the sweet aroma of baking red velvet wafted through my kitchen, enveloping me in a magical embrace. There’s something truly special about making an Irresistible Red Velvet Cheesecake with Oreos that transforms an ordinary day into a celebration. This dessert isn’t just a feast for the eyes with its vibrant hue and creamy layers; it also brings everyone together, whether it’s for a birthday or a casual gathering. Not to mention, it’s an easy recipe that features a gluten-free option, making it accessible for all your loved ones. All the tangy sweetness combined with the nostalgia of crushed Oreos creates a delightful balance that’s hard to resist. Ready to impress your guests or treat yourself? Let’s dive into this delicious creation that’s perfect for any festive occasion!
Why choose this Red Velvet Cheesecake?
Decadent Flavors: This Red Velvet Cheesecake is a heavenly blend of tangy cream cheese and rich chocolate notes, guaranteed to elevate any celebration.
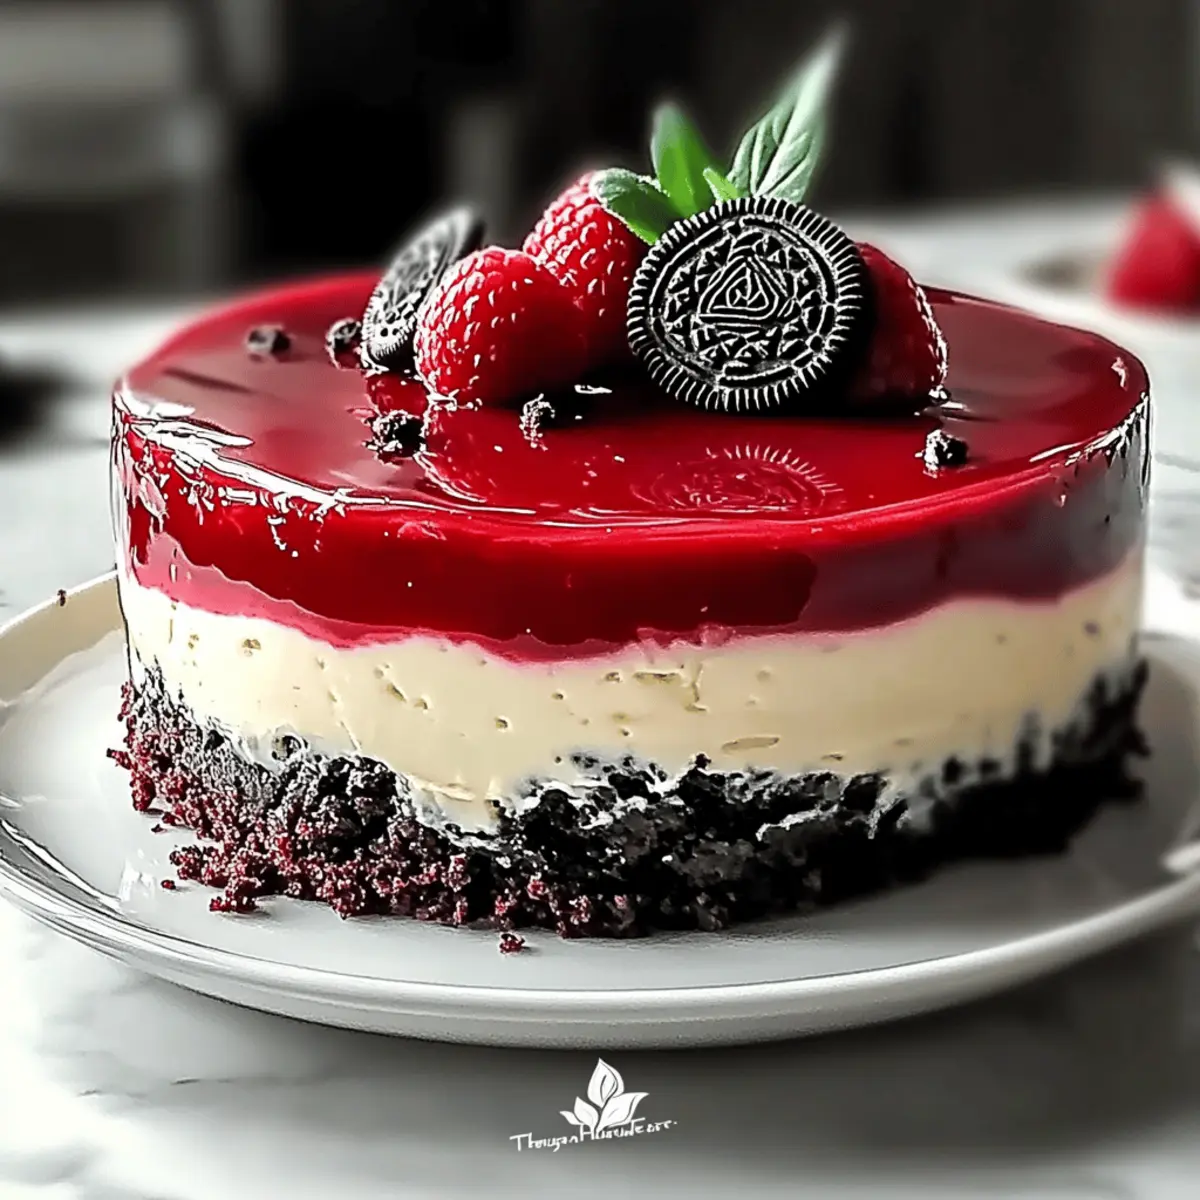
Visually Stunning: Its vibrant hue makes for a show-stopping centerpiece that impresses guests before they even take their first bite.
Gluten-Free Option: With a simple gluten-free flour substitution, everyone can indulge without worry.
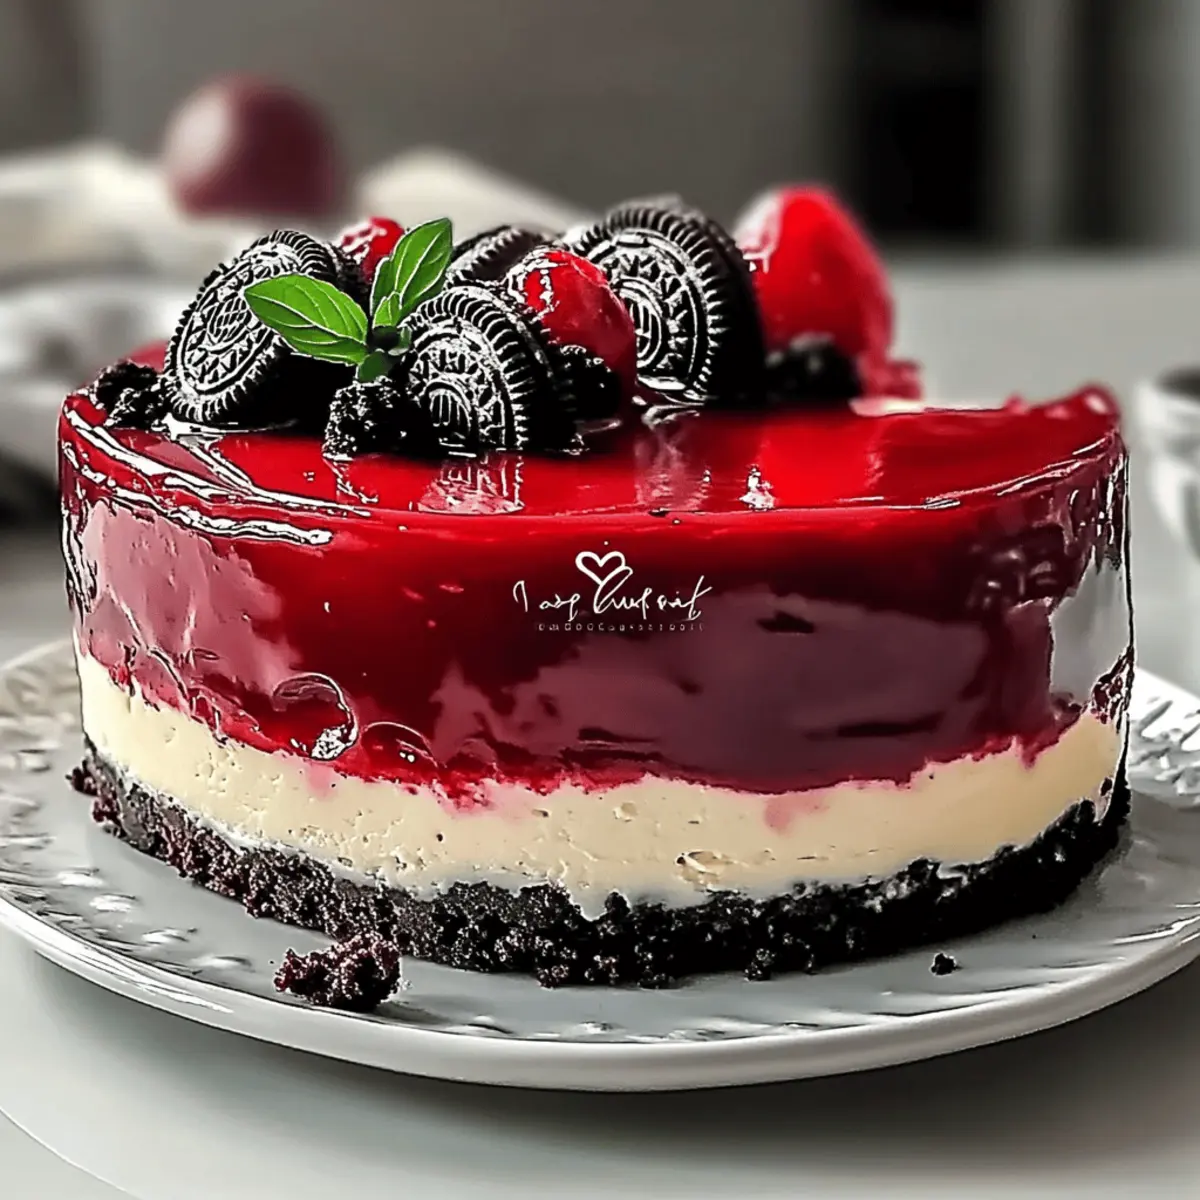
Nostalgic Crunch: The addition of crushed Oreos provides a delicious texture that perfectly complements the creamy layers.
Easy to Prepare: Achieving bakery-quality dessert at home is a breeze, allowing you to avoid the fast-food rut and bring joy to your kitchen.
Pair this treat with Strawberry Crunch Cheesecake or Chocolate Cheesecake Amp for more delightful dessert options!
Red Velvet Cheesecake Ingredients
Create a show-stopping dessert with this Red Velvet Cheesecake!
For the Cake
- All-Purpose Flour – Provides structure; for a gluten-free version, substitute with a gluten-free flour blend.
- Cocoa Powder – Adds depth and a touch of chocolate flavor.
- Salt – Enhances the overall flavor while balancing sweetness.
- Butter – Contributes richness; use unsalted for better control over salt levels.
- Granulated Sugar – Sweetens the cake and helps achieve a moist texture.
- Sour Cream – Adds tanginess and moisture to the cake.
- Vegetable Oil – Keeps the cake moist and tender.
- Vanilla Extract – Enhances the flavor, bringing harmony to the other ingredients.
- Eggs – Provide necessary structure and binding; use room temperature for better mixing.
- Red Food Coloring – Gives the cake its iconic and vibrant red hue.
- Buttermilk – Adds moisture and acidity for a tender crumb.
- Baking Soda & Vinegar – Work together as leavening agents for a fluffy cake.
For the Cheesecake Filling
- Oreos – Impart flavor and delightful texture to the cheesecake filling.
- Cream Cheese – The base of the cheesecake; opt for full-fat for the creamiest results.
- Cornstarch – Stabilizes the filling to prevent cracks during baking.
- Heavy Cream – Used to create a rich ganache, adding luxurious texture.
- Dark Chocolate Chips – Forms the ganache topping, delivering rich chocolate flavor.
Elevate your dessert game and delight your guests with this stunning Red Velvet Cheesecake!
Step‑by‑Step Instructions for Irresistible Red Velvet Cheesecake with Oreo Delight
Step 1: Preheat and Prepare your Pans
Begin by preheating your oven to 350°F (175°C). While it warms, take a 9-inch springform pan and an 8-inch round cake pan, then line the bottoms with parchment paper and spray the sides with non-stick spray. This preparation ensures your cake layers can be easily removed later, allowing your Red Velvet Cheesecake to shine beautifully.
Step 2: Combine the Dry Ingredients
In a medium bowl, whisk together 2 cups of all-purpose flour, 1 tablespoon of cocoa powder, and 1 teaspoon of salt until well blended. This combination adds structure and flavor to the cake. Set it aside while you prepare the wet ingredients, ensuring that all dry ingredients are thoroughly combined for a smooth batter.
Step 3: Cream the Wet Ingredients
In a large mixing bowl, cream together 1 cup of unsalted butter and 2 cups of granulated sugar until the mixture is light and fluffy, about 3-5 minutes. Next, mix in 1 cup of sour cream, 1/2 cup of vegetable oil, 2 teaspoons of vanilla extract, 2 large eggs (room temperature), and 1 tablespoon of red food coloring until completely incorporated, allowing the rich color to develop.
Step 4: Incorporate the Dry Ingredients
Gradually add the dry ingredients to the wet mixture, alternating with 1 cup of buttermilk. Mix just until combined to create a smooth batter, ensuring not to overmix. Fold in 1 teaspoon of baking soda and 1 tablespoon of vinegar, giving the batter a light and fluffy texture, which is characteristic of the delightful Red Velvet Cheesecake.
Step 5: Bake the Cake Layers
Divide your Red Velvet batter evenly between the prepared 9-inch and 8-inch pans. Bake in the preheated oven for 18-20 minutes, or until a toothpick inserted in the center comes out clean and the cakes spring back lightly to the touch. Allow the cakes to cool entirely in their pans on cooling racks before removing them.
Step 6: Prepare the Cheesecake Filling
While the cakes cool, crush 20 Oreos into fine crumbs and set aside. In a separate bowl, beat 16 ounces of full-fat cream cheese until smooth. Gradually mix in the crushed Oreos, 1 cup of granulated sugar, 2 tablespoons of cornstarch, 1/2 cup of sour cream, and 2 large eggs until the mixture is creamy and well combined, ensuring a rich cheesecake filling for your Red Velvet Cheesecake.
Step 7: Assemble the Cheesecake
Fold in another 5 crushed Oreos into the cheesecake filling for added texture. Pour this creamy mixture over the cooled layers in the springform pan, spreading it evenly. Ensure the layers are well integrated to create that delightful contrast between the cheesecake and the moist red velvet layers.
Step 8: Bake the Cheesecake
Prepare a water bath by placing your springform pan in a larger baking tray filled with hot water. Bake the cheesecake at 300°F (150°C) for about 90 minutes, or until the edges are set but the center still has a slight jiggle. Allow it to cool gradually in the oven with the door slightly open to prevent cracks from forming.
Step 9: Create the Ganache
For the luscious ganache, heat 1 cup of heavy cream in the microwave until warm, then pour it over 1 cup of dark chocolate chips in a bowl. Let it sit for a few minutes, then stir until smooth and glossy. Allow the ganache to cool slightly before pouring it over the chilled cheesecake, creating a luxurious topping.
Step 10: Decorate and Serve
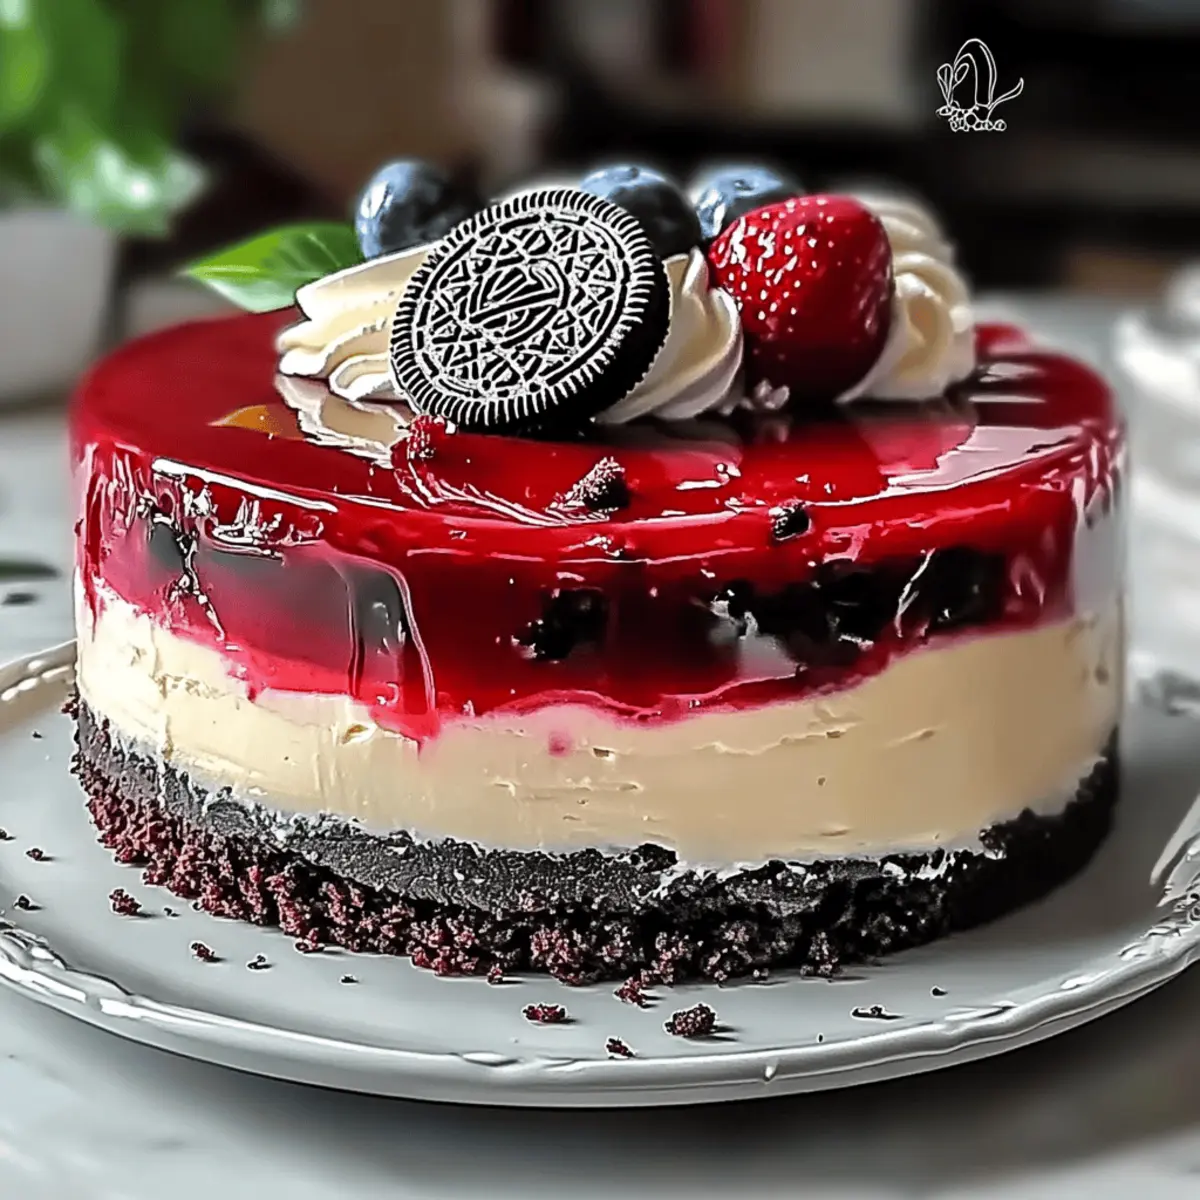
After the ganache has set, decorate your Red Velvet Cheesecake with crumbled pieces of the remaining red velvet cake and dollops of cream cheese frosting for an extra special touch. Slice up this stunning dessert and serve it with fresh berries or a drizzle of chocolate sauce to elevate your presentation, leaving everyone in awe of your baking skills!
Red Velvet Cheesecake Variations
Feel free to get creative with this Red Velvet Cheesecake to suit your taste preferences and dietary needs!
-
Gluten-Free: Substitute all-purpose flour with a gluten-free flour blend for a deliciously inclusive treat. This way, even those following gluten-free diets can indulge in this ultimate dessert.
-
Dairy-Free: Use dairy-free cream cheese and coconut cream in place of heavy cream. While it might alter the final texture slightly, the flavors will still keep your heart warm!
-
Sandwich Cookie Swap: Experiment with different sandwich cookies like golden Oreos or even mint-flavored ones for a fun twist. Different flavors can evoke nostalgic moments while providing delightful surprises in every bite.
-
Chocolate Lovers: Add 1/2 a cup of cocoa powder to the cheesecake filling for an intense chocolate experience. This combination will not only enrich the flavor but also satisfy true chocolate cravings!
-
Nutty Crunch: Fold in some chopped pecans or walnuts into the cheesecake filling for added texture and a nutty flavor. Your guests will adore the surprise crunching in each luxurious bite.
-
Spicy Heat: Introduce a sprinkle of cayenne pepper to the ganache for a surprising spicy kick! It might sound bold, but the heat beautifully contrasts the sweetness, making for an unforgettable experience.
-
Fruit Infusion: Top your cheesecake with fresh berries or a berry compote. The tartness from the fruit provides a perfect counterbalance to the richness of the cheesecake, ensuring a harmonious bite.
-
Layered Delight: Cut the red velvet cake layers and alternate them with chocolate sponge layers for a visually stunning multi-layered dessert. It’s an eye-candy that will have everyone buzzing with excitement!
Pair your incredible creation with Blueberry Crumble Cheesecake for an unexpected dessert duet, or try making some delightful Strawberry Cheesecake Cookies for a sweet treat that everyone will love! Enjoy experimenting!
What to Serve with Irresistible Red Velvet Cheesecake with Oreo Delight
Complement your celebration with delightful accompaniments that enhance every bite of your luscious cheesecake.
-
Fresh Berries: The tartness of strawberries or raspberries adds a refreshing contrast to the creamy richness of the cheesecake.
-
Chocolate Sauce Drizzle: A warm drizzle of chocolate sauce takes the indulgence up a notch, elevating the dessert experience.
-
Vanilla Ice Cream: The classic combo of velvety vanilla ice cream alongside your cheesecake creates a delightful balance of flavors and temperatures.
-
Whipped Cream: Light and airy whipped cream adds a touch of elegance, brightening each slice with a fluffy garnish.
-
Espresso or Coffee: A warm cup of coffee or a shot of espresso pairs wonderfully, cutting through the sweetness while enhancing the flavors.
-
Red Velvet Crumbles: For a visual treat, sprinkle crumbled bits of leftover red velvet cake on top, giving your dessert an extra layer of texture and a burst of color.
Each pairing brings its unique flair, inviting everyone to indulge in a multi-sensory dessert experience!
Tips for the Best Red Velvet Cheesecake
-
Room Temperature Ingredients: Make sure all your ingredients, especially eggs and cream cheese, are at room temperature. This ensures a smoother mixing process and a creamier texture in your Red Velvet Cheesecake.
-
Don’t Overmix: After incorporating the eggs into your batter, be cautious not to overmix. Too much air can lead to cracks in the cheesecake as it bakes.
-
Water Bath Method: Always bake your cheesecake in a water bath. This method helps maintain even temperature and prevents cracks, ensuring your cheesecake comes out perfectly smooth.
-
Chill Overnight: For the best flavor and texture, let your cheesecake chill in the refrigerator overnight. This allows the flavors to meld beautifully, enhancing your dessert experience.
-
Ganache Timing: Allow your ganache to cool slightly before pouring it over the cheesecake. This ensures a beautiful, even layer without melting your cream cheese frosting decoration.
Make Ahead Options
These Irresistible Red Velvet Cheesecakes with Oreos are perfect for busy home cooks who love to meal prep! You can bake the cake layers and prepare the cheesecake filling up to 24 hours in advance. Simply allow the cakes to cool completely, then wrap them tightly in plastic wrap and refrigerate to maintain moisture. For the cheesecake filling, cover it in an airtight container in the fridge, preventing the Oreos from becoming soggy. When you’re ready to assemble, pour the filling over the cake layers and bake. This method ensures you can enjoy a stunning dessert with minimal effort on the day you plan to serve—just as delicious and beautifully layered!
Storage Tips for Red Velvet Cheesecake
-
Fridge: Store leftover Red Velvet Cheesecake in an airtight container for up to 5 days to maintain its freshness and delicious flavors.
-
Freezer: For long-term storage, wrap the cheesecake tightly in plastic wrap and foil and freeze for up to 3 months. Thaw in the refrigerator overnight before serving.
-
Reheating: If you prefer your cheesecake slightly warm, reheat individual slices in the microwave for about 10-15 seconds, ensuring it retains its creamy texture.
-
Airtight Storage: When storing any leftover cake layers, keep them in an airtight container to retain moisture and prevent them from drying out.
Irresistible Red Velvet Cheesecake with Oreo Delight Recipe FAQs
How do I select the right ingredients for my Red Velvet Cheesecake?
Absolutely! For choosing ingredients, ensure your eggs and cream cheese are at room temperature; this helps achieve a smoother and creamier texture. When selecting your flour, if you’re opting for the gluten-free version, I recommend using a gluten-free flour blend that contains xanthan gum for better structure. Fresh cocoa powder and quality Oreos can make a significant difference, too!
How can I store leftover Red Velvet Cheesecake?
Very! Store any leftover cheesecake in an airtight container in the fridge for up to 5 days. This helps maintain its freshness and flavor. If you have more than you can finish, wrap it tightly in plastic wrap and aluminum foil to freeze for up to 3 months. Just remember to thaw it in the refrigerator overnight before serving—this keeps the texture lovely!
Can I freeze my Red Velvet Cheesecake? If so, how?
For sure! To freeze your Red Velvet Cheesecake, let it cool completely after baking. Then, wrap individual slices or the entire cheesecake tightly in plastic wrap, followed by aluminum foil. This double layer will help prevent freezer burn! Store it in the freezer for up to 3 months. When you’re ready to enjoy it, move it to the refrigerator to defrost overnight—this ensures it retains that deliciously creamy texture.
What should I do if my cheesecake cracks while baking?
Oh no, cracks can happen, but there are ways to avoid them! Always bake your cheesecake in a water bath to maintain consistent temperatures and moisture—this is a game changer. If cracks do occur, people eat with their eyes first, so don’t worry! Cover the cracks with your ganache or cream cheese frosting before serving; it will look charmingly rustic and tastes just as delightful!
Are there any dietary considerations for pets or allergies?
Definitely! While this Red Velvet Cheesecake is a delicious treat for humans, it’s important to keep in mind that chocolate (like cocoa and Oreos) is toxic to dogs and other pets. Additionally, if anyone has allergies, this recipe contains gluten (unless using a gluten-free flour) and dairy, so be sure to adjust accordingly and explore dairy-free substitutes if needed. Always check ingredient labels for any allergens!
Can I use different cookies instead of Oreos in my cheesecake?
The more the merrier! If you want to experiment a bit, feel free to swap out Oreos for other sandwich cookies like mint cookies for a refreshing twist, or even graham crackers for a different flavor profile. Just remember that the texture will change slightly, but it’ll still be a delightful dessert!
Decadent Red Velvet Cheesecake with Oreo Crunch Delight
Ingredients
Equipment
Method
- Preheat your oven to 350°F (175°C) and prepare a 9-inch springform pan and an 8-inch round cake pan with parchment paper.
- In a medium bowl, whisk together flour, cocoa powder, and salt until blended, then set aside.
- In a large mixing bowl, cream together butter and sugar until light and fluffy. Mix in sour cream, vegetable oil, vanilla, eggs, and red food coloring until fully incorporated.
- Gradually add the dry ingredients to the wet mixture, alternating with buttermilk. Fold in baking soda and vinegar.
- Divide the batter between the prepared pans and bake for 18-20 minutes, or until a toothpick comes out clean. Cool completely in pans.
- Crush 20 Oreos and beat cream cheese until smooth. Gradually mix in crushed Oreos, sugar, cornstarch, sour cream, and eggs until creamy.
- Fold in 5 crushed Oreos into the cheesecake filling, then pour over cooled cake layers in the springform pan.
- Prepare a water bath and bake the cheesecake at 300°F (150°C) for about 90 minutes, then cool gradually in the oven.
- For ganache, heat heavy cream, pour over dark chocolate chips, stir until smooth, then cool slightly before pouring over the cheesecake.
- Decorate with crumbled red velvet cake and cream cheese frosting, serve with fresh berries or chocolate sauce.
Leave a Reply