
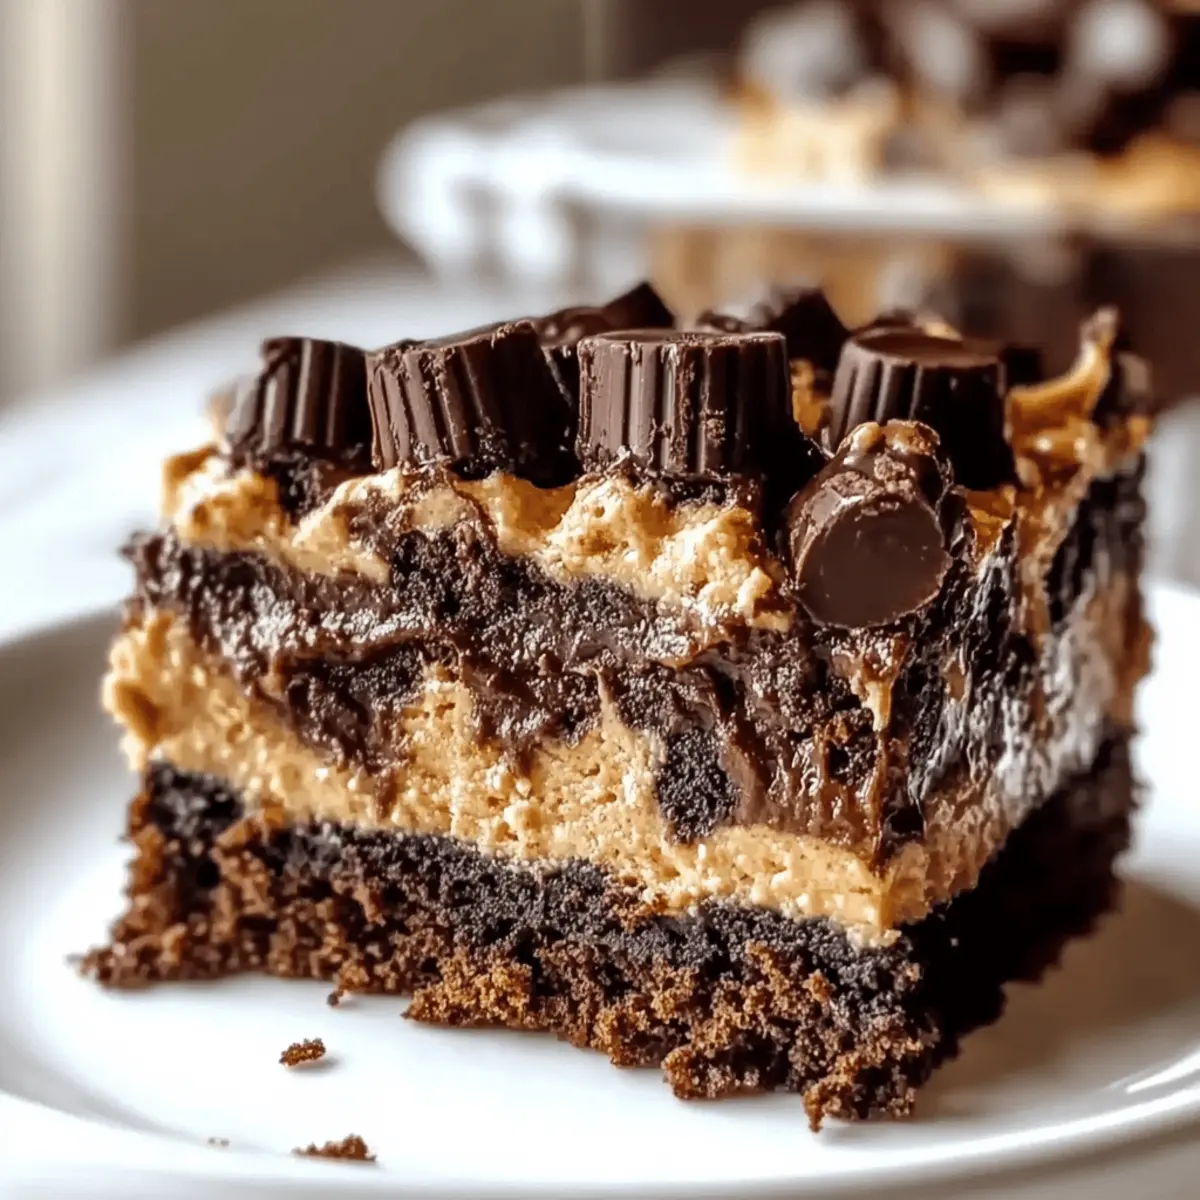
There’s something magical about a dessert that comes together with just a few simple ingredients, and this Peanut Butter Cup Dump Cake is the epitome of effortless indulgence. As I layer in creamy peanut butter and rich chocolate, I can’t help but smile at how quickly this delightful treat takes shape, perfect for those of us who crave a homemade dessert without the fuss. Not only is it a crowd-pleaser for gatherings, but it’s also easily customizable—think nut-free versions using sunflower seed butter or gluten-free options! If you’re ready to dive into a warm, gooey slice of chocolatey goodness that will warm your heart, stay close—there’s much more to explore about this delightful recipe!
Why is this cake so irresistible?
Effortless Preparation: With just a few simple steps, you’ll create a stunning dessert that looks and tastes gourmet.
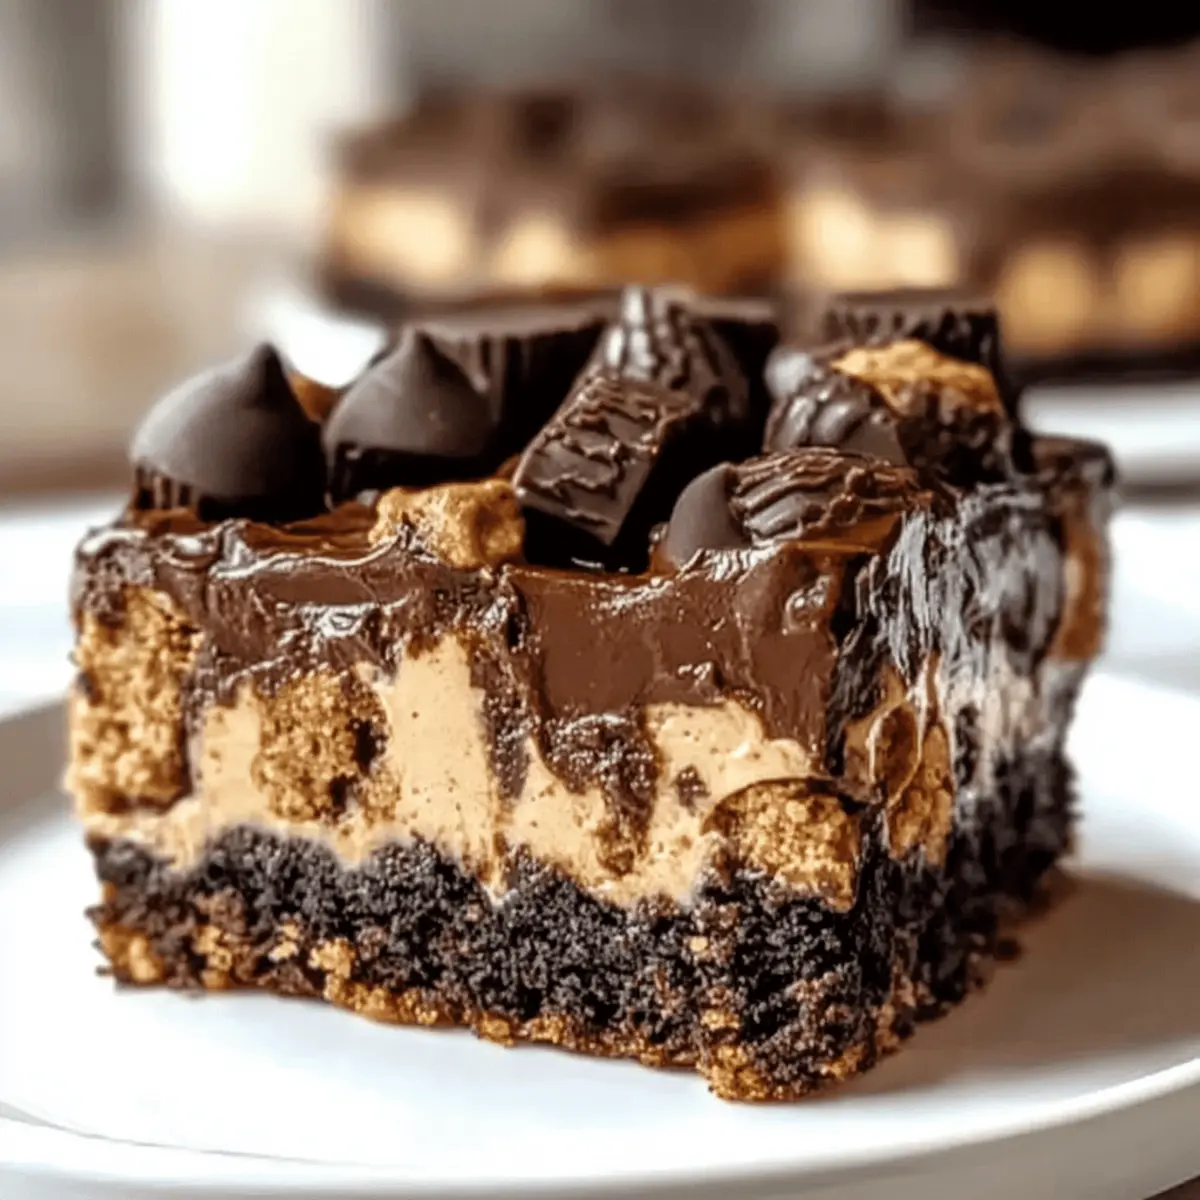
Gooey Goodness: The combination of creamy peanut butter and sweet condensed milk creates a dreamy, molten center that your taste buds will adore.
Customizable for You: Whether you need a nut-free or gluten-free version, this recipe adapts to your dietary preferences without sacrificing flavor.
Perfect for Any Occasion: This cake shines at potlucks, family gatherings, or just a cozy night in.
Delicious Pairing: Serve warm with a scoop of vanilla ice cream or a dollop of whipped cream for a truly indulgent experience.
Give it a try, and you might find yourself going back for seconds—just like with this decadent Sage Brown Butter recipe!
Peanut Butter Cup Dump Cake Ingredients
-
For the Cake Base
-
Chocolate Cake Mix (dry) – Forms the base of the cake; gluten-free options available.
-
Unsalted Butter (melted) – Adds richness and creates a crisp texture on the top; no substitutions recommended.
-
Sweetened Condensed Milk – Imparts sweetness and a gooey texture throughout the cake; no substitutions suggested.
-
For the Flavor Boost
-
Creamy Peanut Butter – Provides a rich peanut flavor and moisture; can swap for crunchy peanut butter for added texture.
-
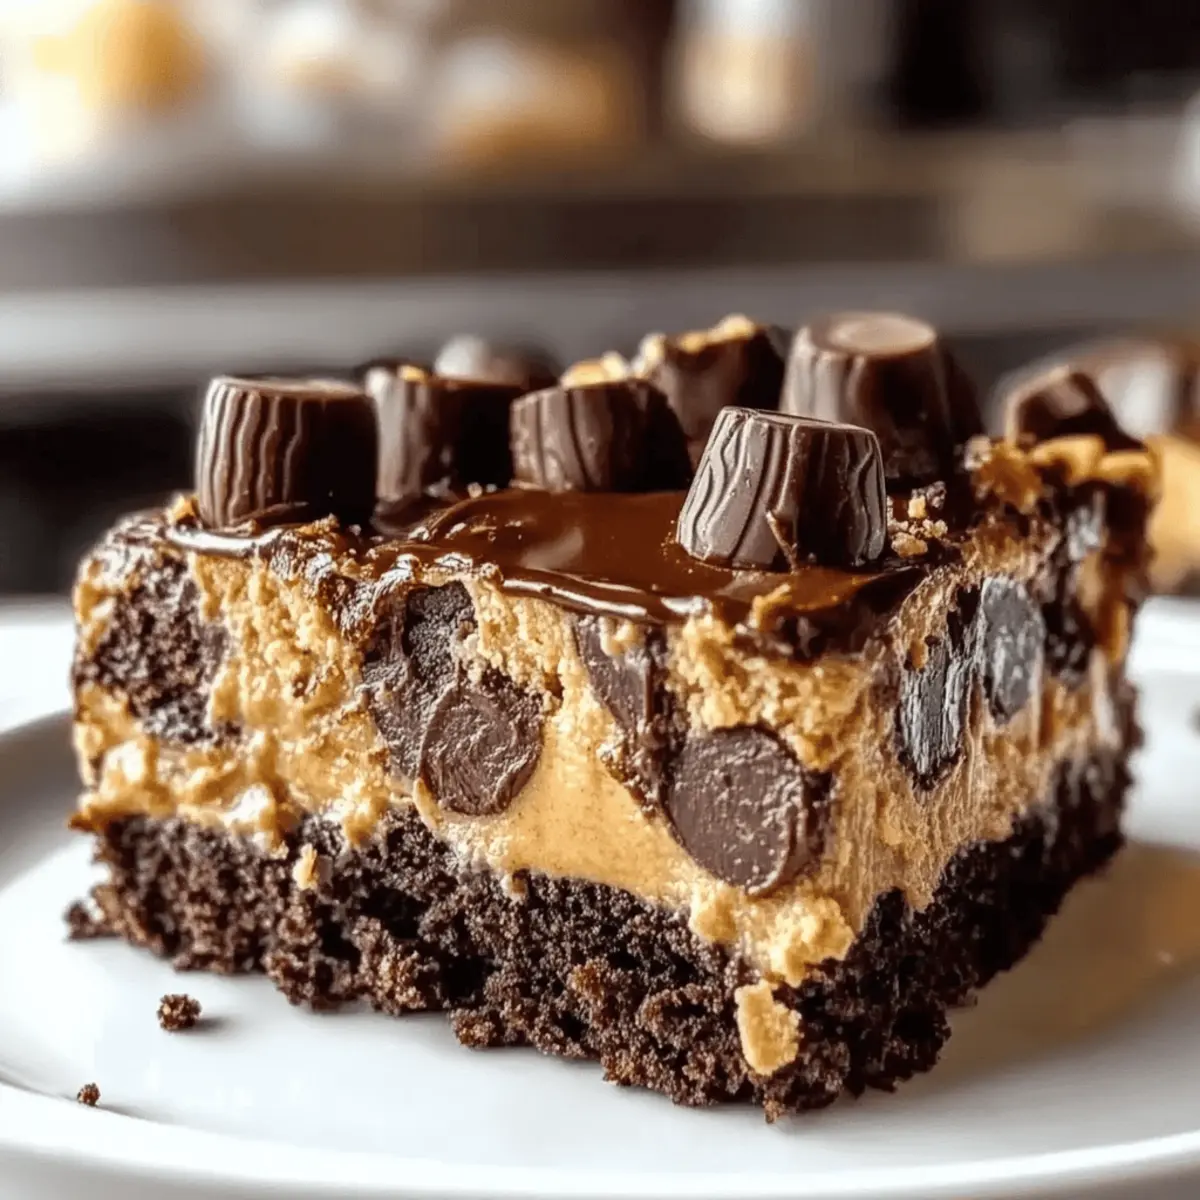
Chopped Peanut Butter Cups – Add bursts of chocolate and peanut flavor; Reese’s Pieces can be a fun substitute.
-
Milk Chocolate Chips – Enhance chocolate richness; can substitute with dark chocolate chips for a deeper flavor.
-
For Serving
-
Whipped Cream or Vanilla Ice Cream – Complements the warm cake; optional addition of sea salt can enhance flavor.
Step‑by‑Step Instructions for Peanut Butter Cup Dump Cake
Step 1: Preheat the Oven
Begin by preheating your oven to 175°C (350°F). While the oven warms up, grab a 9×13-inch baking dish and generously grease it with non-stick spray or butter. This ensures your Peanut Butter Cup Dump Cake easily releases after baking, making it perfect for serving later.
Step 2: Layer the Peanut Butter
Once your dish is prepped, take creamy peanut butter and spread it evenly across the bottom. It should create an inviting layer of rich flavor. Next, sprinkle half of the chopped peanut butter cups over the peanut butter layer, ensuring an enjoyable combination of chocolate and nutty goodness right from the start.
Step 3: Add the Sweetened Condensed Milk
Carefully pour the sweetened condensed milk over the layered peanut butter and candy. This luscious ingredient is key to achieving that gooey texture inside the Peanut Butter Cup Dump Cake. Allow the milk to flow evenly, covering the candy pieces, as it will work its magic during baking.
Step 4: Sprinkle the Cake Mix
Open your chocolate cake mix and evenly distribute it over the layers without mixing it in. This dry layer will cook up beautifully to form the cake base. Make sure every corner is covered, creating a solid foundation for the delightful dessert that’s about to unfold.
Step 5: Drizzle the Melted Butter
Melt your unsalted butter and slowly pour it across the surface of the cake mix. The melted butter will soak into the cake mix and create a wonderfully crispy top as it bakes. Don’t worry about spreading it too evenly; those little butter pockets will turn into a golden delight.
Step 6: Top with More Treats
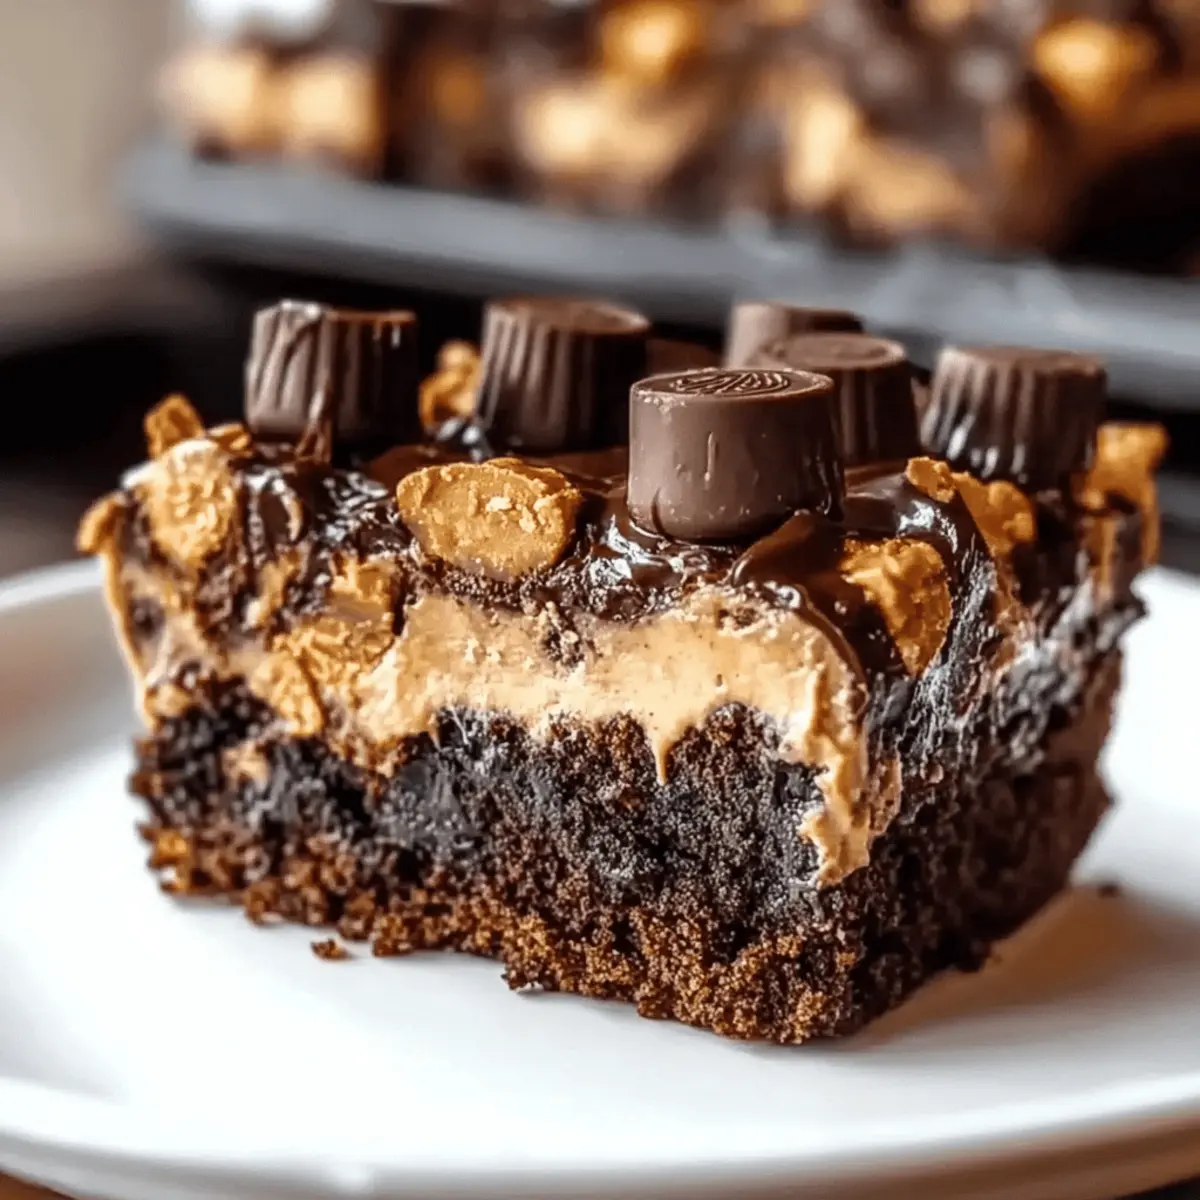
Now it’s time for the fun part—sprinkle the remaining chopped peanut butter cups and a handful of milk chocolate chips over the entire surface. This will intensify the flavors and provide delightful bursts of chocolate as your Peanut Butter Cup Dump Cake bakes into perfection.
Step 7: Bake to Perfection
Slide the baking dish into the preheated oven and bake for 35–40 minutes. Keep an eye on it; you’ll know it’s done when the edges turn crisp and golden while the center remains soft but set. A toothpick inserted should come out with moist crumbs but not wet batter.
Step 8: Cool and Serve
Once baked, remove the cake from the oven and let it cool for about 10–15 minutes. This cooling time allows it to set a bit. Serve warm, and consider adding a scoop of vanilla ice cream or a dollop of whipped cream on top for that ultimate dessert experience that everyone will love!
Make Ahead Options
These Peanut Butter Cup Dump Cakes are perfect for meal prep and can save you precious time on busy days! You can layer the ingredients up to 24 hours in advance before baking. Simply prepare the cake layers according to the recipe, assembling the peanut butter and candy in the dish, then cover it tightly with plastic wrap and refrigerate. When you’re ready to enjoy this gooey treat, simply remove it from the fridge, add the melted butter and chocolate chips on top, and bake as instructed. By taking these steps, you ensure the cake remains just as delicious, delivering that warm, decadent delight with minimal effort when serving.
Expert Tips for Peanut Butter Cup Dump Cake
-
Room Temperature Ingredients: Ensure all ingredients, especially butter and peanut butter, are at room temperature for easy mixing and spreading.
-
Layering Matters: Maintain even layers—it enhances the cake’s texture and allows for the perfect gooey center and crispy top.
-
Oven Monitoring: Keep an eye on your cake while baking. A perfectly baked cake will have golden edges with a soft center, signaling it’s ready to enjoy.
-
Flavor Enhancements: For added flavor, squeeze in a pinch of sea salt or mix in chocolate peanut butter chips; it elevates the overall taste of this delightful Peanut Butter Cup Dump Cake.
-
Preventing Sogginess: Avoid overly mixing the cake layers; this ensures the top remains crispy while the center is beautifully gooey.
Peanut Butter Cup Dump Cake Variations
Feel free to make this delightful dessert your own—there are so many tempting twists to explore!
-
Nut-Free: Swap creamy peanut butter with sunflower seed butter and use allergy-friendly chocolates for a safe yet tasty treat.
This variation allows everyone to join in on the sweet fun without worry. -
Gluten-Free: Choose a gluten-free chocolate cake mix to cater to dietary preferences without losing the indulgent flavor.
It’s a simple switch that still results in a rich, heavenly dessert everyone will enjoy. -
Enhanced Flavor: Incorporate crunchy peanut butter or dark chocolate chips for a richer, more satisfying experience.
The added texture of crunchy peanut butter creates a delightful contrast in each bite! -
Fun Twists: Drizzle caramel over the top or sprinkle fresh berries for a burst of color and flavor.
These touches elevate the dessert, making it perfect for any occasion. -
Coffee Lovers: Mix in a teaspoon of instant coffee granules for a hint of espresso flavor that pairs beautifully with chocolate.
This unexpected twist can transform your cake into a gourmet dessert experience. -
Spicy Kick: For the adventurous, add a pinch of cayenne pepper to the batter for a surprising and delightful kick.
The warmth of the spice dances beautifully with the sweetness, creating a complex flavor profile. -
Fruit Infusion: Consider folding in some chocolate-covered raisins or chopped bananas for added sweetness and texture.
Fruits add a natural balance to the rich chocolate and peanut flavors, merging fruity freshness with decadence.
If you’re in the mood for more ideas, why not check out these delicious recipes like Garlic Butter Shrimp or indulge with Gulab Jamun Cupcakes?Each of these tweaks brings a new life to our beloved Peanut Butter Cup Dump Cake!
Storage Tips for Peanut Butter Cup Dump Cake
- Room Temperature: Store leftovers in an airtight container at room temperature for 3 days. Enjoy it slightly warmed for a cozy treat!
- Fridge: If not consumed within 3 days, refrigerate the cake, where it will stay fresh for up to a week. Make sure to cover it tightly to prevent drying out.
- Freezer: For longer storage, wrap the cake tightly in plastic wrap and aluminum foil; it can be frozen for up to 3 months. Thaw before serving.
- Reheating: To enjoy a warm slice, reheat individual pieces in the microwave for 15-20 seconds, bringing that gooey Peanut Butter Cup Dump Cake experience back to life!
What to Serve with Peanut Butter Cup Dump Cake
Nothing pairs better with a warm, gooey dessert than delightful side dishes and drinks that enhance its indulgent flavors.
- Vanilla Ice Cream: The cold creaminess perfectly complements the warm, fudgy cake, creating a heavenly contrast that’s simply irresistible.
- Whipped Cream: Light and airy, whipped cream adds a luscious touch that balances the cake’s richness beautifully.
- Fresh Berries: Raspberries or strawberries add a touch of tartness, refreshing your palate and enhancing the chocolatey goodness.
- Caramel Sauce: Drizzling warm caramel over the cake elevates the richness with an extra layer of sweetness that will have everyone swooning.
- Chocolate Milkshake: A thick, velvety chocolate milkshake brings a nostalgic twist that pairs wonderfully with the dessert’s flavors.
- Coffee: The smooth bitterness of a freshly brewed cup of coffee enhances the chocolate notes and adds a cozy vibe to your dessert experience.
- Nut-Free Option: For those avoiding nuts, a scoop of coconut whipped cream offers a dairy-free alternative that adds delightful tropical notes.
- Dark Chocolate Chips: Melted over the top before serving, they add a gourmet touch and deepen the cake’s chocolatey richness.
- Sea Salt Flakes: A light sprinkle over the whipped cream or ice cream elevates all flavors with a perfect salty-sweet balance.
Peanut Butter Cup Dump Cake Recipe FAQs
What type of chocolate cake mix should I use?
You can use any standard chocolate cake mix you enjoy, and if you need to cater to gluten-sensitive individuals, gluten-free chocolate cake mixes are widely available. Many grocery stores even offer gluten-free options that taste just as rich and decadent!
How should I store the leftover cake?
Store leftovers in an airtight container at room temperature for up to 3 days; this keeps it nice and moist! Should you need to keep it longer, place it in the refrigerator, where it will stay fresh for up to a week. Just make sure to cover it well so it doesn’t dry out.
Can I freeze the Peanut Butter Cup Dump Cake?
Absolutely! For long-term storage, wrap the cooled cake tightly in plastic wrap, followed by aluminum foil, to prevent freezer burn. You can freeze it for up to 3 months. When you’re ready to enjoy it again, simply thaw it in the refrigerator overnight before serving.
What if my cake doesn’t rise properly?
If your cake pulls a no-show on the rise, it could be due to expired cake mix or not enough leavening agent. Make sure to check the expiration date on your ingredients. Another tip: don’t overmix after adding the cake mix—just layer it and let the oven do its magic!
Can I use a different nut butter if I have a peanut allergy?
Absolutely! You can substitute creamy peanut butter with sunflower seed butter or another nut-free option. Just ensure any chocolate or candy additions are also allergy-friendly to keep the treat safe and delightful for everyone to enjoy.
Decadent Peanut Butter Cup Dump Cake: Your New Favorite Dessert
Ingredients
Equipment
Method
- Preheat your oven to 175°C (350°F). Grease a 9x13-inch baking dish with non-stick spray or butter.
- Spread creamy peanut butter evenly across the bottom of the dish, then sprinkle half of the chopped peanut butter cups over it.
- Pour sweetened condensed milk over the layered peanut butter and candy, allowing it to flow evenly.
- Evenly distribute the chocolate cake mix over the layers without mixing.
- Drizzle melted butter across the surface of the cake mix.
- Sprinkle remaining chopped peanut butter cups and milk chocolate chips over the entire surface.
- Bake for 35–40 minutes or until the edges are crisp and golden and a toothpick comes out with moist crumbs.
- Let cool for 10–15 minutes before serving warm with whipped cream or vanilla ice cream.
Leave a Reply