
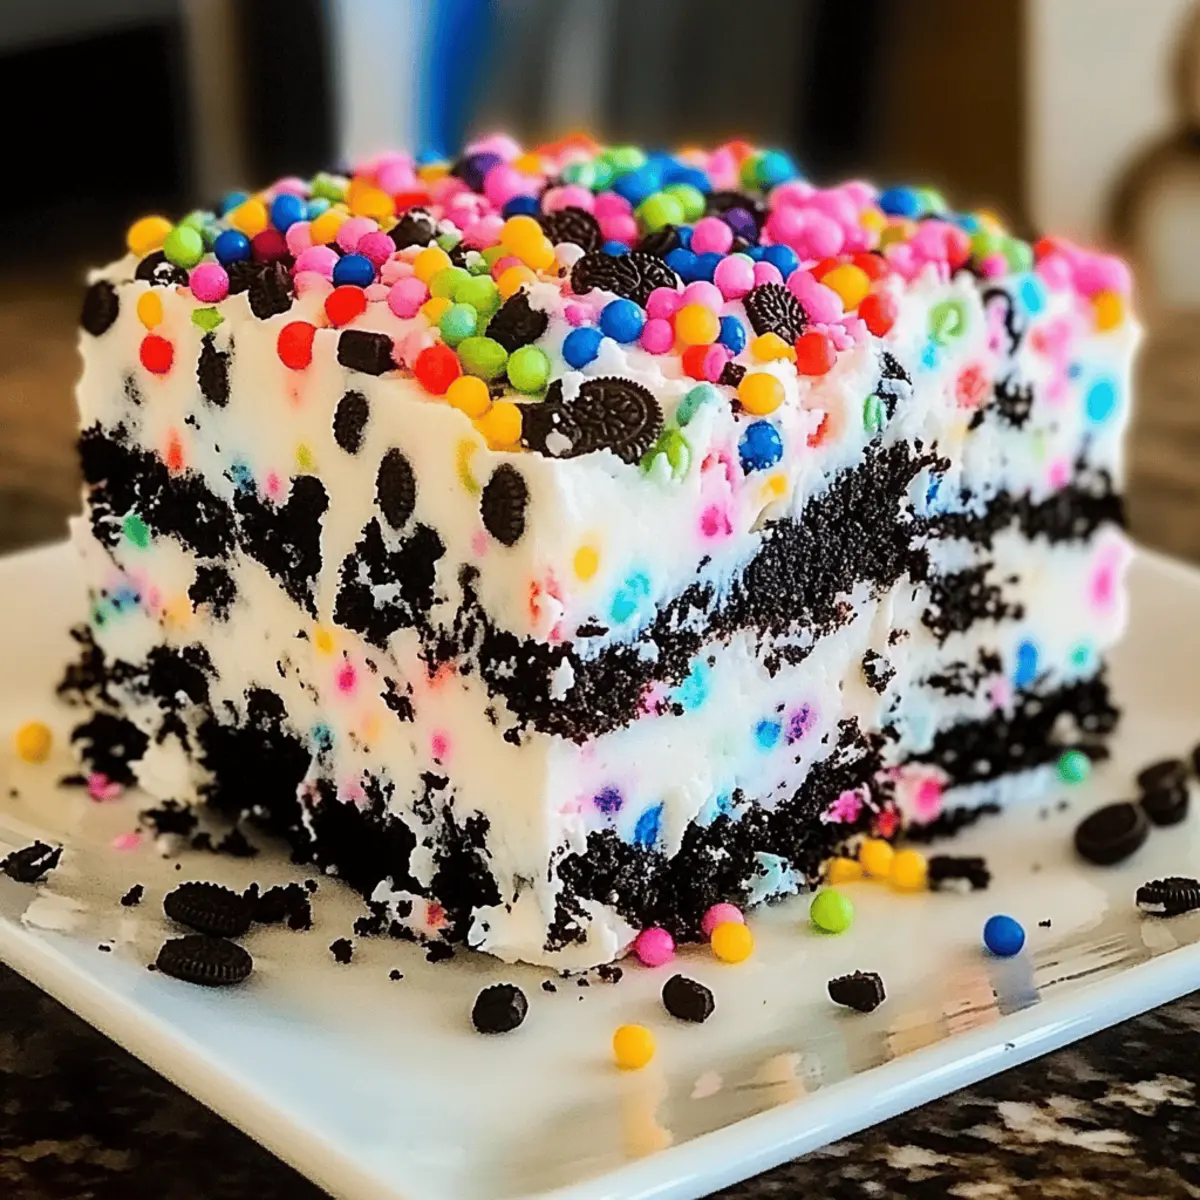
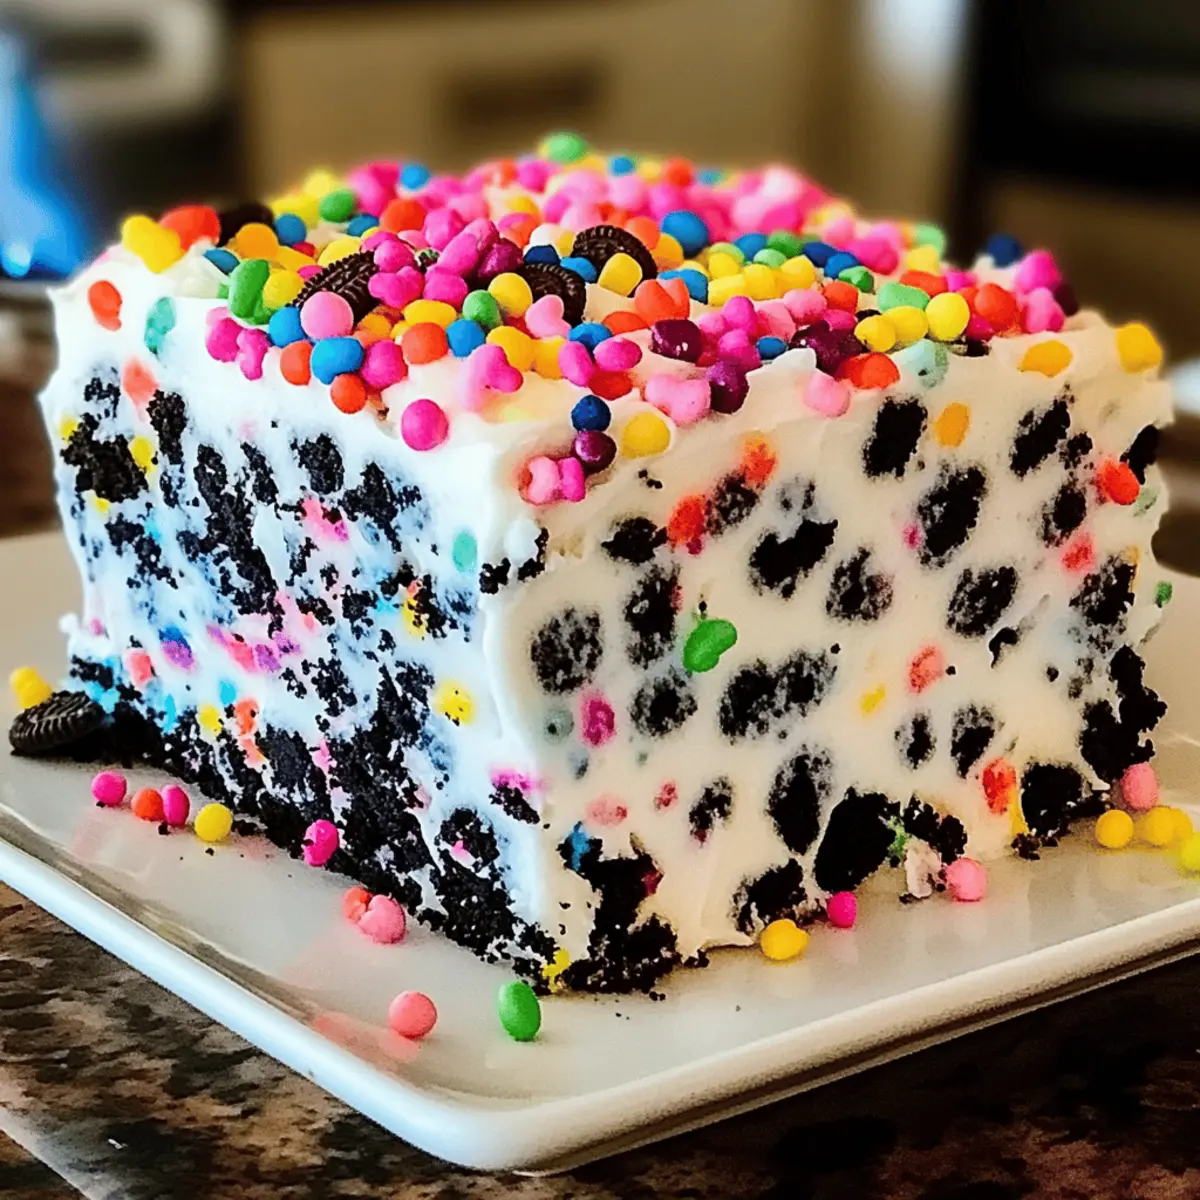
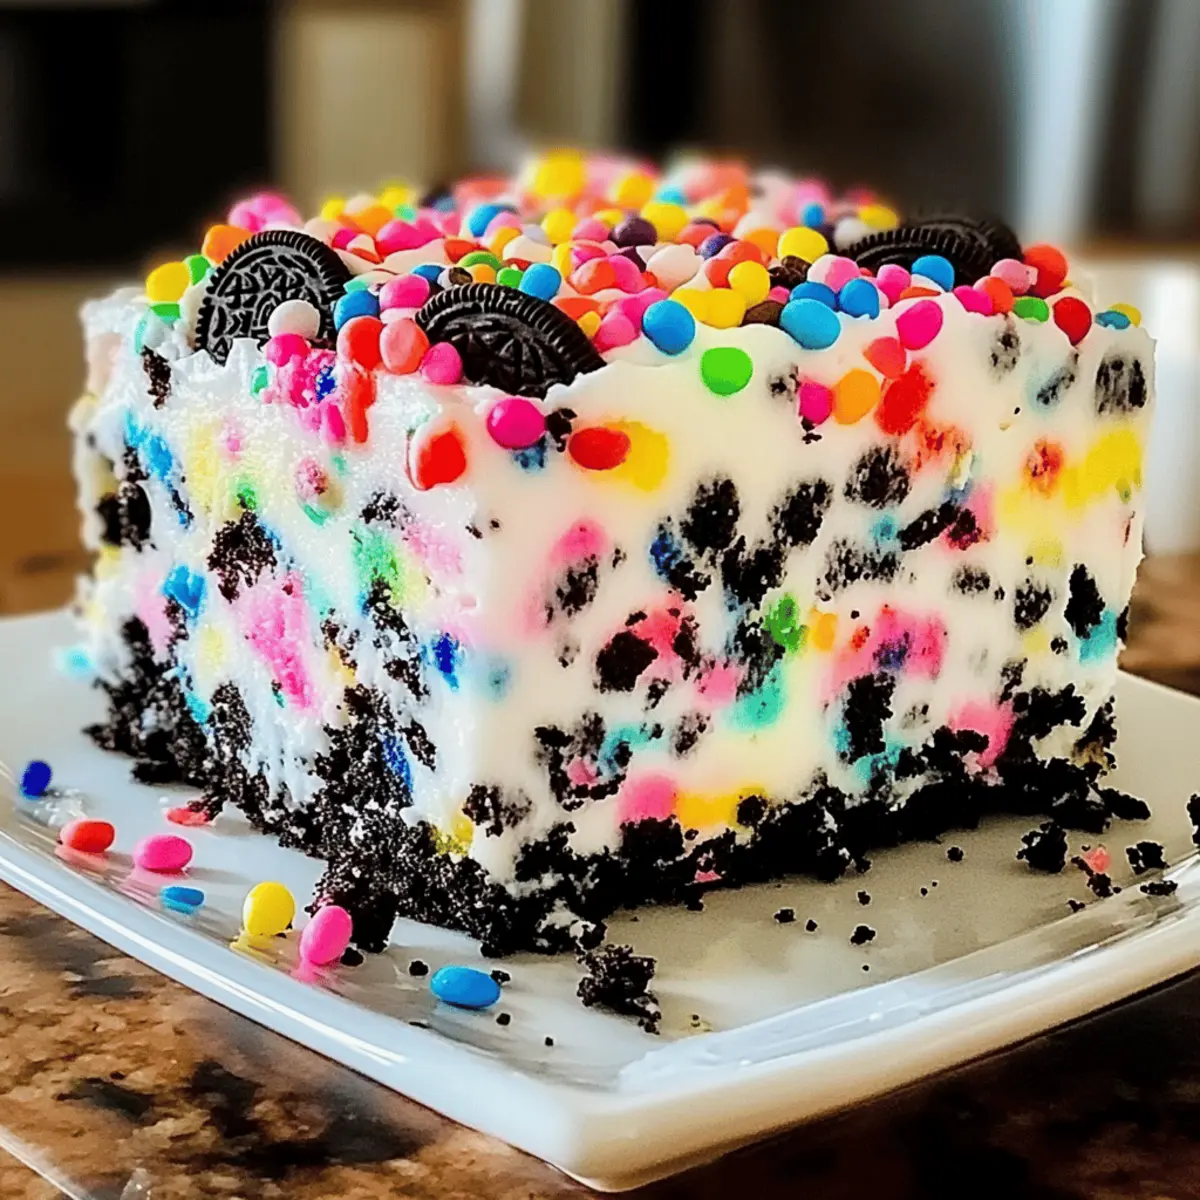
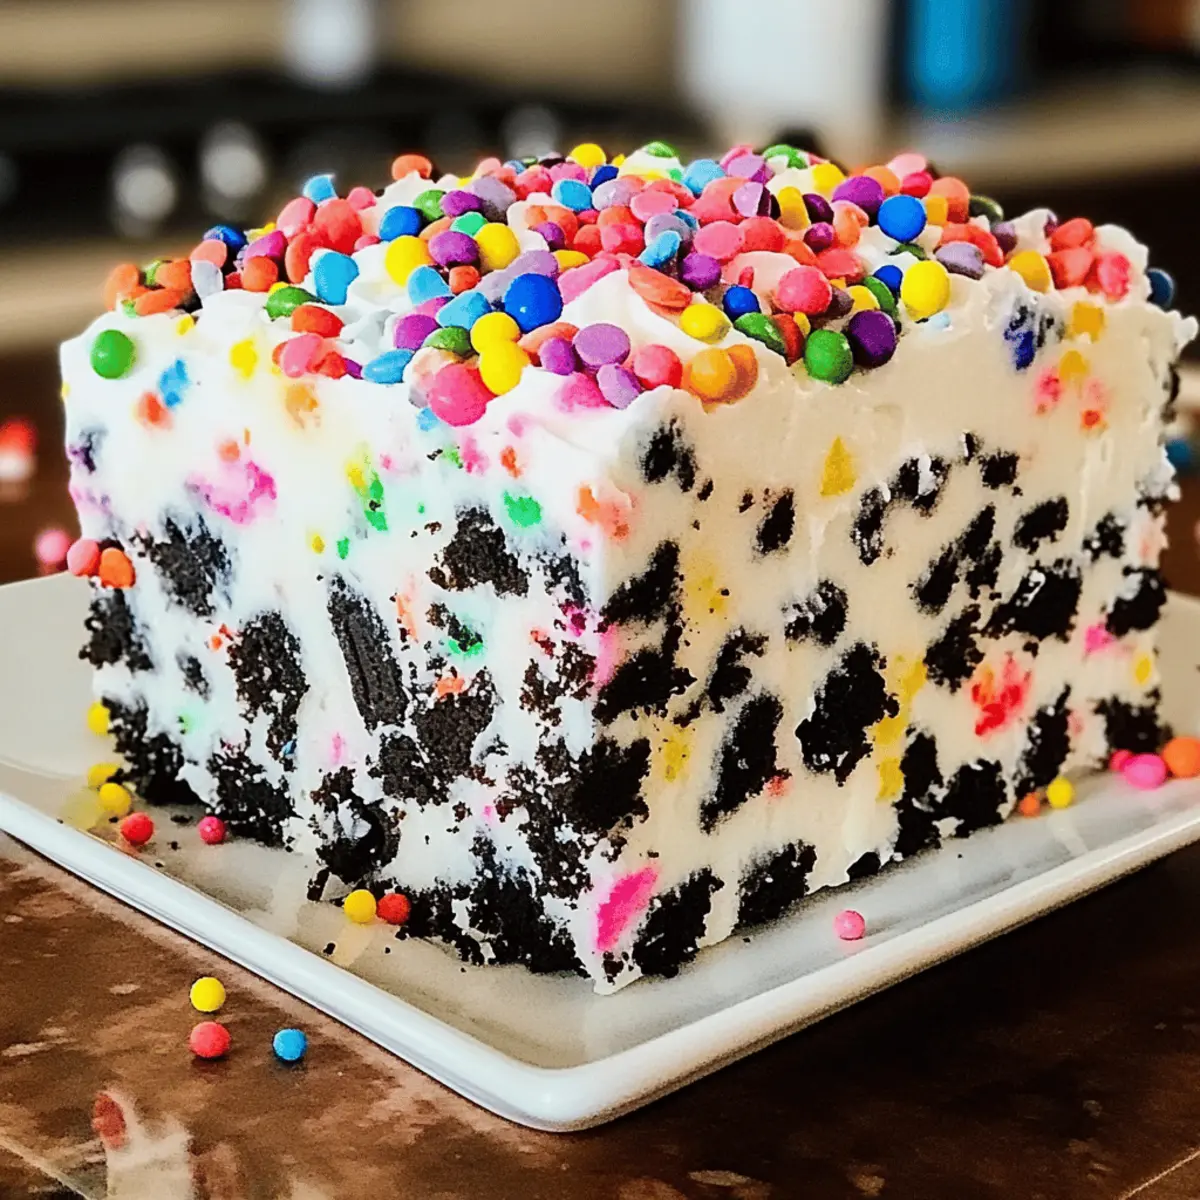
The kitchen has seen its fair share of culinary experiments, but nothing quite brightens my day like the No-Bake Funfetti Oreo Icebox Cake. Quick and simple to whip up, this delightful dessert features layers of creamy goodness nestled between crunchy Birthday Cake Oreos. Whether you’re celebrating a birthday, a family get-together, or just need a sweet pick-me-up, this easy dessert is your ticket to happiness. Not only does it eliminate the need for baking, but its vibrant colors and playful sprinkles guarantee that everyone around the table will share in the joy. Are you ready to treat yourself and your loved ones to this show-stopping treat? Let’s dive into the recipe!
Why is Funfetti Oreo Icebox Cake a Must-Try?
Ease of Preparation: This no-bake dessert is a breeze to make, requiring minimal time and kitchen skills. Just layer and chill!
Endless Flavor Options: Personalize it by using different Oreo flavors or incorporating fresh fruit layers for a tasty twist. Imagine a Fried Strawberry Cheesecake or even a refreshing raspberry touch to balance out the sweetness!
Crowd-Pleasing Appeal: With its vibrant colors and fun texture, it’s perfect for parties or family gatherings, ensuring smiles all around.
Kid-Friendly Fun: Kids will love helping out with layering and adding sprinkles—making this a delightful family activity!
Lasting Freshness: Prepare it ahead of time, and it stays delicious for up to a week in the fridge. Ideal for last-minute gatherings!
Celebrate with this joyful dessert that brings everyone together—in one delicious slice!
Funfetti Oreo Icebox Cake Ingredients
For the Cake Layers
• Birthday Cake Oreos – The star of this dessert, providing both flavor and texture; feel free to substitute with regular Oreos for a different twist.
• Heavy Cream – Essential for creating that light, fluffy cream filling; whip it well for the best results.
For the Cream Filling
• Cream Cheese – Adds a rich creaminess; remember to use softened cream cheese for easy mixing.
• Powdered Sugar – Sweetens the cream filling perfectly; no need for substitutes here—it’s a must!
• Vanilla Extract – Enhances the flavor profile; opt for high-quality extract to maximize taste.
For the Finishing Touch
• Colorful Sprinkles – These not only add a festive look but also a fun crunch; optional but highly recommended for that extra joy!
Dive into making your Funfetti Oreo Icebox Cake, where every layer is a vibrant celebration waiting to be enjoyed!
Step‑by‑Step Instructions for Funfetti Oreo Icebox Cake
Step 1: Prepare the Cream Mixture
In a large mixing bowl, combine 1 cup of heavy cream and beat it with an electric mixer until stiff peaks form, which takes about 3–5 minutes. In another bowl, mix 8 ounces of softened cream cheese, 1 cup of powdered sugar, and 1 teaspoon of vanilla extract until smooth and creamy. This will ensure a rich filling for your Funfetti Oreo Icebox Cake.
Step 2: Combine the Mixtures
Gently fold the whipped cream into the cream cheese mixture using a spatula. Start by adding one-third of the whipped cream to lighten the mixture, then carefully incorporate the rest until no white streaks remain. This will create a light and fluffy filling, perfect for layering in your Funfetti Oreo Icebox Cake.
Step 3: Layer the Cake
Take a 9×13 inch dish and lay down a single layer of Birthday Cake Oreos, covering the bottom completely. Next, spread half of the creamy filling evenly over the Oreos, smoothing it out to ensure every bite has flavor. This layering technique helps build the delightful structure of your Funfetti Oreo Icebox Cake.
Step 4: Repeat the Layering
For the second layer, add another row of Birthday Cake Oreos on top of the filling. Then, pour the remaining cream mixture over these Oreos, spreading it out evenly. This step is essential for achieving the smooth, luscious texture that will make your Funfetti Oreo Icebox Cake a hit.
Step 5: Add the Finishing Touch
Sprinkle a generous amount of colorful sprinkles over the top layer of the cake for a festive touch. This visual appeal is not only playful but enhances the flavor experience as well. After decorating, cover the dish with plastic wrap to keep the deliciousness locked in.
Step 6: Chill the Cake
Place the Funfetti Oreo Icebox Cake in the refrigerator and let it chill for at least 4 hours, though overnight is even better. This chilling time allows the layers to meld together beautifully, creating a moist and delicious dessert that everyone will love.
Step 7: Serve and Enjoy
When ready to serve, remove the cake from the fridge and use a sharp knife to slice it into squares for easy serving. The creamy layers combined with the crunchy Oreos make every piece a delightful experience. Treat your family and friends to this refreshing Funfetti Oreo Icebox Cake!
Make Ahead Options
These No-Bake Funfetti Oreo Icebox Cakes are perfect for meal prep, allowing you to enjoy a delicious dessert with minimal last-minute effort! You can prepare the entire cake up to 24 hours in advance, layering the Birthday Cake Oreos and cream filling as instructed. Be sure to cover the dish tightly with plastic wrap to keep the flavors fresh and prevent any unwanted odors from your fridge. When it’s time to serve, simply pull the cake out and let it sit for a few minutes at room temperature for easier slicing. With these make-ahead tips, you’ll have a stunning, festive dessert ready to impress your guests with just a hint of effort!
Helpful Tricks for Funfetti Oreo Icebox Cake
- Chill Time Matters: Make sure to let the cake sit in the fridge overnight for the best flavor and texture; patience is key!
- Use Fresh Ingredients: Always opt for fresh cream and high-quality vanilla extract to elevate the taste of your Funfetti Oreo Icebox Cake.
- Layer Evenly: Take your time spreading the cream mixture and Oreos to ensure each slice has balanced layers and flavors.
- Avoid Crumbling: When slicing, use a sharp knife and clean it between cuts to prevent the cake from crumbling.
- Creative Variations: Experiment with different Oreo flavors or even add fruit like strawberries between layers for a refreshing twist!
How to Store and Freeze Funfetti Oreo Icebox Cake
Fridge: Keep any leftovers in an airtight container in the refrigerator for up to 1 week. This ensures the layers remain fresh and flavorful.
Freezer: If you wish to freeze the cake, wrap it tightly with plastic wrap and aluminum foil. It can be stored in the freezer for up to 2 months.
Thawing: To enjoy frozen Funfetti Oreo Icebox Cake, simply transfer it to the fridge to thaw overnight before serving.
Reheating: Since this dessert is best enjoyed chilled, there’s no need to reheat; just slice and serve straight from the fridge for optimal taste and texture!
Funfetti Oreo Icebox Cake Variations
Customize your Funfetti Oreo Icebox Cake to match your taste and occasion with these playful twists!
-
Dairy-Free: Swap the cream cheese and heavy cream for coconut cream and dairy-free cream cheese for a lactose-free alternative. You won’t miss the richness!
-
Gluten-Free: Use gluten-free Birthday Cake Oreos or alternative cookie brands to keep this cake fun while accommodating gluten sensitivities.
-
Chocolate Lovers: Substitute regular Oreos for chocolate-flavored ones, and add ½ cup of chocolate chips for an indulgent spin. This will create a rich chocolate experience!
-
Fruit-Inspired: Layer in fresh fruit like strawberries, raspberries, or bananas between the layers for a refreshing burst of flavor. The fruit balances the sweetness beautifully!
-
Minty Fresh: Try using Mint Oreos instead of Birthday Cake Oreos for a cool and refreshing cake. This minty twist can be delightful for the holiday season.
-
Nutty Crunch: Fold in crushed nuts like walnuts or pecans to the cream mixture for an added crunchy texture. This little touch adds an unexpected delight!
-
Extra Sprinkles: Boost the fun by mixing a handful of colorful sprinkles directly into the cream filling! The vibrant colors will make each slice a cheerful surprise.
-
Berry Bliss: Incorporate a berry compote between layers for an extra layer of flavor. A refreshing touch, it’ll elevate your dessert to new heights!
Feel free to mix and match these ideas while also exploring treats like Strawberry Crunch Cheesecake or Chocolate Cherry Cake. Each variation is a step into creating your own special version of this crowd-pleaser!
What to Serve with Funfetti Oreo Icebox Cake
Elevate your dessert experience by pairing this vibrant cake with delightful accompaniments that enhance its joyful flavors.
-
Fresh Berries: Serve with a medley of strawberries, blueberries, and raspberries for a tart contrast that brightens every bite.
-
Whipped Cream: A dollop of lightly sweetened whipped cream adds a creamy richness that complements the cake’s layered texture.
-
Chocolate Sauce: Drizzle warm chocolate sauce on the plate for a decadent touch, appealing to chocolate lovers everywhere.
-
Mint Ice Cream: The creamy mint ice cream brings a refreshing coolness, balancing the sweetness of the cake perfectly.
-
Coconut Macaroons: These chewy delights introduce a fun texture, while their light coconut flavor pairs beautifully with the Oreo layers.
-
Sparkling Lemonade: Opt for a fruity sparkling lemonade or a refreshing iced tea, providing a zesty sip to cleanse the palate.
-
Coffee or Espresso: The rich flavors of coffee or a shot of espresso complement the sweetness, making each mouthful more satisfying.
-
Chocolate Chip Cookies: For cookie lovers, serve with soft-baked chocolate chip cookies on the side, creating a delicious dessert duo.
Funfetti Oreo Icebox Cake Recipe FAQs
What type of Oreos should I use for the Funfetti Oreo Icebox Cake?
Absolutely! I recommend using Birthday Cake Oreos for their delightful flavor and festive appearance. However, feel free to substitute them with regular Oreos or even flavored varieties like Mint Oreos if you prefer a different taste. The key is to have a cookie that will provide a good crunch and flavor contrast against the creamy layers.
How long can I keep the Funfetti Oreo Icebox Cake in the fridge?
Very good question! This cake can be stored in an airtight container in the refrigerator for up to 1 week. Just make sure it’s tightly covered to maintain freshness. The flavors only get better as it sits, allowing the layers to meld together beautifully.
Can I freeze leftover Funfetti Oreo Icebox Cake?
Yes, you can! If you want to enjoy your Funfetti Oreo Icebox Cake later, wrap it tightly with plastic wrap and then aluminum foil to prevent freezer burn. It will stay fresh for up to 2 months in the freezer. To thaw, simply transfer it to the refrigerator for overnight thawing before serving.
What should I do if my whipped cream mixture isn’t forming stiff peaks?
No worries, this happens to the best of us! Ensure your heavy cream is very cold before mixing. If you’re still struggling, try using a mix of cream cheese and whipped cream, or check that your mixing bowl is clean and free of any grease, as that can prevent the cream from whipping correctly. Aim for 3-5 minutes of beating on high speed for best results.
Is this cake safe for everyone, including children and those with allergies?
Yes, this dessert is typically kid-friendly but be mindful of any nut allergies if you use flavored Oreos. The main ingredients (cream cheese, heavy cream, etc.) are common allergens, so always check for personal dietary restrictions. If anyone is lactose intolerant, consider using lactose-free cream cheese and heavy cream for a delicious alternative that everyone can enjoy.
Can I add fresh fruit to the Funfetti Oreo Icebox Cake mix?
Absolutely! I often suggest adding fresh fruits like strawberries or bananas between the layers—this not only adds a refreshing twist but also balances out the sweetness of the cream and cookies. Just make sure to slice the fruit thinly and pat it dry slightly so it doesn’t add too much moisture to the cake. It’ll give your Funfetti Oreo Icebox Cake an extra pop of color and flavor!
Celebrate with Funfetti Oreo Icebox Cake - No-Bake Delight!
Ingredients
Equipment
Method
- In a large mixing bowl, combine 1 cup of heavy cream and beat it with an electric mixer until stiff peaks form, about 3–5 minutes.
- In another bowl, mix 8 ounces of softened cream cheese, 1 cup of powdered sugar, and 1 teaspoon of vanilla extract until smooth and creamy.
- Gently fold the whipped cream into the cream cheese mixture using a spatula.
- Take a 9x13 inch dish and lay down a single layer of Birthday Cake Oreos.
- Spread half of the creamy filling evenly over the Oreos.
- Add another row of Birthday Cake Oreos on top of the filling.
- Pour the remaining cream mixture over these Oreos, spreading it out evenly.
- Sprinkle a generous amount of colorful sprinkles over the top layer of the cake.
- Cover the dish with plastic wrap and refrigerate for at least 4 hours.
- When ready to serve, slice the cake into squares.
Leave a Reply