
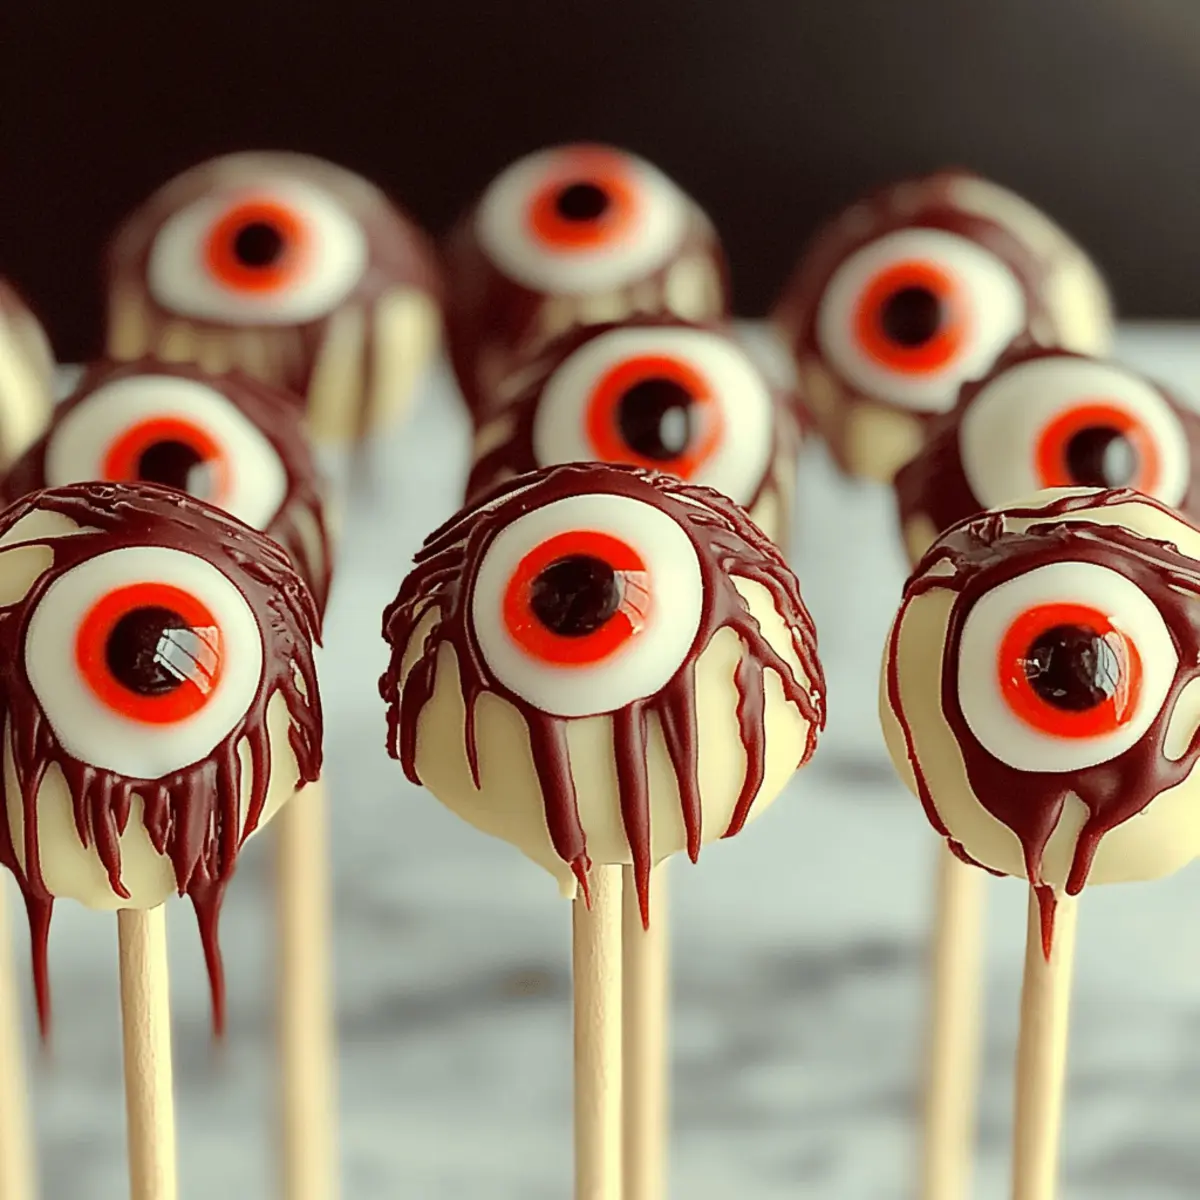
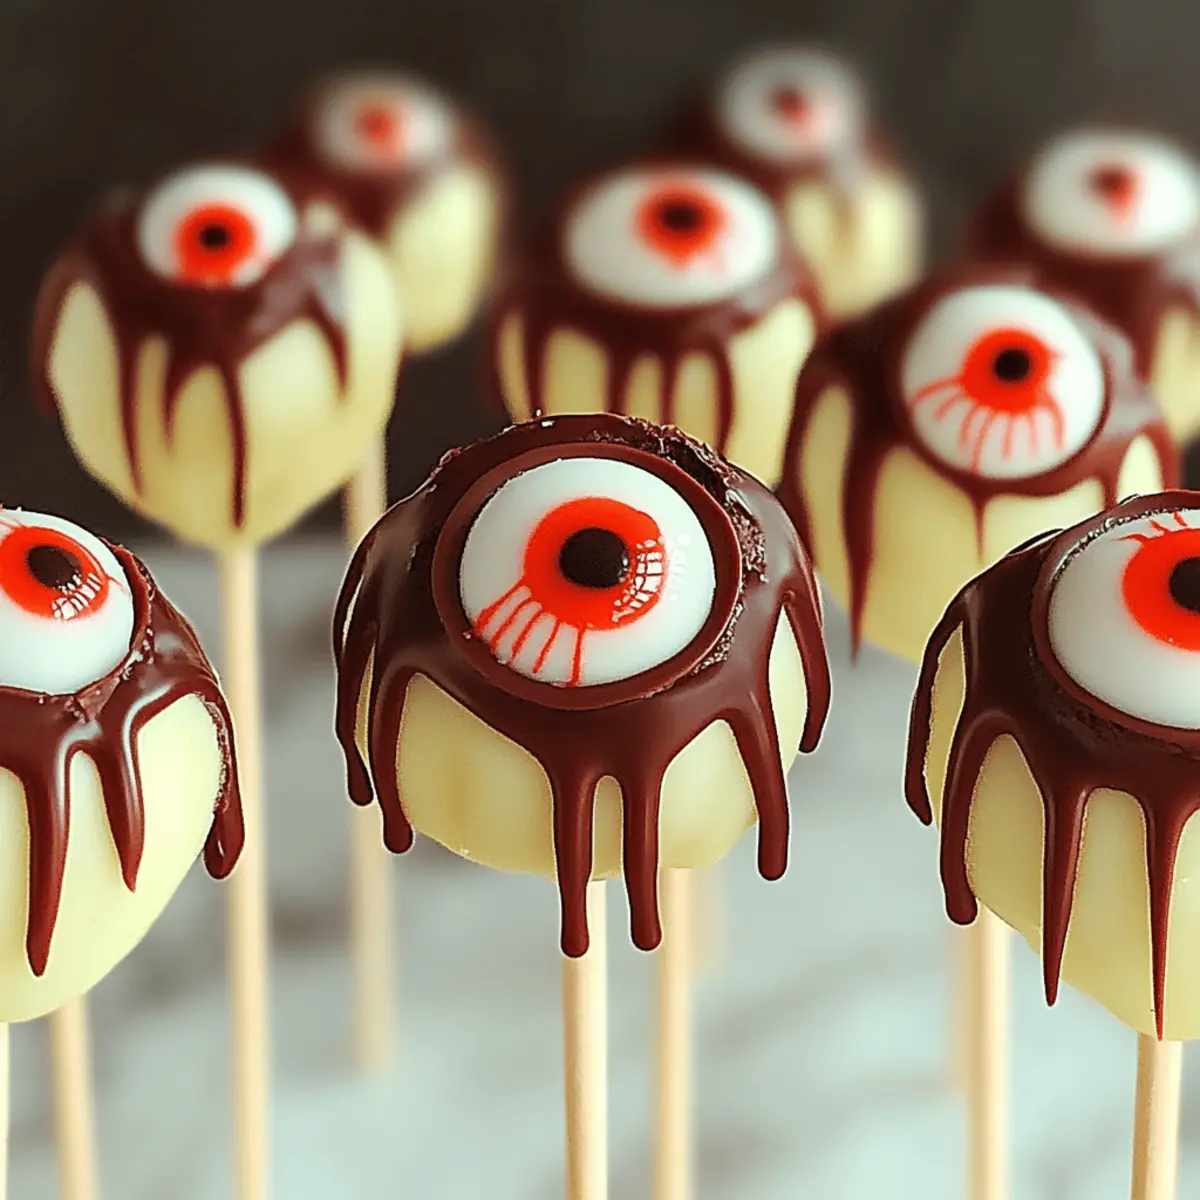
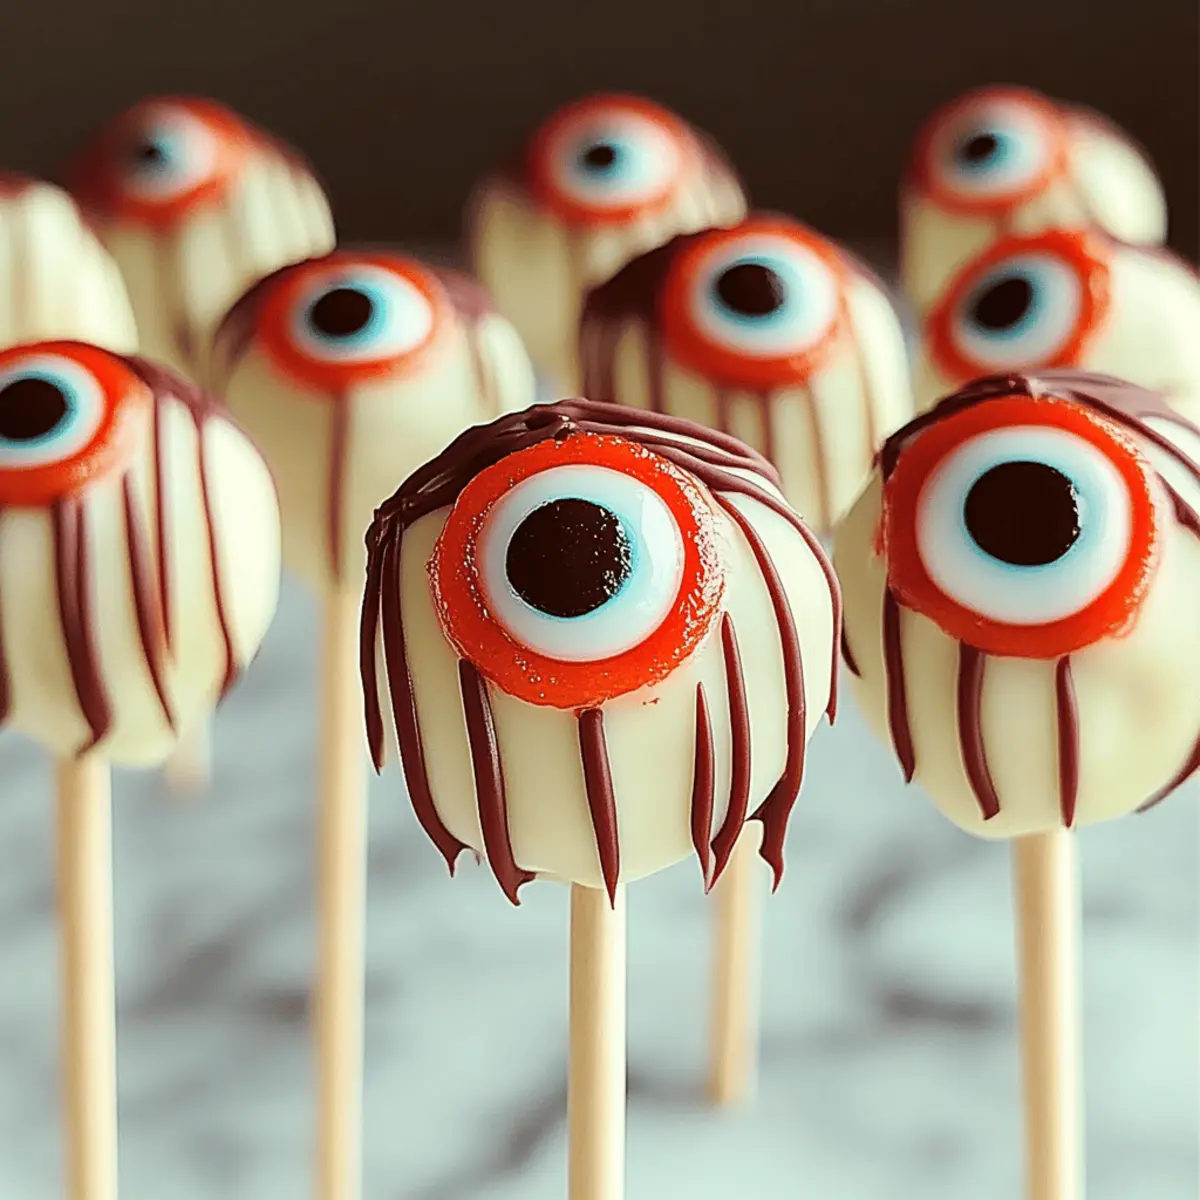
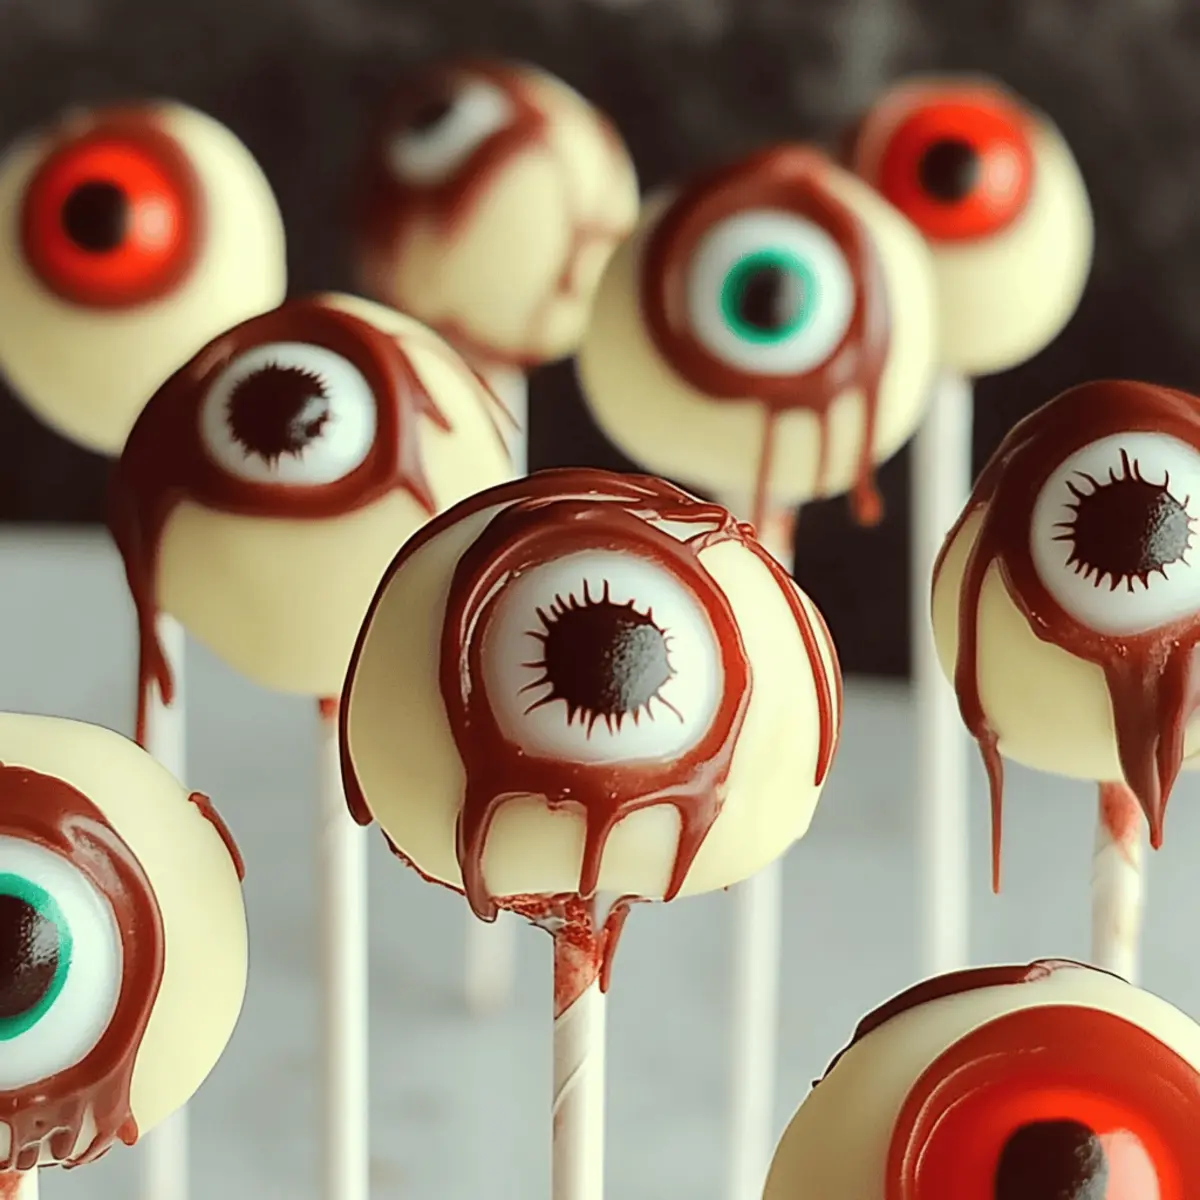
As I stood in my kitchen, a curious thought danced in my mind: how can I turn a classic treat into something delightfully spooky? That’s when I decided to whip up some Easy Halloween Cake Pops—gorgeous little eyeballs that are not just a sight to behold but also a joy to eat! These festive bites are incredibly simple to make, requiring no baking and offering the thrill of custom flavors to satisfy both adventurous and traditional palates. Perfect for school parties, neighborhood gatherings, or a fun family activity, these cake pops are guaranteed to impress kids and adults alike with their whimsical charm and rich chocolatey goodness. Wondering what clever twists you can put on your spooky creations? Let’s dive in!
Why Are These Cake Pops So Fun?
Endless Creativity: You’ll love how customizable these cake pops are, allowing for unique flavors and decorations that suit any Halloween theme.
No Baking Required: This recipe makes it easy even for novice bakers. Just mix, shape, chill, and decorate!
Perfectly Spooky and Sweet: The combination of rich chocolate coating and soft cake fills each pop with a delightful surprise, striking the right balance for Halloween treats.
Fun for Everyone: Kids will adore helping with these whimsical creations, making them perfect for family bonding or parties. Serve them alongside other fun treats like Oreo Icebox Cake or Strawberry Crunch Cheesecake for an impressive spread!
Easy Halloween Cake Pops Ingredients
Get ready to bring creativity and fright to your kitchen with these spooky treats!
For the Cake
- Cake Mix – Choose chocolate or vanilla for traditional flavors; both work wonderfully for this recipe.
- Eggs – Check your cake mix package for the exact quantity needed to create a moist base.
- Water or Milk – Opt for milk to enhance richness and overall flavor; it’s worth the splash!
For the Binding
- Frosting – Use chocolate or cream cheese frosting to bind your crumbled cake into a delightful dough.
For Coating
- Chocolate Melts – Pick dark, milk, or white chocolate to coat your pops; each offers a delicious twist on flavors.
For Decoration
- Candy Eyes – A must-have for that spooky eyeball effect; they come in various sizes for added fun!
- Red Icing – Perfect for creating creepy bloodshot details on those candy eyes, adding a thrilling touch.
- Sprinkles or Edible Glitter – Optional, but they can add an extra layer of flair and sparkle to your pops.
These Easy Halloween Cake Pops will not only tantalize taste buds but also add a dash of delightful spookiness to your celebrations!
Step-by-Step Instructions for Easy Halloween Cake Pops
Step 1: Bake the Cake
Start by preheating your oven according to the cake mix instructions, usually around 350°F (175°C). Prepare the cake mix by combining it with the required eggs and water or milk, mixing until smooth. Pour the batter into a greased cake pan and bake for 25-30 minutes, or until a toothpick inserted in the center comes out clean. Once baked, let it cool completely on a wire rack.
Step 2: Crumble the Cake
Once the cake has cooled, transfer it to a large bowl and crumble it into fine pieces using your hands. Aim for a texture that resembles coarse crumbs. Next, add your choice of frosting—chocolate or cream cheese is great—and mix well until the mixture becomes dough-like. This will bind the crumbled cake together, ensuring your Easy Halloween Cake Pops hold their shape.
Step 3: Shape Pops
With your cake mixture ready, take portions and roll them into golf ball-sized balls using your hands—this is where the fun begins! Place each cake ball on a lined baking sheet, ensuring they are spaced out to prevent sticking. This process should yield about 12-15 pops, depending on size. Once all balls are formed, pop them into the refrigerator for about 30 minutes to firm up.
Step 4: Chill
Refrigerate the shaped cake pops for 30 minutes, allowing them to set and become firmer. This crucial step ensures they maintain their shape while you coat them in chocolate. You should see them firm up and become more stable, making it easier to dip and decorate them later.
Step 5: Coat Pops
In a microwave-safe bowl, melt your chocolate melts in 30-second intervals, stirring in between until smooth and completely melted. Carefully dip each chilled cake pop into the melted chocolate, ensuring it is fully coated. After dipping, gently tap off any excess chocolate by lightly tapping the pop against the edge of the bowl. Place the coated pops back onto the lined baking sheet.
Step 6: Decorate
While the chocolate coating is still wet, it’s time for the fun part—decorating! Attach candy eyes to each pop by gently pressing them into the chocolate. Use piping bags or a fine tip to drizzle red icing for bloodshot effects, giving your Easy Halloween Cake Pops a spooky flair. Feel free to use additional sprinkles or edible glitter for extra decoration if desired.
Step 7: Set
Finally, position the decorated cake pops upright in a styrofoam block or a cupcake holder until the chocolate has fully set. Allow them to sit at room temperature for about 30 minutes or until the chocolate is hard. Once set, your Easy Halloween Cake Pops are ready to spook and delight your guests!
Storage Tips for Easy Halloween Cake Pops
Fridge: Store your Easy Halloween Cake Pops in an airtight container in the refrigerator for up to one week to keep them fresh and tasty.
Freezer: For longer storage, these delightful treats can be frozen for up to three months. Ensure they are well wrapped to prevent freezer burn.
Thawing: When ready to enjoy, simply transfer the cake pops to the refrigerator to thaw for several hours before serving; this keeps the chocolate coating intact.
Reheating: These treats are best enjoyed cold or at room temperature; avoid reheating as it may compromise their texture and appearance.
What to Serve with Spooktacular Eyeball Cake Pops
Bring your Halloween gathering to life with these delightful accompaniments that perfectly complement the creepy yet delicious cake pops.
- Spooky Punch: A festive beverage, this fruity mix can be garnished with gummy worms for a playful twist that kids will love.
- Mini Hot Dogs in Puff Pastry: These savory bites add a delicious contrast to the sweetness of the cake pops, perfect for balancing flavors during your celebrations.
- Ghostly Cheese Platter: Serve a platter full of ghost-shaped cheese and crackers, appealing to both the eyes and taste buds while offering a refreshing savory option.
- Chocolate Milks: Smooth and rich, chocolate milk is a nostalgic drink that pairs beautifully with the sweet, chocolatey cake pops. Kids will adore this classic combination!
- Crispy Veggie Cups: A medley of fresh veggies served in individual cups with dip adds a crunchy texture and healthy contrast to the sweet treats, making the spread more balanced.
- Pumpkin Spice Cupcakes: For an extra festive touch, these cupcakes can echo the flavors of autumn and add a cozy warmth to your Halloween dessert table.
- Creepy Jello Cups: Layered with different colors and topped with candy teeth or gummy worms, these fun jello cups offer another intriguing dessert option to intrigue your guests.
- Caramel Dipping Sauce: Drizzling or serving this along with your Eyeball Cake Pops provides a sweet, decadent dip that makes each bite even more delightful.
Easy Halloween Cake Pops Variations
Feel free to get creative and customize your cake pops for a delightful twist in every bite!
-
Pumpkin Spice: Use pumpkin spice cake mix for a seasonal flavor boost that adds a cozy, fall touch.
-
Gluten-Free: Substitute with a gluten-free cake mix to accommodate dietary restrictions while still enjoying festive treats.
-
Colorful Coatings: Try using colorful candy melts like green or orange for an extra Halloween flair that your little ghouls will love.
-
Surprise Fillings: Incorporate a filling like caramel or peanut butter that surprises and delights each time someone takes a bite.
-
Nutty Texture: Toss in some crushed nuts for added crunch inside the cake balls, enhancing both texture and flavor.
-
Halloween Sprinkles: Top with themed sprinkles or edible glitter to make your cake pops extra festive and fun for the season.
-
Spicy Kick: Add a dash of cayenne pepper or cinnamon to the cake mix for a surprising heat that complements the sweetness.
-
Dipped Treats: Instead of cake pops, dip marshmallows or pretzel rods for a new take on easy Halloween goodies—perfect for a DIY treat table!
Enjoy your spooky creations, and consider pairing these pops with other treats like Chocolate Cherry Cake to create a Halloween platter that wow your guests!
Expert Tips for Easy Halloween Cake Pops
-
Cool Completely: Let the cake cool completely before crumbling it; this prevents melting the frosting and ensures the right texture for your Easy Halloween Cake Pops.
-
Shape Firmly: When rolling the cake mixture into balls, make sure they are compact—this will help the pops hold their shape during coating.
-
Chill Well: Don’t skip the chilling step! Refrigerating the shaped pops for at least 30 minutes is crucial for maintaining their structure while coating.
-
Melt Carefully: Melt the chocolate in short intervals to avoid burning, and stir until smooth. This guarantees a glossy coating on your cake pops.
-
Quick Decoration: Decorate the pops while the chocolate is wet for best adherence; if it hardens, the eyes and decorations won’t stick effectively.
-
Experiment: Feel free to mix and match flavors or decorations! Try different cake mixes or candy melts to make your Easy Halloween Cake Pops uniquely yours.
Make Ahead Options
These Easy Halloween Cake Pops are perfect for busy home cooks looking to save time during the spooky season! You can prepare the cake mixture and form the pops up to 24 hours in advance. Simply follow the steps to crumble the cooled cake, mix with frosting, and shape into balls. Once formed, refrigerate the cake pops in an airtight container so they maintain their texture and shape. When you’re ready to serve, all that’s left is to dip them in melted chocolate and decorate with candy eyes and red icing. This way, you can enjoy homemade Halloween treats without the last-minute rush, keeping the fun in your festivities!
Easy Halloween Cake Pops Recipe FAQs
What kind of cake mix should I use?
You can use either chocolate or vanilla cake mix for your Easy Halloween Cake Pops. I personally love the rich flavor of chocolate, but vanilla works just as well, especially with colorful decorations!
How should I store these cake pops?
Keep your Easy Halloween Cake Pops in an airtight container in the refrigerator for up to one week. This not only preserves their freshness but also keeps the moisture intact.
Can I freeze cake pops, and how?
Absolutely! To freeze your Easy Halloween Cake Pops, place them in a single layer on a baking sheet and freeze until firm. Then, wrap them individually in plastic wrap and store them in a freezer-safe bag for up to three months. When you’re ready to enjoy them, simply thaw them in the refrigerator for a few hours before serving.
What if my cake pops start to fall apart while coating?
If your cake pops are crumbling during coating, it likely means they need more chilling time. Try refrigerating them for an additional 15-20 minutes until they are firmer. Make sure the chocolate is not too hot when dipping, as this can also cause them to fall apart. Remember, a little gentle pressure while forming them can help keep their shape!
Are these cake pops safe for pets?
It’s best to keep these cake pops away from pets, especially due to the chocolate and icing. Both can be harmful to them. If you’re looking for pet-friendly treats, consider making simple peanut butter or pumpkin treats instead!
Can these cake pops be made gluten-free?
Yes! Simply substitute a gluten-free cake mix for the traditional cake mix in this recipe. This way, everyone can enjoy these delightful Easy Halloween Cake Pops without any dietary concerns!
Easy Halloween Cake Pops That Are Spookily Delicious
Ingredients
Equipment
Method
- Preheat oven to 350°F (175°C). Combine cake mix, eggs, and water or milk until smooth. Pour into greased pan and bake for 25-30 minutes, let cool.
- Crumble the cooled cake into fine pieces. Mix in frosting until the mixture is dough-like.
- Roll portions of the mixture into golf ball-sized balls and place them on a lined baking sheet. Refrigerate for 30 minutes.
- Melt chocolate melts in microwave, stirring regularly. Dip each refrigerated cake ball into the melted chocolate, tapping off excess.
- Press candy eyes into the chocolate while it's wet. Drizzle with red icing for effects, and add sprinkles if desired.
- Stand cake pops upright in a styrofoam block or cupcake holder to set. Allow to cool for about 30 minutes until chocolate is hard.
Leave a Reply