
“Wow, that’s adorable!” I overheard a friend exclaim as she bited into a soft, round treat at a recent potluck. It was my homemade Easy Homemade Oreo Mochi, and her reaction was everything I hoped for. This delightful dessert marries the beloved taste of Oreos with the unique, chewy texture of mochi, creating a fun twist that everyone loves. Not only is this recipe a crowd-pleaser, but it also brings the joy of customization to your kitchen. With simple preparation, you can easily adapt it for vegan and gluten-free diets, ensuring that no one gets left out. Whether you’re impressing guests at a gathering or enjoying a sweet moment at home, these chewy delights are bound to become your new favorite dessert. Ready to dive into making your own batch of these delightful treats? Let’s get started!

Why Is Oreo Mochi So Irresistible?
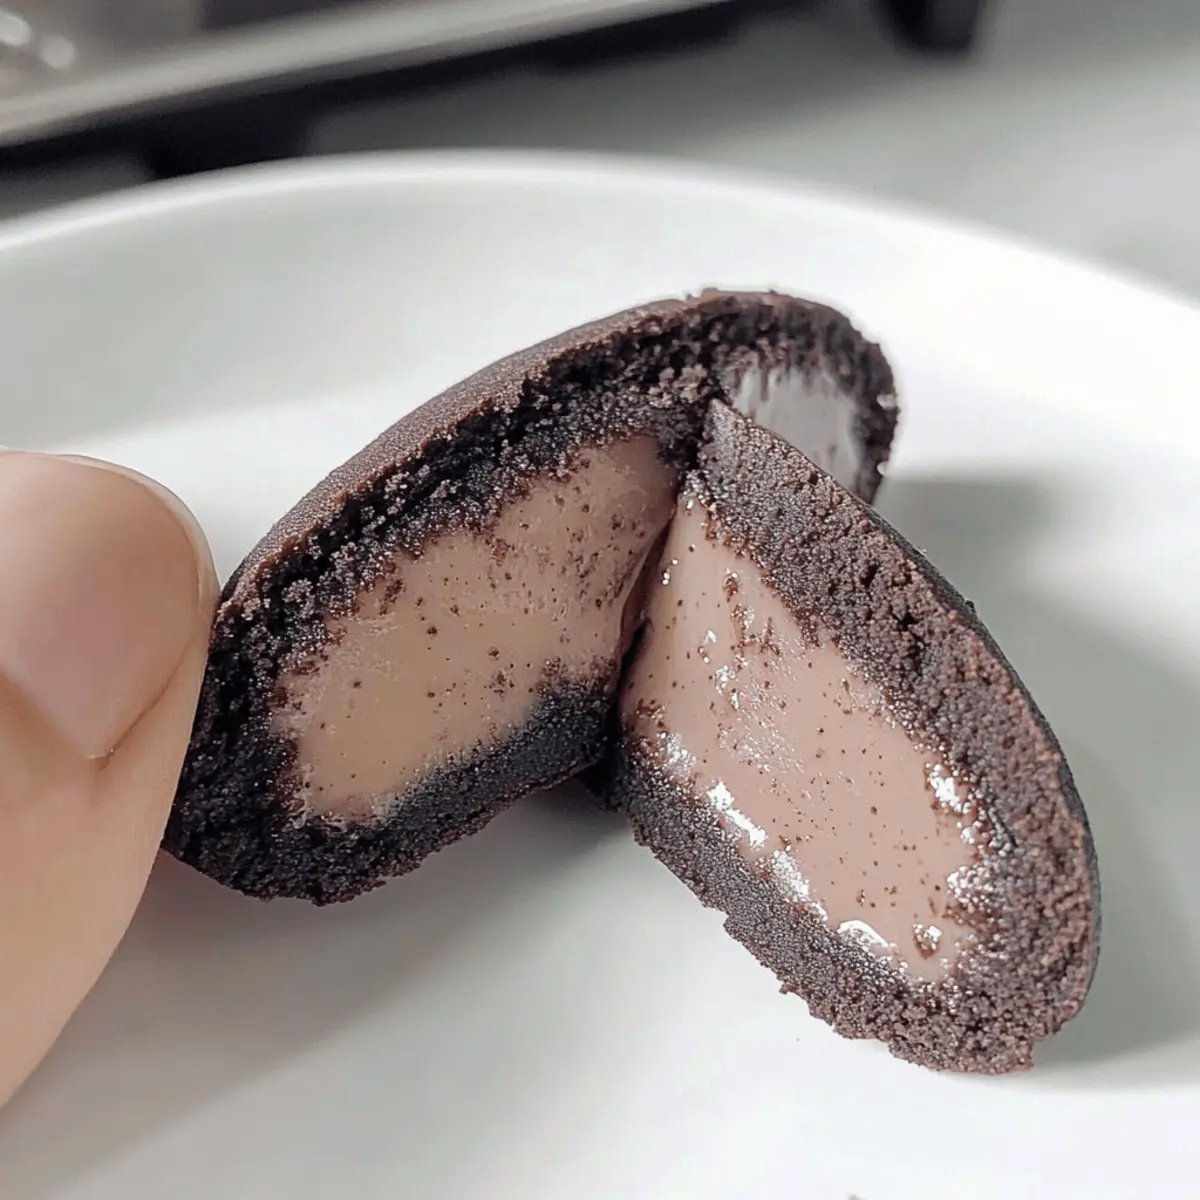
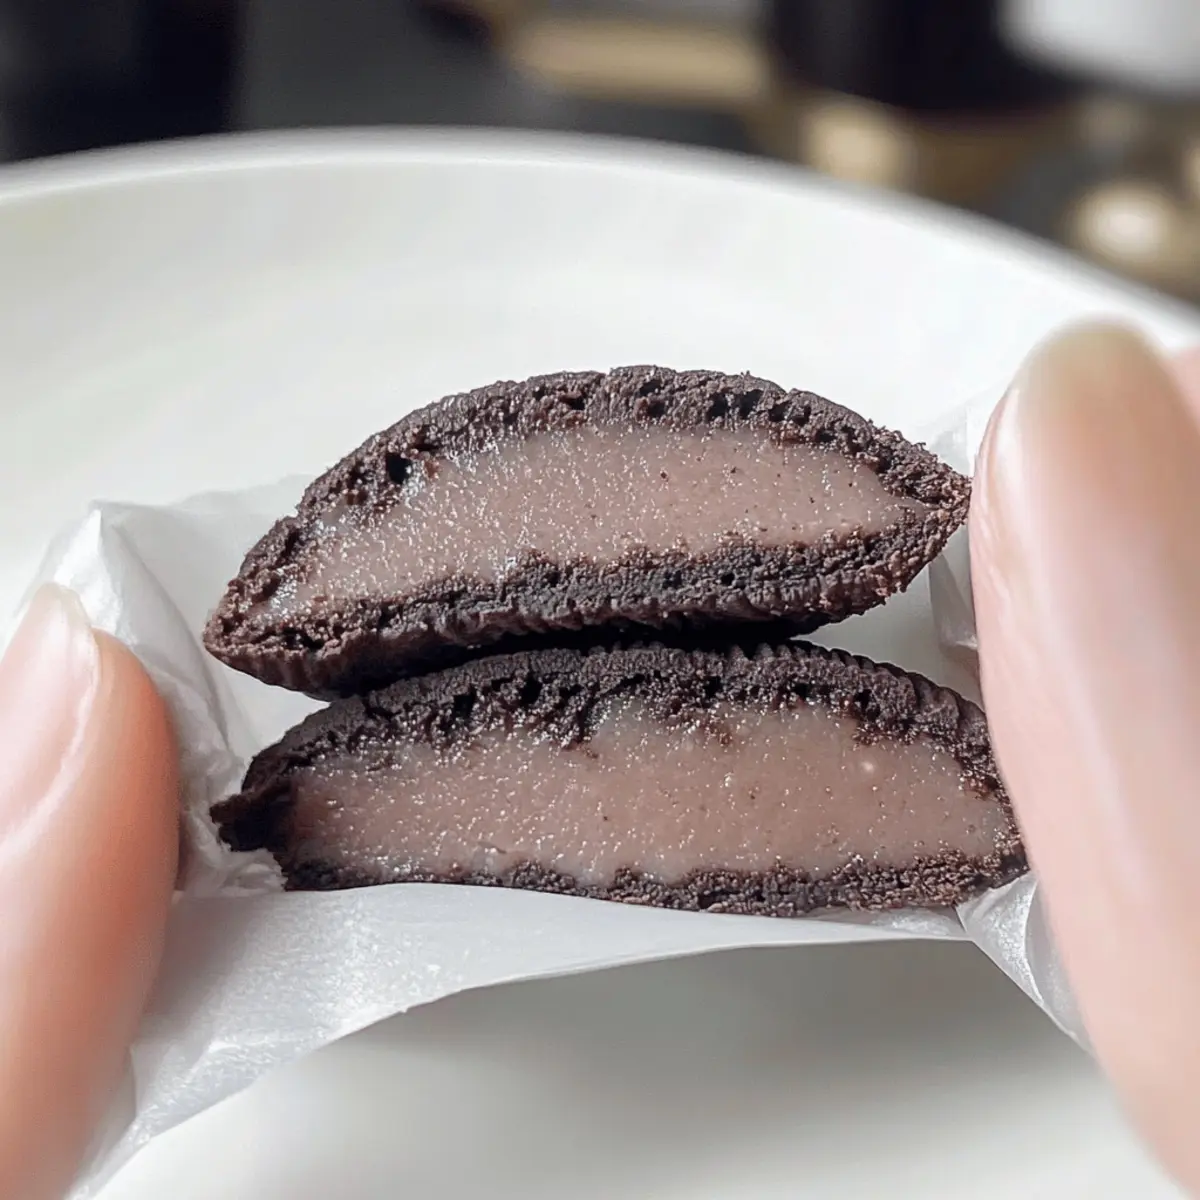
Chewy Perfection: The combination of mochi and Oreos creates an incredible texture that’s both chewy and crunchy, making each bite a delightful experience.
Crowd-Pleasing Delight: Everyone, from kids to adults, will rave about these unique treats at parties or gatherings. They’re sure to impress!
Easy Customization: Mix and match flavors—try using gluten-free cookies or vegan alternatives to cater to different dietary needs.
Quick Prep Time: With minimal cooking effort, you can whip up a batch in no time, perfect for when sweet cravings strike unexpectedly.
Serve with Style: They pair beautifully with fresh strawberries or vanilla ice cream, enhancing the flavor profile for a gorgeous dessert presentation, just like my Funfetti Oreo Icebox cake!
Easy Homemade Oreo Mochi Ingredients
For the Mochi Base
- Mochiko (Sweet Rice Flour) – Provides the signature chewy texture essential for the mochi; do not substitute with other flours.
- Sugar – Adds sweetness to balance the rich chocolate flavor; can be replaced with plant-based sweeteners for a vegan version.
- Water – Necessary for achieving the right dough consistency; no substitutes required.
- Vanilla Extract – Enhances flavor depth; almond extract can be used as a substitute.
For the Filling
- Oreos (6, crushed) – The primary flavor component providing a rich chocolate crunch; feel free to experiment with other cookie varieties for different flavors.
For Dusting
- Cornstarch – Prevents the mochi from sticking during preparation; tapioca starch can be used in a pinch.
Step‑by‑Step Instructions for Easy Homemade Oreo Mochi
Step 1: Prepare Dough
In a mixing bowl, whisk together 1 cup of mochiko, ½ cup of sugar, and ¾ cup of water until you have a smooth, lump-free mixture. Make sure the ingredients are combined well, as this will guarantee a consistent texture in your Easy Homemade Oreo Mochi.
Step 2: Cook Mochi
Transfer the mochi mixture into a microwave-safe bowl, cover it with a lid or plastic wrap, and microwave on high for 1 minute. Carefully remove and stir the mixture, then continue microwaving in 1-minute intervals for an additional 3-4 minutes, until it becomes thick and slightly translucent.
Step 3: Flavor
Once cooked, stir in 1 teaspoon of vanilla extract into the hot mochi mixture, mixing thoroughly. This step enhances the flavor and adds a delightful aromatic quality to your Easy Homemade Oreo Mochi, making it even more irresistible.
Step 4: Cool
Dust a clean surface generously with cornstarch to prevent sticking. Carefully pour the warm mochi dough onto this surface, allowing it to cool for about 5-10 minutes. At this point, the dough will still be warm but safe to handle; this cooling period is essential for the best texture.
Step 5: Shape Mochi
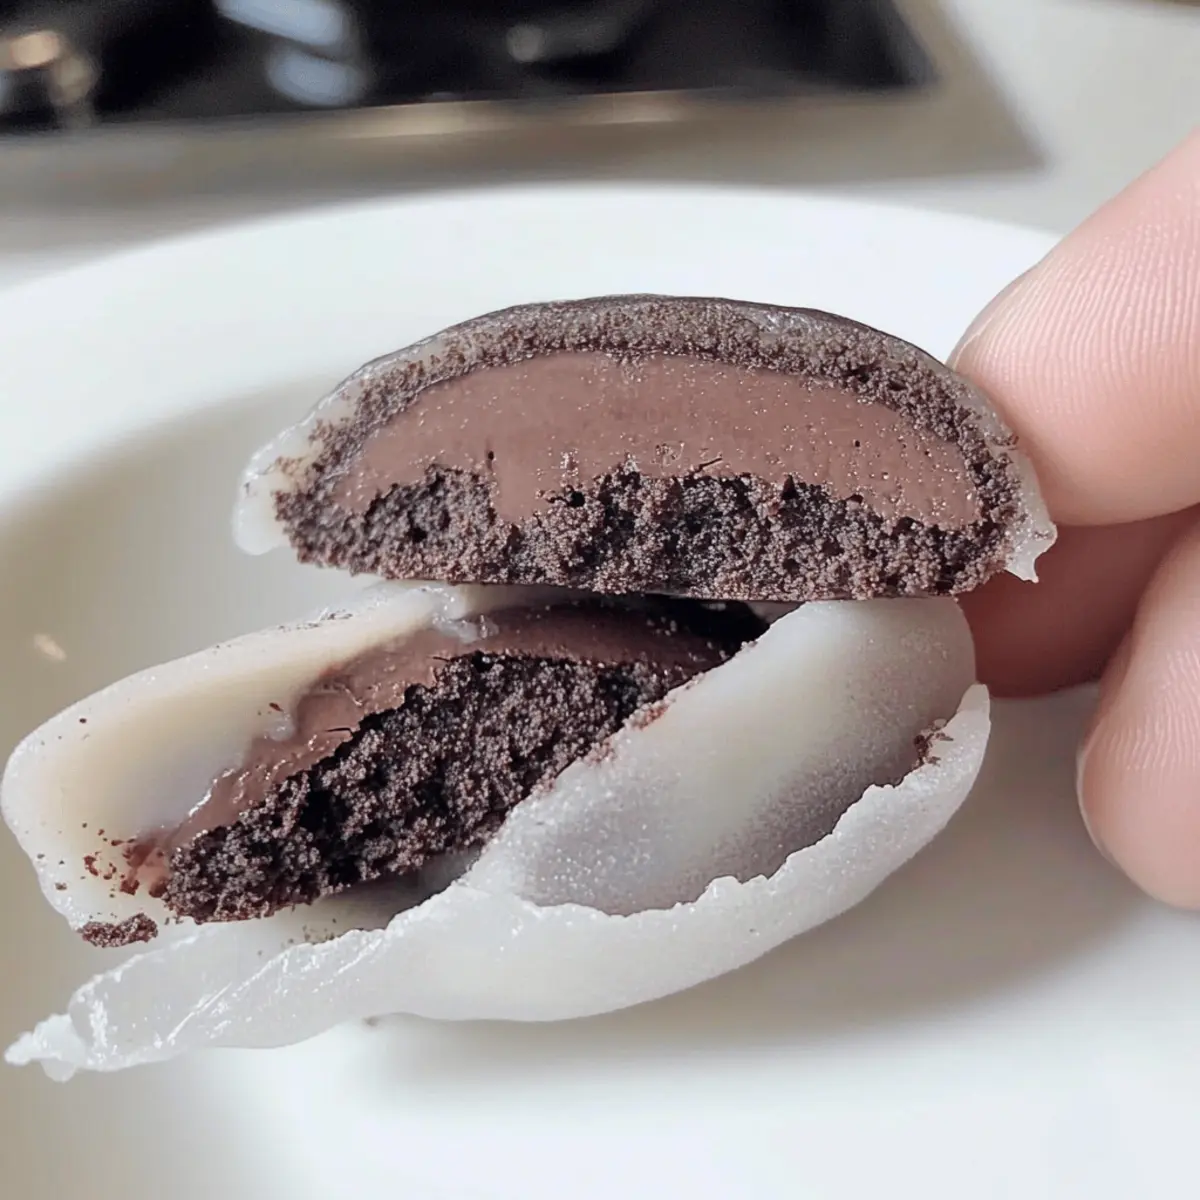
After the dough has cooled slightly, divide it into 6 equal pieces. Flatten each piece into a disk, then place a spoonful of crushed Oreo in the center. Gently fold the edges of the mochi over the filling and pinch to seal, creating a lovely round shape.
Step 6: Dust & Chill
Lightly dust each formed mochi with cornstarch to keep them from sticking together. Place the mochi on a plate and refrigerate for at least 30 minutes. This chilling step is crucial for achieving the perfect chewy texture in your Easy Homemade Oreo Mochi, making them a delightful treat to enjoy later.
How to Store and Freeze Easy Homemade Oreo Mochi
-
Fridge: Store your Easy Homemade Oreo Mochi in an airtight container for up to 3 days. This will help maintain their delightful chewiness while preventing them from drying out.
-
Freezer: For longer storage, wrap each mochi tightly in plastic wrap and place them in a freezer-safe bag. They will stay fresh for up to 1 month.
-
Thawing: When ready to enjoy, thaw the mochi in the refrigerator overnight for optimal texture before serving. This preserves the soft, chewy qualities you love.
-
Reheating: If you prefer a warm treat, microwave the mochi for about 10-15 seconds to refresh their chewy texture before indulging.
Easy Homemade Oreo Mochi Variations
Customize your Easy Homemade Oreo Mochi for an even more delightful experience that satisfies every sweet craving.
- Vegan Delight: Substitute sugar with maple syrup and use almond milk instead of water for a delectable vegan treat. The flavor remains rich while staying plant-based!
- Chocolate Chip Twist: Swap Oreos for chocolate chip cookies to embrace an extra chocolaty experience. These gooey delights will garner rave reviews from family and friends.
- Green Tea Elegance: Add matcha powder to the dough for a fragrant, earthy flavor that complements the sweetness of the filling beautifully. This vibrant twist adds a unique flair that anyone will love.
- Fruity Fusion: Use fruit preserves or fresh fruits like berries in place of the Oreo filling for a refreshing twist. Who knew fruit could elevate this cherished dessert into a colorful dream?
- Gluten-Free Version: Seek gluten-free cookies instead of Oreos to accommodate dietary needs while still enjoying a classic treat. You can still enjoy all the texture and flavor that’s simply irresistible!
- Nutty Crunch: Incorporate finely chopped nuts into the filling or the dough for added texture and flavor. A dash of almond or hazelnut will take your mochi up a notch!
- Spice it Up: A sprinkle of cinnamon or nutmeg in your mochi dough for that unexpected warmth can transport your taste buds. Pair with a scoop of vanilla ice cream from my Fried Cheese Bites for a blissful combination.
- Chocolate Coating: Dip your completed mochi in melted chocolate for an eye-catching finish and an extra layer of indulgence. The contrast of textures will make this a truly memorable dessert!
There you have it—simple variations to make your Easy Homemade Oreo Mochi even more delightful!
Make Ahead Options
These Easy Homemade Oreo Mochi are perfect for busy home cooks looking to save time without sacrificing flavor! You can prepare the mochi dough up to 24 hours in advance by following the first four steps and then refrigerating it. Just make sure to dust the dough with cornstarch to prevent sticking before sealing it in an airtight container. The formed mochi can also be refrigerated for up to 3 days, ensuring they remain chewy and delightful. When you’re ready to serve, simply let them sit at room temperature for 10 minutes to soften slightly, delivering that perfect texture with every bite. Embrace the meal prep magic and enjoy hassle-free baking days!
What to Serve with Easy Homemade Oreo Mochi
Elevate your dessert experience by pairing these delightful treats with mouthwatering accompaniments that enhance their rich flavors.
-
Fresh Strawberries: Juicy and sweet, they add a burst of freshness that perfectly complements the rich chocolate of the mochi.
-
Vanilla Ice Cream: The creamy coolness creates a delightful contrast, balancing the chewy texture of the mochi while enhancing the dessert’s indulgent nature.
-
Matcha Tea: This earthy beverage offers a calming flavor that elegantly offsets the sweetness of the mochi, creating a serene dining experience.
-
Coconut Whipped Cream: Light and fluffy, this topping introduces a tropical twist, making every bite even more luscious and inviting.
-
Chocolate Sauce Drizzle: A rich and decadent addition that intensifies the chocolate flavor, making it an irresistible pairing for chocolate lovers.
-
Green Tea Ice Cream: Similar to matcha, the soothing flavor of green tea ice cream provides balance, creating a harmonious dessert experience.
These pairings not only complement the Easy Homemade Oreo Mochi but also invite you to savor each delicious bite. Enjoy the harmony of textures and flavors for a truly delightful treat!
Expert Tips for Easy Homemade Oreo Mochi
- Use Mochiko Only: Stick with mochiko for that iconic chewy texture; other flours will affect your Easy Homemade Oreo Mochi’s final outcome.
- Avoid Overcooking: Keep an eye on the microwave time; overcooked mochi can become tough. Aim for a slightly translucent finish.
- Chill for Best Texture: Don’t skip the chilling step; it allows the flavors to meld and achieves an ideal chewy consistency.
- Dust Generously: Ensure your hands and surfaces are dusted with cornstarch to prevent sticking while shaping; it streamlines the process.
- Experiment Wisely: While variations are fun, remember to maintain a balance so the beloved Oreo flavor shines through without being overshadowed.
Easy Homemade Oreo Mochi Recipe FAQs
What type of mochiko should I use for the best results?
Absolutely! Stick with Mochiko (sweet rice flour) only, as other flours won’t provide the characteristic chewiness vital for the perfect Easy Homemade Oreo Mochi. This ingredient is crucial in achieving that delightful texture that everyone loves.
How should I store my mochi for the best freshness?
Great question! Store your Easy Homemade Oreo Mochi in an airtight container in the fridge to keep them fresh for up to 3 days. This way, they’ll retain their enchanting chewiness without drying out.
Can I freeze Easy Homemade Oreo Mochi, and how do I do it?
Definitely! To freeze your mochi, wrap each piece tightly in plastic wrap and place them in a freezer-safe bag. They can last up to 1 month in the freezer. Simply thaw them in the fridge overnight for the best texture before serving. If you’re feeling adventurous, try a quick microwave for 10-15 seconds to bring back some warmth!
What if my mochi dough becomes too sticky when shaping?
Don’t worry, this happens! The best trick is to dust your hands and the working surface generously with cornstarch. This will prevent the dough from sticking and make the shaping process smoother. If the dough is really sticky, you might consider letting it cool for a few more minutes before handling it.
Is there a way to make this recipe gluten-free?
Absolutely! You can easily make your Easy Homemade Oreo Mochi gluten-free by using gluten-free cookie options in place of regular Oreos. Make sure that your mochiko is also labeled gluten-free; it’s naturally gluten-free, but always verify just in case. This way, you can cater to gluten-sensitive family and friends without compromising flavor!
Can pets eat mochi?
It’s important to keep mochi away from pets, particularly dogs and cats, as the ingredients (especially sugar and potentially harmful fillings) are not suitable for them. Instead, share a pet-friendly treat; it’s always better to be safe!
Transform Your Treats with Easy Homemade Oreo Mochi
Ingredients
Equipment
Method
- In a mixing bowl, whisk together 1 cup of mochiko, ½ cup of sugar, and ¾ cup of water until smooth.
- Transfer the mochi mixture into a microwave-safe bowl, cover, and microwave on high for 1 minute. Stir and continue microwaving in 1-minute intervals for 3-4 minutes until thick and slightly translucent.
- Stir in 1 teaspoon of vanilla extract into the hot mochi mixture, mixing thoroughly.
- Dust a clean surface with cornstarch, pour the warm mochi dough onto it, and allow it to cool for 5-10 minutes.
- Once cooled, divide into 6 equal pieces, flatten into disks, place a spoonful of crushed Oreo in the center, fold and pinch to seal.
- Dust each formed mochi with cornstarch, place on a plate, and refrigerate for at least 30 minutes.
Leave a Reply