
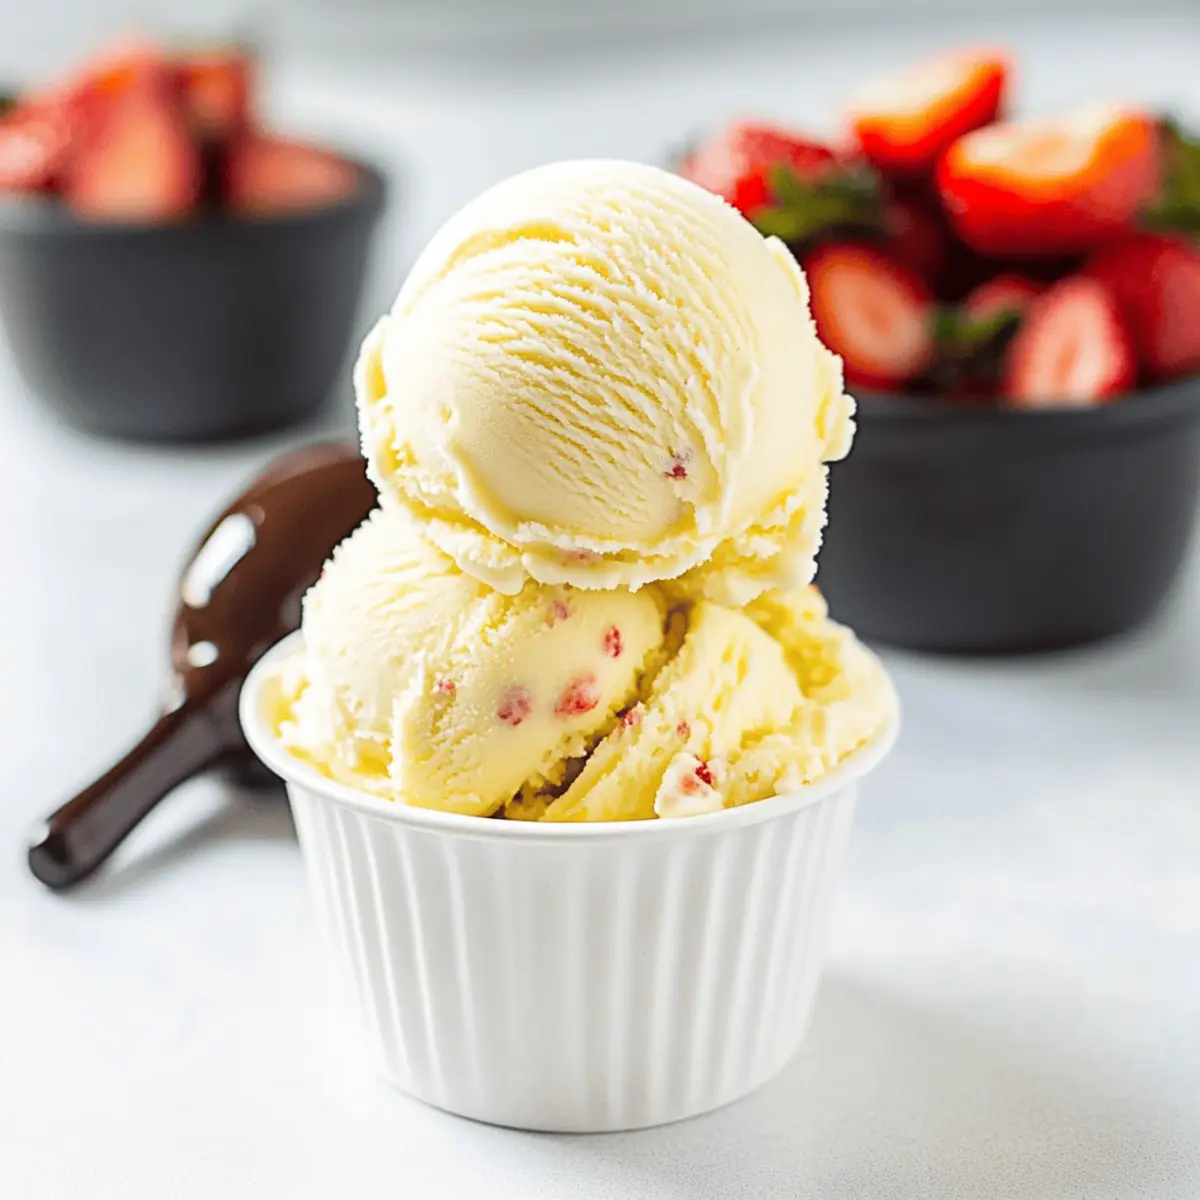
As I stood in my kitchen one sweltering summer afternoon, the craving for something cool and creamy transformed into a mini crisis. That’s when I remembered the joy of making my own Creamy Old-Fashioned Vanilla Ice Cream. This egg-free delight promises not just simplicity but also the freedom to customize with your favorite mix-ins and toppings. Whether you want to surprise guests at a barbecue or indulge during a cozy movie night, this recipe checks all the boxes. The rich flavor of real vanilla bean paired with a silky texture makes it an irresistible treat that brings people together. Plus, crafting it at home offers a fulfilling experience that fast food simply can’t match. Are you ready to scoop up nostalgia and create some delicious memories? Let’s dive in!

Why is Homemade Vanilla Ice Cream the Best?
Homemade ice cream is a game changer! The rich, creamy texture delivers a taste experience that store-bought treats can’t replicate. Customizable options mean you can mix in your favorite flavors, like with our Chocolate Delight or fruity Fruit Fusion variations. Plus, it’s an egg-free recipe, simplifying the process while catering to dietary preferences. Want to impress guests? Serve it alongside brownies or waffles for a delightful combo that guests will rave about. Say goodbye to fast food and hello to real homemade joy!
Creamy Old-Fashioned Vanilla Ice Cream Ingredients
• Get ready to create a delightful treat with these creamy ingredients!
For the Base
- Heavy Whipping Cream – Provides that luscious, creamy texture that makes homemade ice cream irresistible.
- Sugar – Sweetens the mixture; ensuring it dissolves completely will give you a smooth mouthfeel.
- Vanilla Bean – Infuses the ice cream with authentic vanilla flavor; look for fresh, shiny pods for the best results.
- Pure Vanilla Extract – Enhances the vanilla taste; always choose high-quality for a richer flavor.
Optional Ingredients
- Cocoa Powder or Melted Chocolate – Add for a delightful chocolate variation; just mix in during the churning phase.
- Mix-Ins – Customize with your favorite ingredients like chopped nuts, crushed cookies, or fresh fruits for a vibrant twist.
Enjoy making this Creamy Old-Fashioned Vanilla Ice Cream as you explore exciting flavors and textures!
Step‑by‑Step Instructions for Creamy Old-Fashioned Vanilla Ice Cream
Step 1: Combine Base
In a mixing bowl, whisk together 2 cups of heavy whipping cream with 1 cup of sugar until the sugar is fully dissolved, which should take about 2-3 minutes. You’ll know it’s ready when the mixture is smooth with no graininess and has a slightly thicker consistency. This forms the luscious base for your Creamy Old-Fashioned Vanilla Ice Cream.
Step 2: Add Vanilla
Pour in 2 teaspoons of pure vanilla extract into the cream and sugar mixture. Gently stir until well combined, ensuring that the warm, rich aroma of vanilla starts to fill your kitchen. This is the moment when the flavor truly begins to bloom, setting the stage for your delightful homemade ice cream.
Step 3: Incorporate Vanilla Bean
Slice one fresh vanilla bean in half lengthwise and carefully scrape the seeds into your mixture. Add the empty pod to the bowl as well, which will enhance the infusion. Mix thoroughly for another minute, allowing those beautiful specks of vanilla to distribute evenly, creating a charming appearance in your Creamy Old-Fashioned Vanilla Ice Cream.
Step 4: Chill Mixture
Cover the bowl with plastic wrap or a lid, and refrigerate the mixture for at least 1 hour, though letting it chill overnight yields even better results. This step is crucial as it allows the flavors to meld and ensures that your ice cream base is cold enough for optimal churning, creating that dreamy, creamy texture.
Step 5: Churn
Once chilled, remove the vanilla pod from the mixture and pour it into your ice cream maker. Churn according to the manufacturer’s instructions for about 25 minutes or until it reaches a soft-serve consistency. You’ll know it’s done when the mixture has thickened and increased in volume, exhibiting that gorgeous creamy look characteristic of a good ice cream.
Step 6: Freeze
Transfer the churned ice cream to a freezer-safe container and smooth the top with a spatula. Cover the container tightly to prevent ice crystals from forming, and freeze for at least 4 hours, or until firm. This final step solidifies your Creamy Old-Fashioned Vanilla Ice Cream, ensuring a scoopable delight perfect for serving on a hot summer day.
Expert Tips for Creamy Old-Fashioned Vanilla Ice Cream
- Cold Ingredients Matter: Start with chilled heavy cream and other ingredients to ensure proper churning and a velvety texture in your creamy old-fashioned vanilla ice cream.
- Dissolve Sugar Fully: Take your time to whisk the sugar until dissolved completely; this prevents graininess and creates a smoother final product.
- Wide Containers Work Best: Store your ice cream in a wide, shallow container for even freezing, making it easier to scoop later on.
- Let It Soften Before Serving: Allow the ice cream to sit at room temperature for about 10 minutes before scooping; this ensures perfect serving without the struggle.
- Mix-in Moments: If you’re adding mix-ins, do so during the last few minutes of churning to maintain a balanced texture in your creamy old-fashioned vanilla ice cream.
Storage Tips for Creamy Old-Fashioned Vanilla Ice Cream
- Fridge: Keep your ice cream in the fridge for up to 3 days if you plan to serve it quickly; however, a fridge won’t maintain the ideal creamy texture for long.
- Freezer: Store in an airtight container in the freezer for up to 4 weeks. For the best flavor and texture, aim to finish it within a month.
- Reheating: Let your creamy old-fashioned vanilla ice cream sit at room temperature for about 10 minutes before scooping to make serving easier.
- Avoid Freezer Burn: To prevent ice crystals from forming, cover the ice cream tightly. Placing a piece of parchment paper directly on the surface before sealing helps.
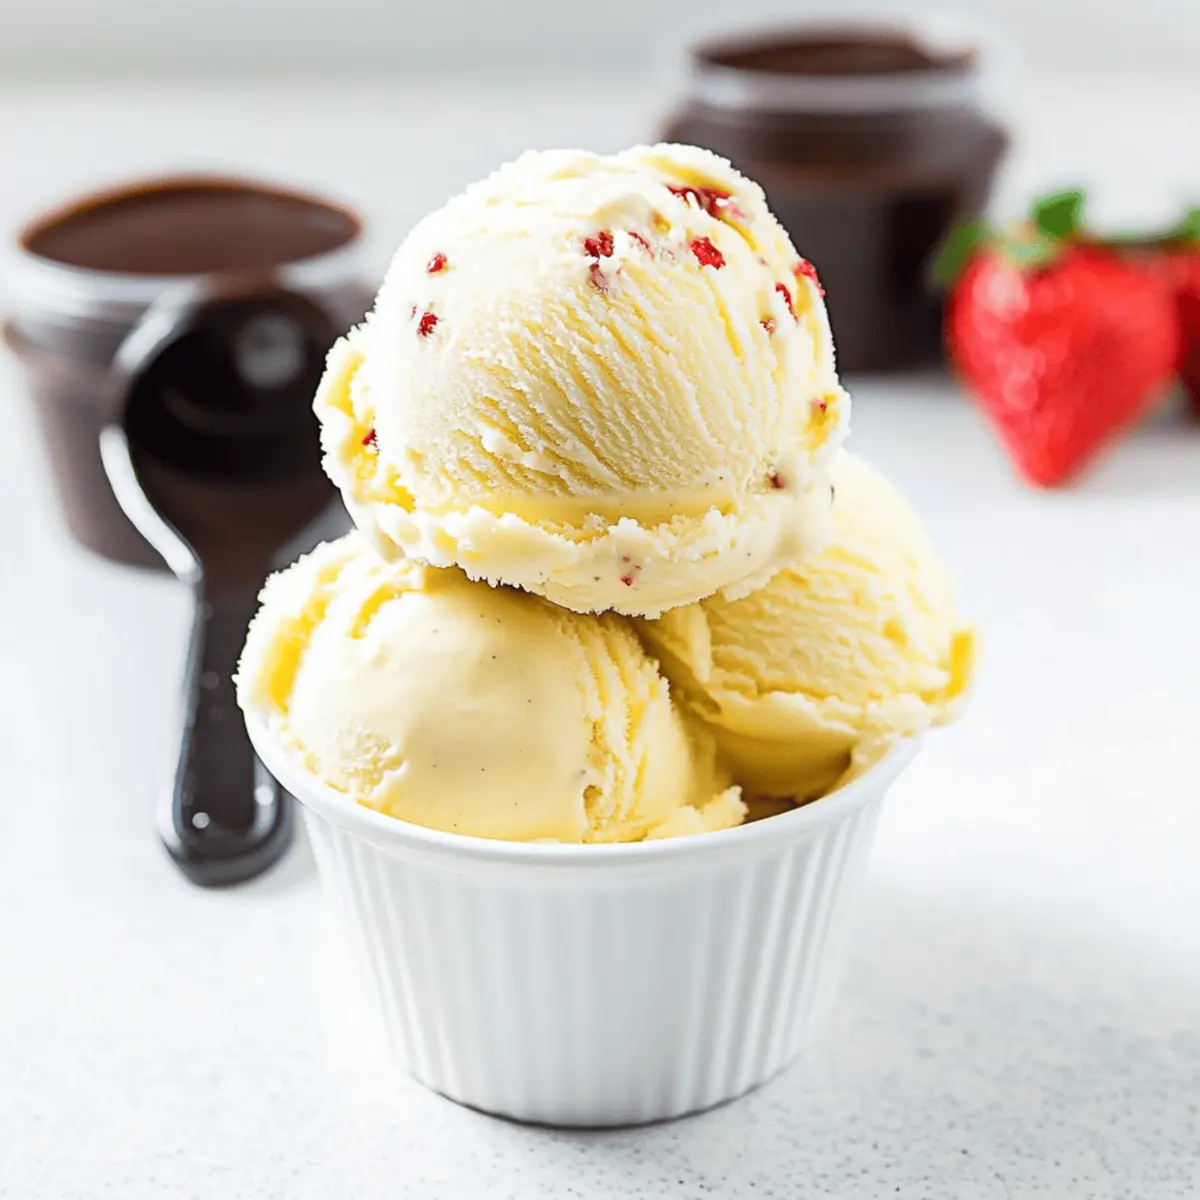
Creamy Old-Fashioned Vanilla Ice Cream Variations
Feel free to explore delightful twists on this classic recipe, crafting a flavor experience that excites your palate!
-
Chocolate Delight: Stir in cocoa powder or melted chocolate for a rich, chocolatey experience. Just imagine each scoop brimming with lush cocoa goodness that satisfies any chocolate craving.
-
Fruit Fusion: Blend in pureed fruits like strawberries or fresh berries for a refreshing summer treat. The bright colors and flavors will light up your ice cream and heart!
-
Nutty Addition: Fold in chopped nuts, such as walnuts or almonds, for a satisfying crunch. The contrast of creamy ice cream with nutty bites creates a delightful texture harmony.
-
Caramel Swirl: Drizzle luxurious caramel into your mix before freezing to introduce a sweet, salty contrast. Each scoop becomes a treasure chest of flavor surprises that everyone will love.
-
Coconut Cream: Replace heavy cream with coconut cream for a tropical, dairy-free treat. This variation not only brings a refreshing taste, but it’s also perfect for anyone craving a bit of paradise.
-
Spicy Twist: Add a pinch of cinnamon or cayenne for a subtle kick. This unexpected warmth will leave your guests guessing, adding an intriguing depth to your creamy creation.
-
Herbal Infusion: Introduce a hint of fresh mint or basil for an aromatic twist. The fresh herbal notes create a sophisticated ice cream that’s great for gourmet gatherings.
-
Cookie Crumble: Mix in crushed cookies like Oreos or chocolate chip cookies for added texture and indulgence. Each scoop will be reminiscent of a delightful dessert bar experience!
For even more delicious homemade ideas, try pairing this ice cream with a slice of Lemon Squares Luscious or alongside a hearty bowl of Creamy Cauliflower Soup Heartwarming for a complete meal experience. Enjoy every bite!
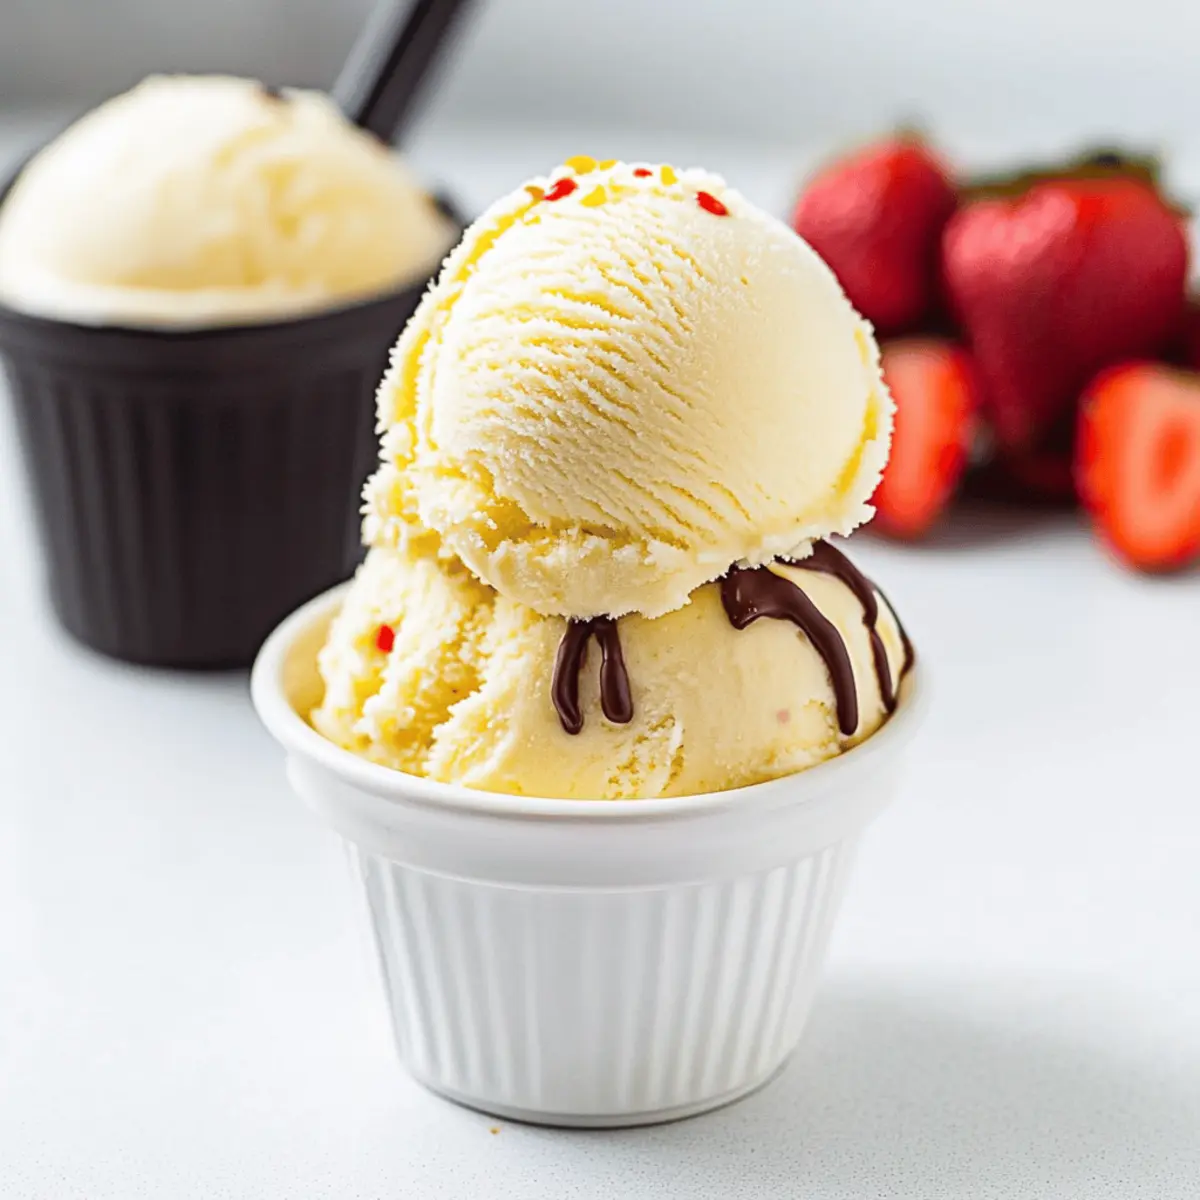
What to Serve with Creamy Old-Fashioned Vanilla Ice Cream
Creamy, dreamy, and wonderfully nostalgic, this vanilla ice cream deserves delectable companions to elevate your dessert experience.
-
Warm Brownies: The rich fudginess of warm brownies creates a perfect balance with the cool, creamy vanilla, making each bite an absolute indulgence.
-
Fresh Berries: Juicy strawberries or raspberries add a delightful tartness that beautifully complements the sweetness of the creamy old-fashioned vanilla ice cream.
-
Waffles: Crisp, fluffy waffles serve as a delightful base, perfect for drizzling with syrup or stacking with ice cream and fruits for a charming dessert.
-
Chocolate Sauce: A warm drizzle of chocolate sauce transforms this ice cream into a classic sundae experience, adding layers of flavor that are simply irresistible.
-
Toasted Coconut: Sprinkle toasted coconut on top for a satisfying crunch and tropical flair that harmonizes perfectly with the creamy vanilla.
-
Caramel Sauce: A rich caramel drizzle introduces a sweet and salty note, enhancing the overall flavor experience while playing beautifully with the ice cream’s silky texture.
-
Nuts: Chopped almonds or pecans offer a delightful crunch, turning each scoop into a textural delight that elevates your ice cream to new heights.
-
Coffee: Pair your dessert with a cup of freshly brewed coffee for a delightful contrast of temperatures and flavors, perfect for a cozy after-dinner treat.
Make Ahead Options
These Creamy Old-Fashioned Vanilla Ice Cream bases are perfect for meal prep! You can prepare the entire ice cream mixture up to 24 hours in advance, simply covering and refrigerating it to allow the flavors to meld beautifully. This chilling step not only enhances the taste but ensures optimal churning when you’re ready to make it. If you prefer, you can also prepare the mixture and churn it, then freeze the ice cream for up to 3 days. Just be sure to store it in an airtight container to maintain its creamy texture. When it’s time to serve, let the ice cream soften at room temperature for about 10 minutes before scooping for a smoother experience. With these make-ahead tips, enjoying homemade ice cream has never been easier!
Creamy Old-Fashioned Vanilla Ice Cream Recipe FAQs
How do I choose the right vanilla bean?
When selecting a vanilla bean, look for plump, shiny pods that are slightly flexible. The best beans have a strong fragrance and a rich, dark color. Avoid beans with dark spots or signs of dryness, as they may be past their prime. The quality of your vanilla bean directly impacts the flavor of your creamy old-fashioned vanilla ice cream.
What’s the best way to store homemade ice cream?
To keep your creamy old-fashioned vanilla ice cream fresh, store it in an airtight container in the freezer. For optimal texture and flavor, consume it within four weeks. If you notice ice crystals forming, press a piece of parchment paper directly against the surface of the ice cream before sealing the container, which helps prevent freezer burn.
Can I freeze leftover ice cream?
Absolutely! Your creamy old-fashioned vanilla ice cream can be frozen for up to 4 weeks without losing its delicious creamy texture. When you’re ready to enjoy a scoop, let it sit at room temperature for about 10 minutes to soften slightly for easier scooping.
What should I do if my ice cream is too icy?
If your creamy old-fashioned vanilla ice cream ends up icy, it’s likely that the sugar didn’t dissolve completely during mixing, or the mixture wasn’t cold enough before churning. To troubleshoot, ensure the sugar is fully dissolved, as this step prevents a grainy texture. Also, starting with cold ingredients encourages a smoother, creamier result. If your ice cream is already frozen, you can blend it with a little milk to restore creaminess before re-freezing it.
Is there a dairy-free option for this recipe?
Yes! You can easily make a dairy-free version of this creamy old-fashioned vanilla ice cream by substituting heavy whipping cream with coconut cream. Use the same quantity, and enjoy a tropical spin on your classic treat! Just ensure that other add-ins are also dairy-free, if applicable.
Can I make the ice cream base ahead of time?
Definitely! The ice cream base for your creamy old-fashioned vanilla ice cream can be prepared in advance. Simply mix the ingredients and refrigerate for up to 24 hours before churning. This not only saves time but also allows the flavors to meld beautifully, leading to an even richer final product.
Creamy Old-Fashioned Vanilla Ice Cream for Sweet Nostalgia
Ingredients
Equipment
Method
- Combine heavy whipping cream and sugar in a mixing bowl. Whisk until the sugar dissolves completely, about 2-3 minutes.
- Add pure vanilla extract to the mixture and stir until combined.
- Slice the vanilla bean and scrape the seeds into the mixture, adding the pod as well.
- Cover the bowl and refrigerate for at least 1 hour.
- Remove the vanilla pod and churn the mixture in an ice cream maker for about 25 minutes.
- Transfer the churned ice cream to a freezer-safe container and freeze for at least 4 hours.
Leave a Reply